Salad by Caesar


More likely named after Caesar Cardini than by Julius Caesar, so say online sources. Google it if you want.

Anyway, I’ve been on a Caesar salad kick recently and I couldn’t always find a dressing that I really liked. I’m the creamy Caesar dressing fan so I did a google search for recipes and found one that I love. I’ll share it with you if you send me a $20 bill with the request “Send me the Caesar Salad Dressing recipe, please” written on it in small letters.

Just kidding.

You know this is a No Purchase Necessary site. So here it is:

Creamy Caesar Dressing

2 garlic cloves
1 c. mayo (hellmans)
1/4 c. half & half
1/3 c. grated parmesan cheese
2 T. lemon juice
1 T. dijon mustard
salt & fresh ground pepper
2 tsp. Worcestershire
anchovy paste, if desired
more half & half for thinning if needed

Process in blender or food processor. Refrigerate 3 hours before using.

I really did use Hellmans since I was able to get it at CVS for $1.25 a quart after a B1G1 and coupon deal. Not bad considering their original price was $6 a quart. Honestly, WHO pays $6 a quart for Hellmans????

The first time I made it I made it without the anchovy paste since I couldn’t find it locally in our “huge” selection of grocery stores (Wally W and Harveys) and I was not about to mash up anchovy filets as the recipe suggested for a replacement.

I did finally find the paste at Kroger.
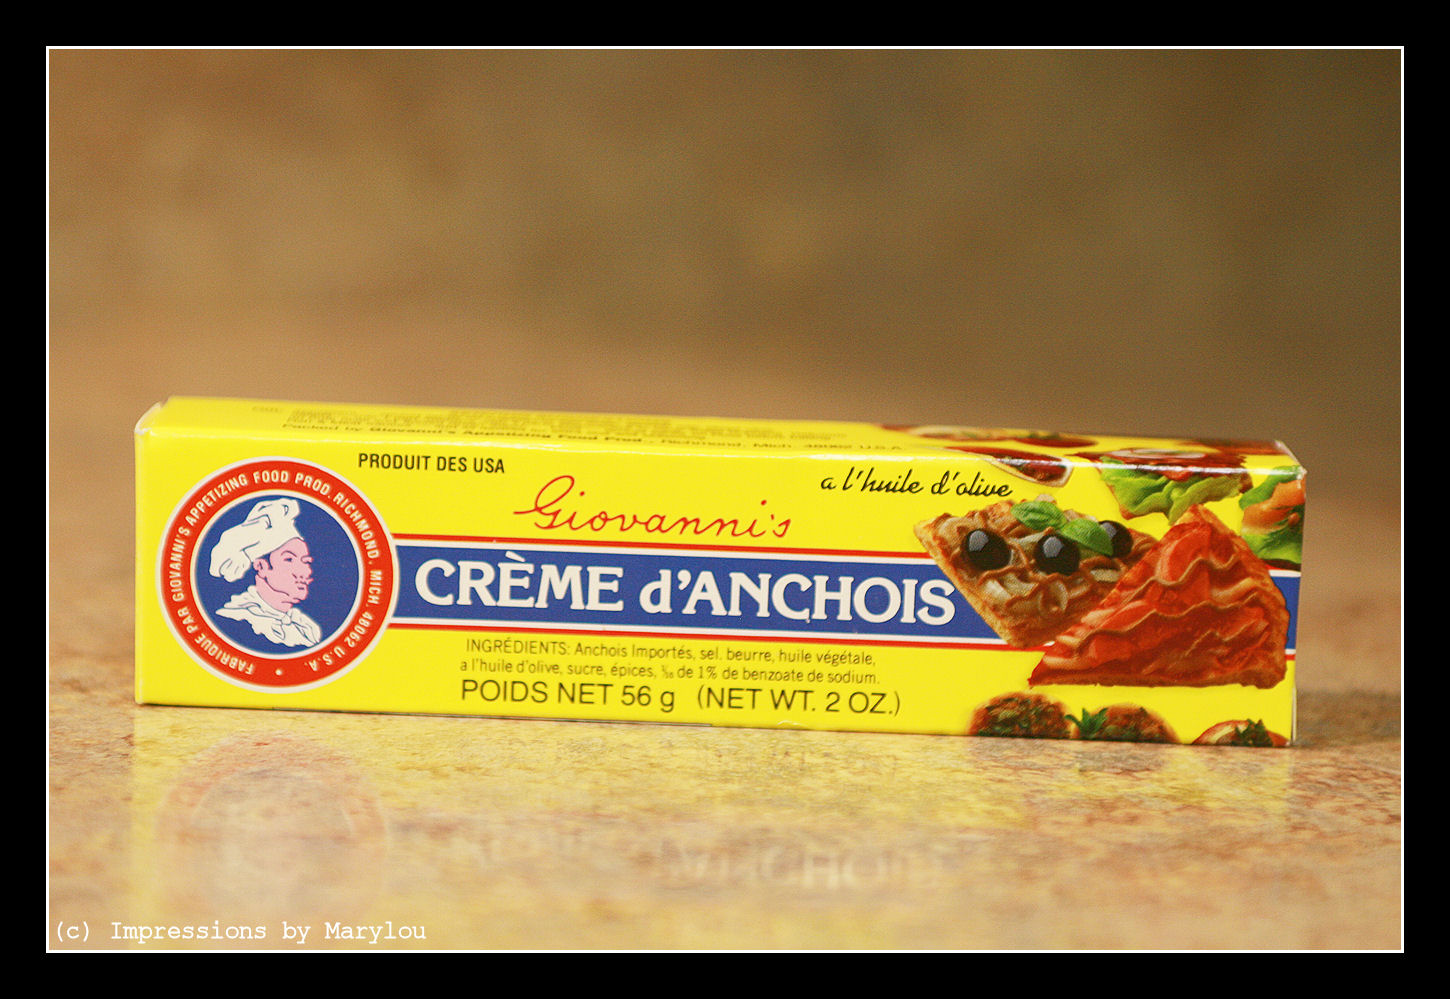
ceasar salad 4

If you can read that you did much better than me. Unfortunately I’m the epitome of the American unilingual (unless you count the 50% Pennsylvania Dutch that I attempt to speak). I wanted to say unilingualist because that sounded more grammatically correct by the dictionaries did not like it.
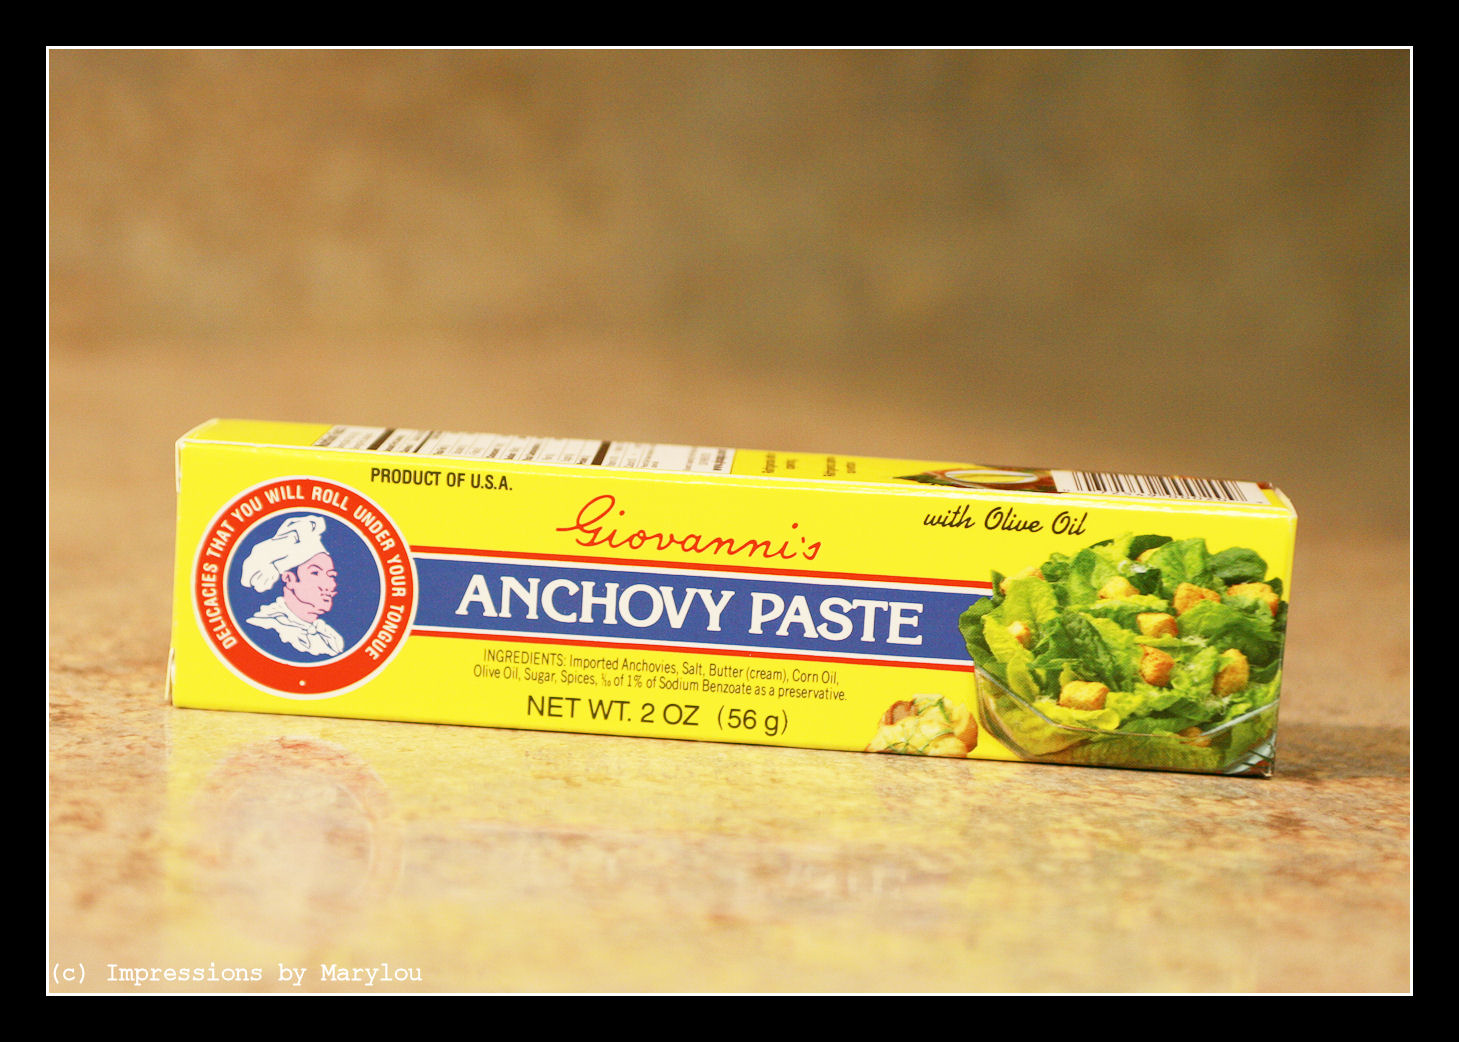
ceasar salad 5

There’s the translation for you other unilingualists.
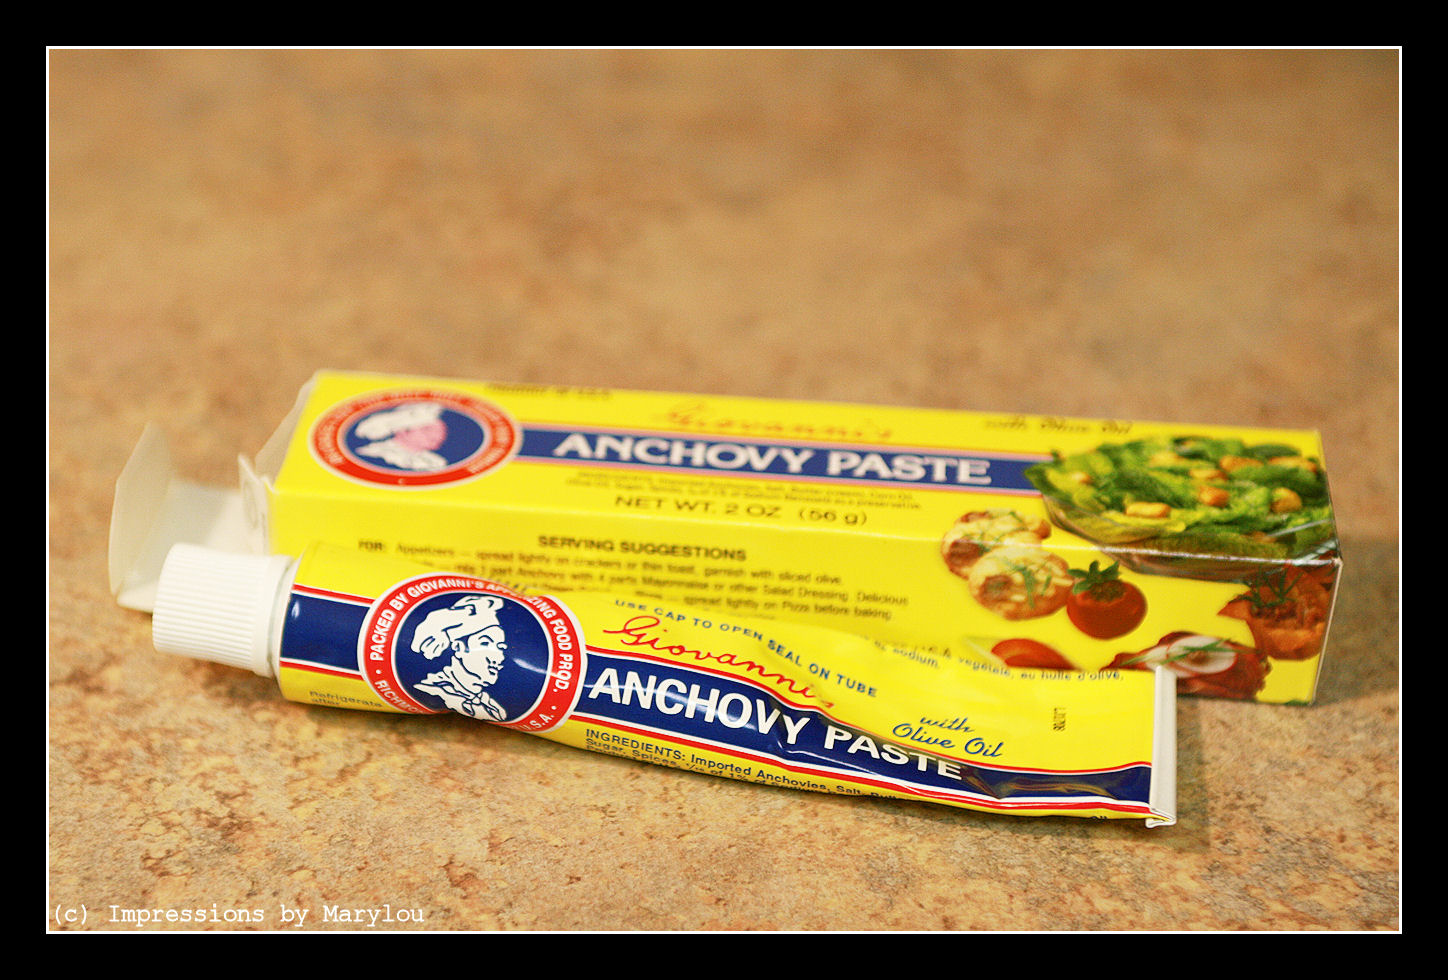
ceasar salad 6

It comes in a tube and I think I used a rounded teaspoon or so. Try not to think about it being pulverized little fishies in olive oil and seasonings. It’s probably high in Vitamins D and Q and Omega 3s. Or something.

I also used milk instead of half and half since I didn’t have said half and half in the fridge at the time. Actually, we almost never have half and half in our fridge. We have 2% milk because it’s a compromise between whole milk and tinted water (skim milk, which I refuse to drink).

I also didn’t process it in the blender. Wonder what difference that would make in its consistency. I use the nifty dressing maker that Pampered Chef sells.

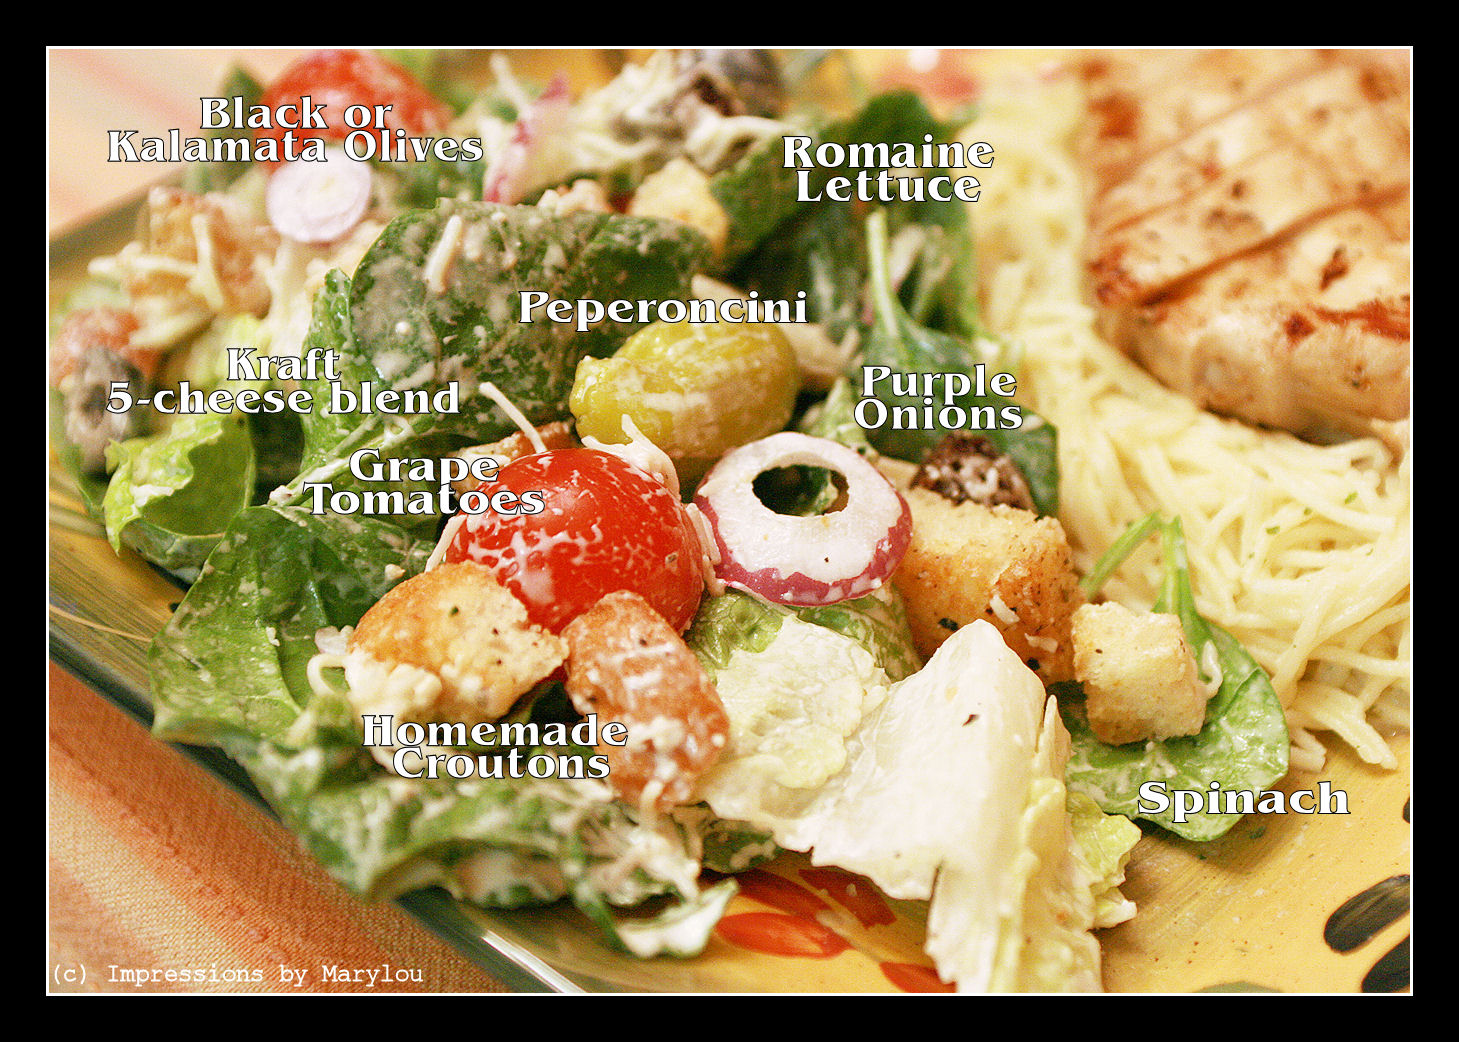
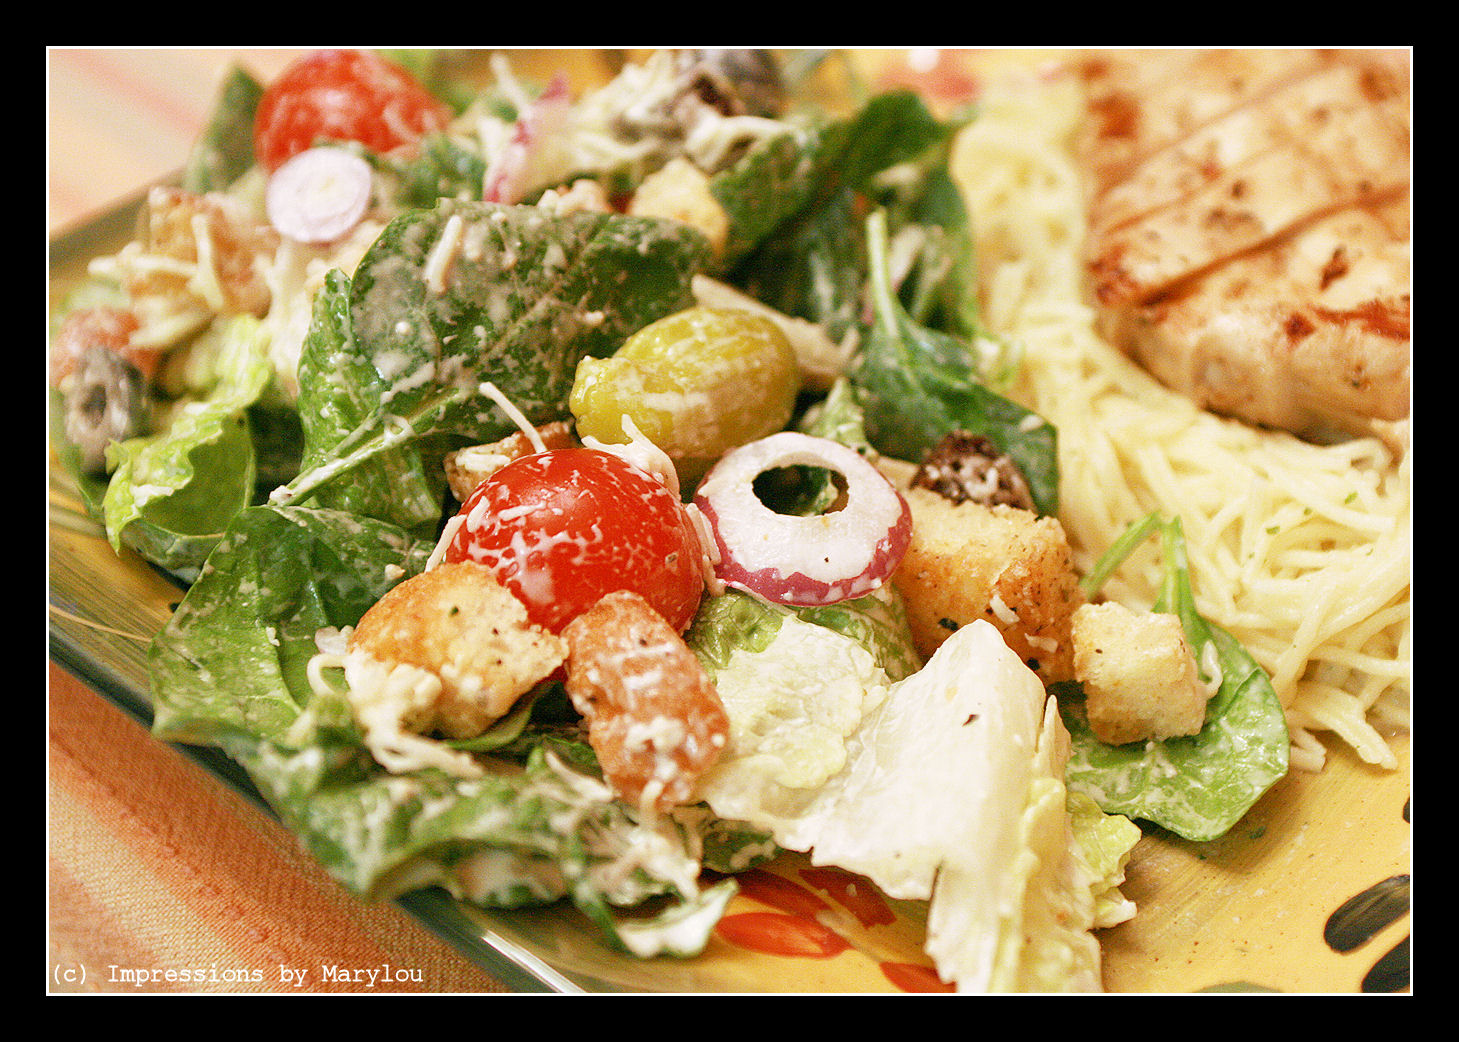
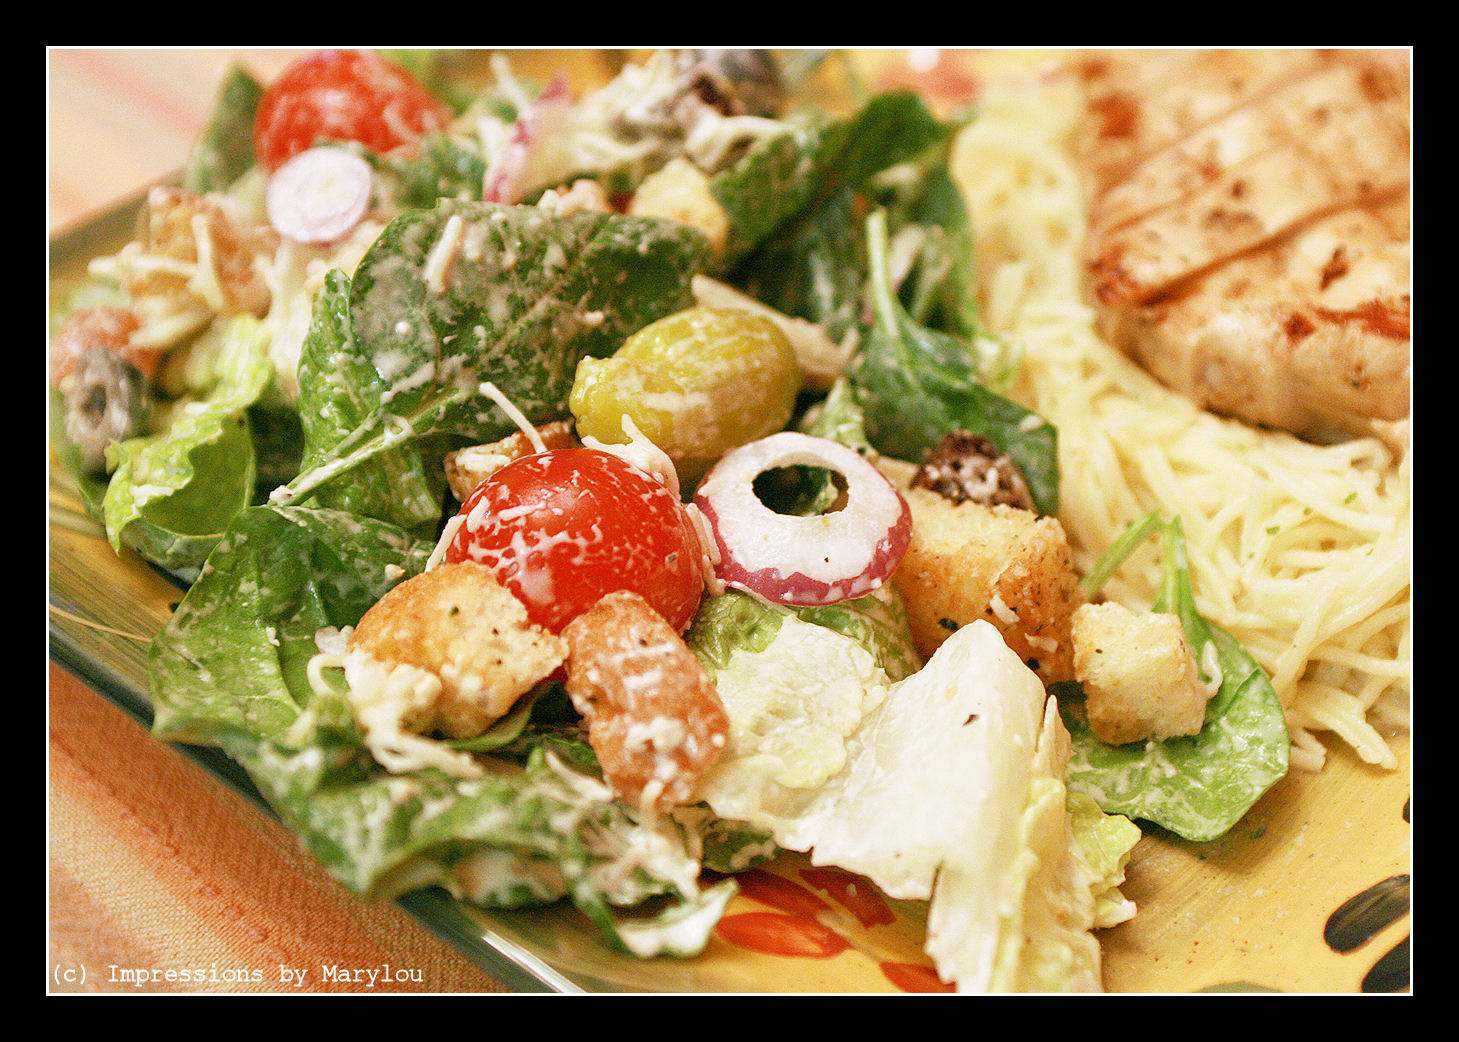
This is what my salad typically looks like:
ceasar salad 2

More precisely:

ceasar salad 3

I sometimes slice celery to toss with it as well and some feta cheese. The croutons are homemade, which I love to make. Here’s what I do:
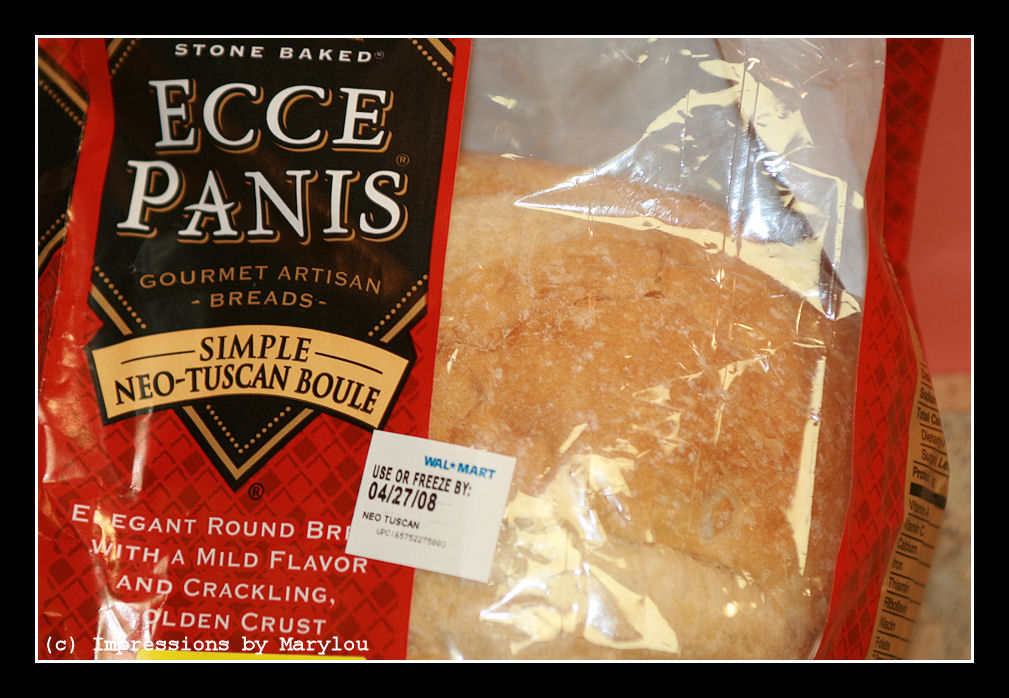
crouton 1

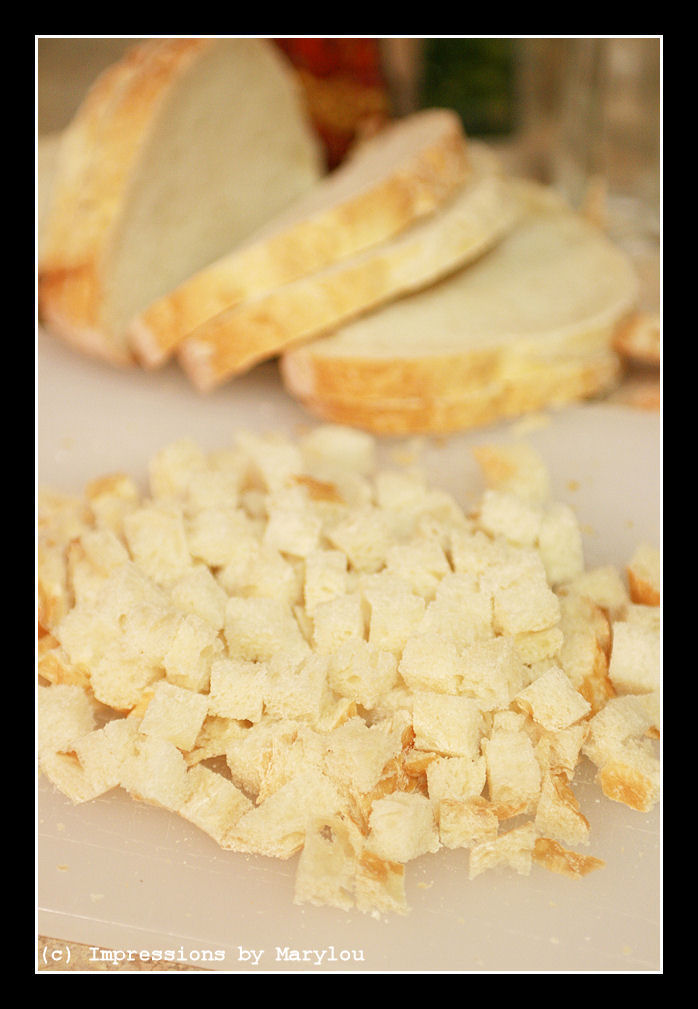
I like the Boule bread the best because it’s a lot of bread with a little crust. And I like to keep my eye on it at Wally World where they mark it down eventually and it works great for croutons.
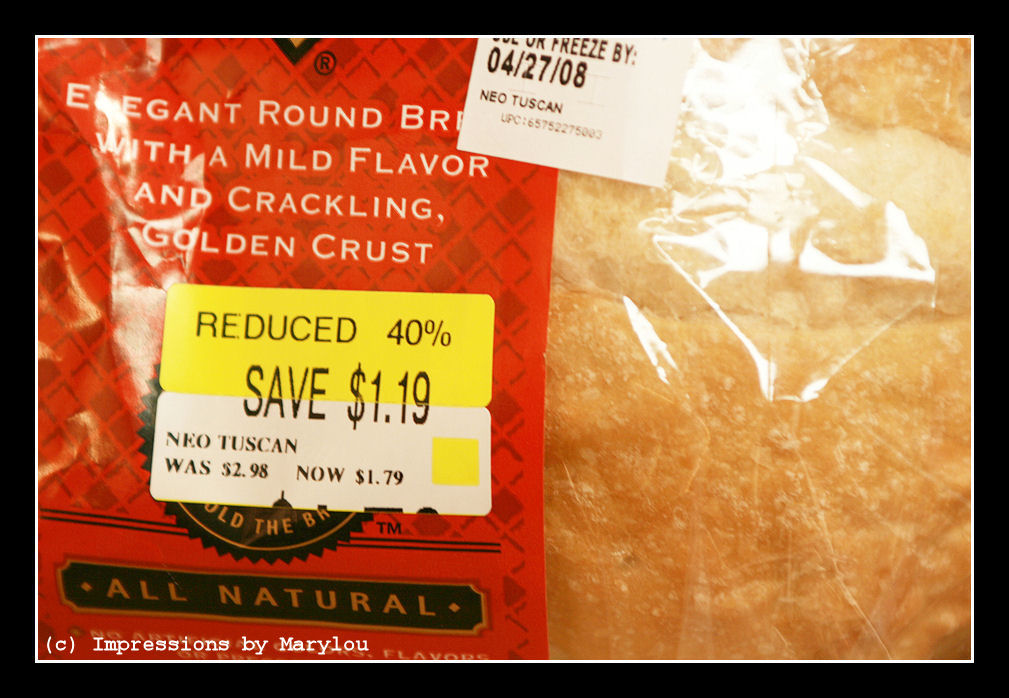
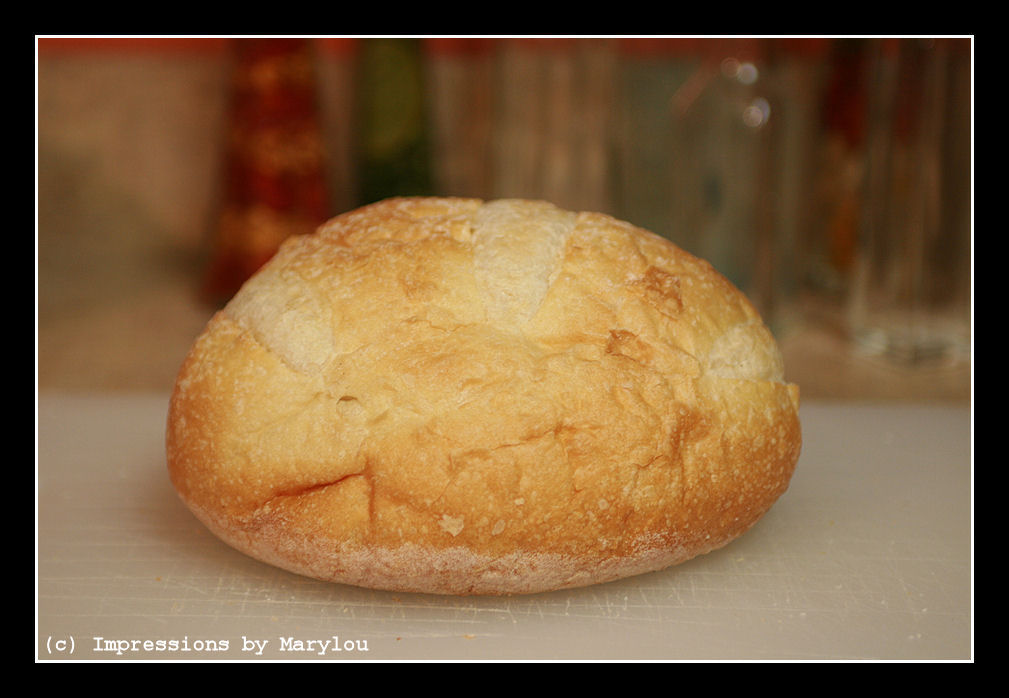
crouton 2


Crouton 3

An electric bread knife is essential in getting them sliced evenly. I believe every modern kitchen needs a bread knife. (Did you hear that Ginny?  I know, next time it can be a hostess gift.)

Slice the bread into 1/3 to 1/2 inch slices. You don’t have to be OCD about this but if you get them too big and they end up too crunchy, it can be an embarrassing mouthful of crunch.
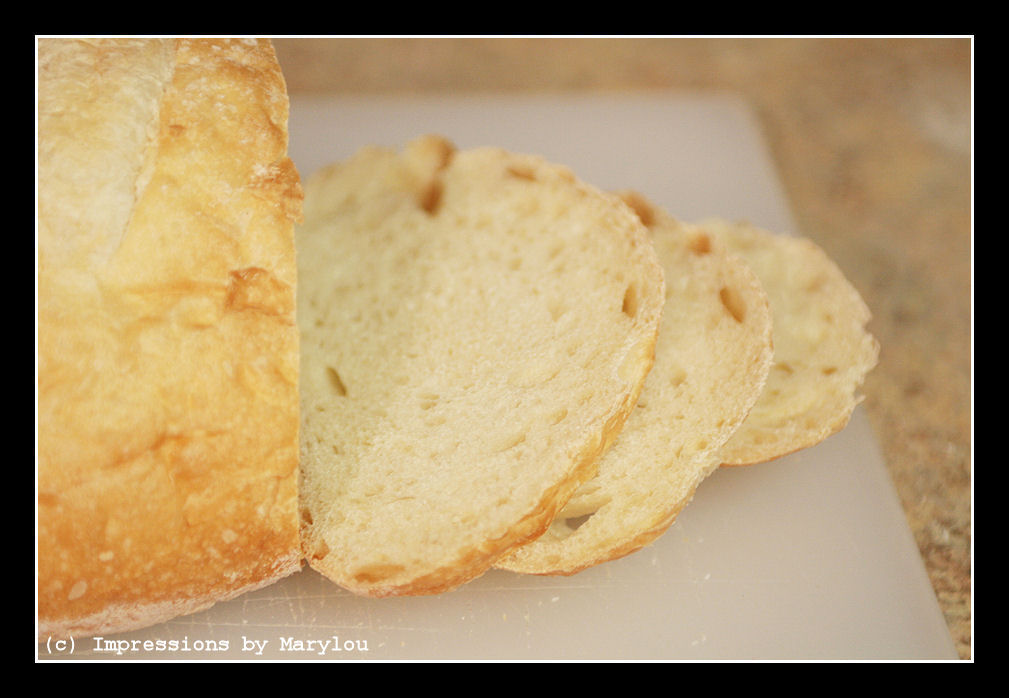
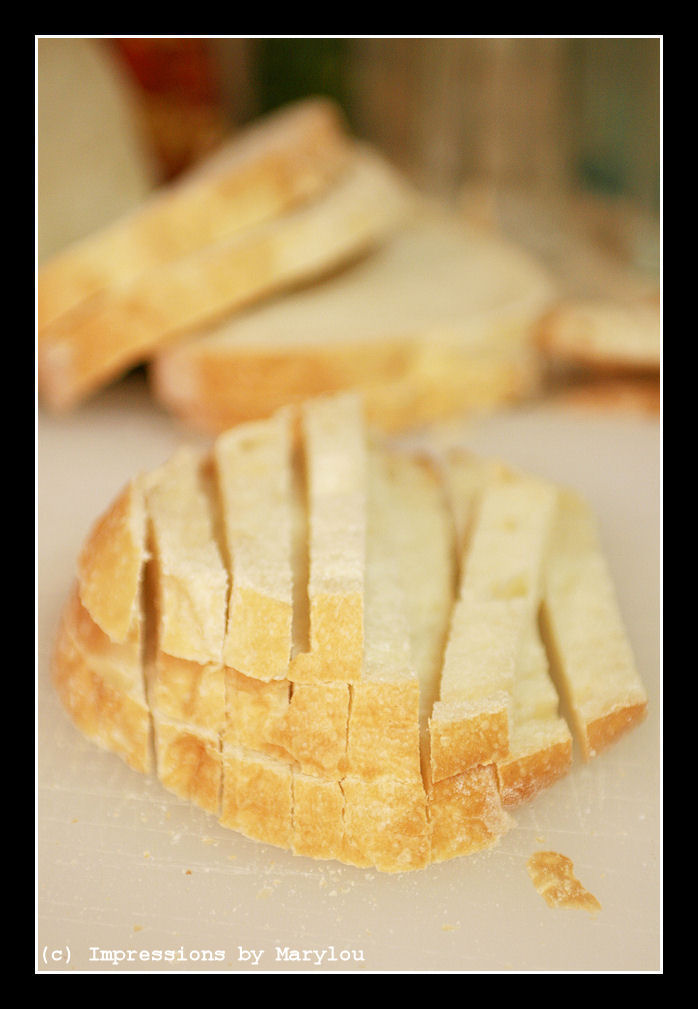
crouton 4

crouton 5

crouton 6


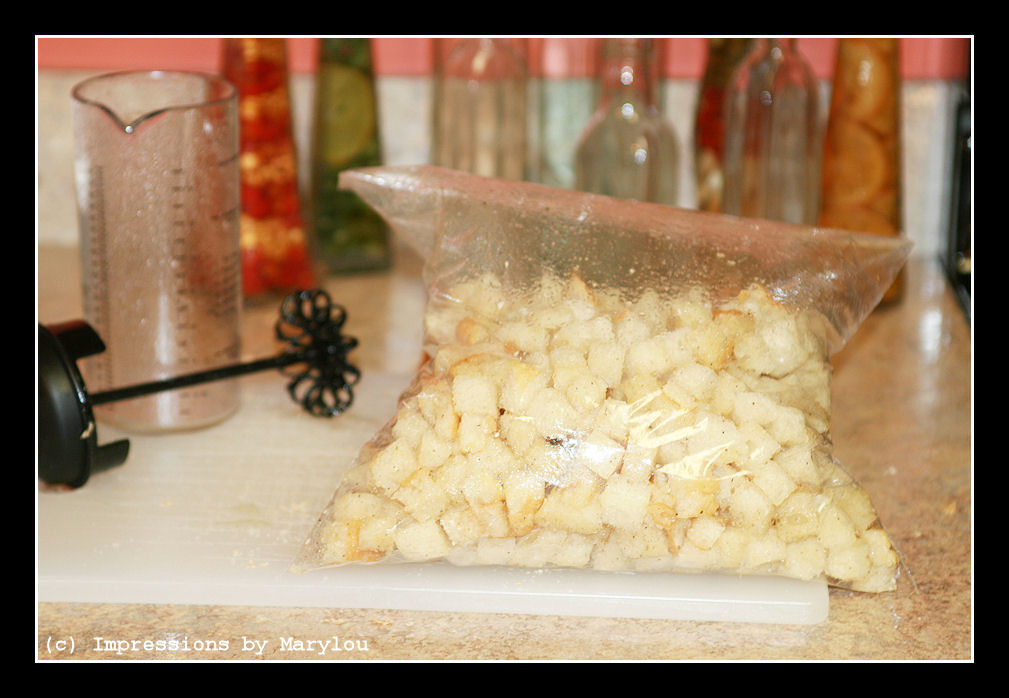
Throw some olive oil in a container (in this case the Mix and Pour) along with your choice of seasonings.
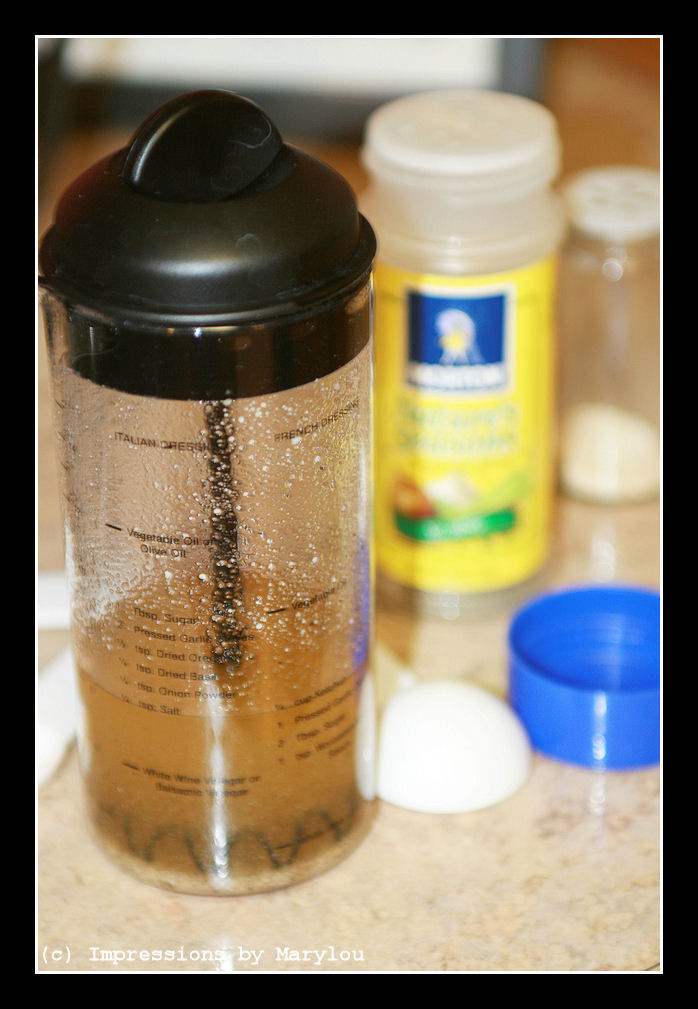
crouton 7


I like to use Natures Seasoning, garlic salt, regular salt and Parmesan cheese.

Put the bread cubes into a gallon zipped bag or a sealable container.
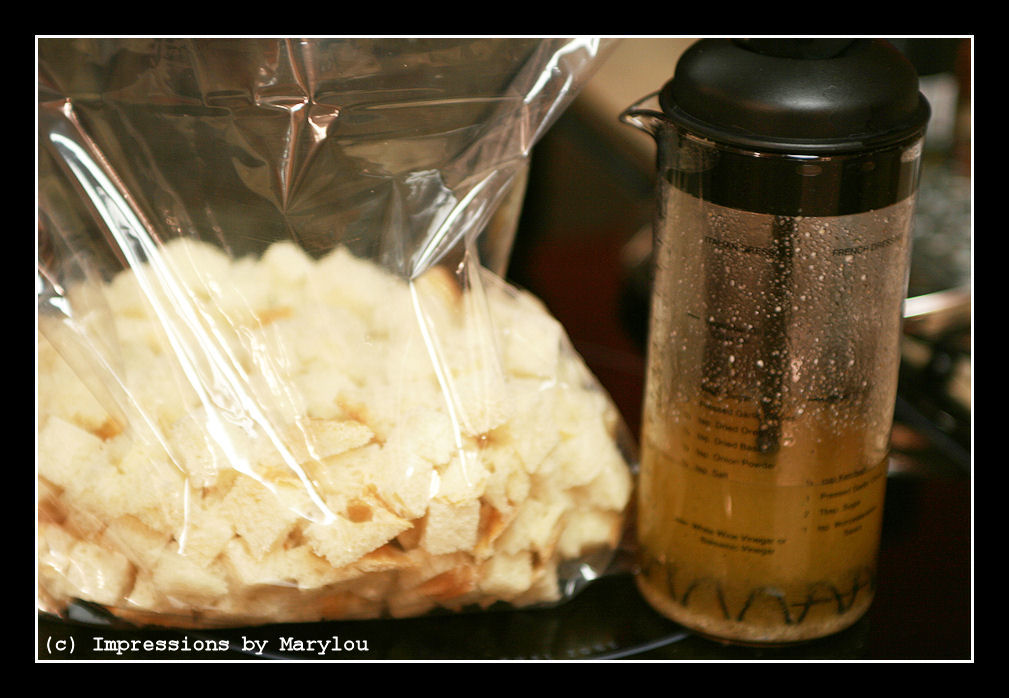
crouton 8

crouton 9


Pour the seasoned oil over it and toss to get everything as evenly coated as possible.

Lay them on a baking pan. This is one loaf of bread. If you do more than that, you probably should use another pan. They get crunchy quicker if they’re not piled too thick.
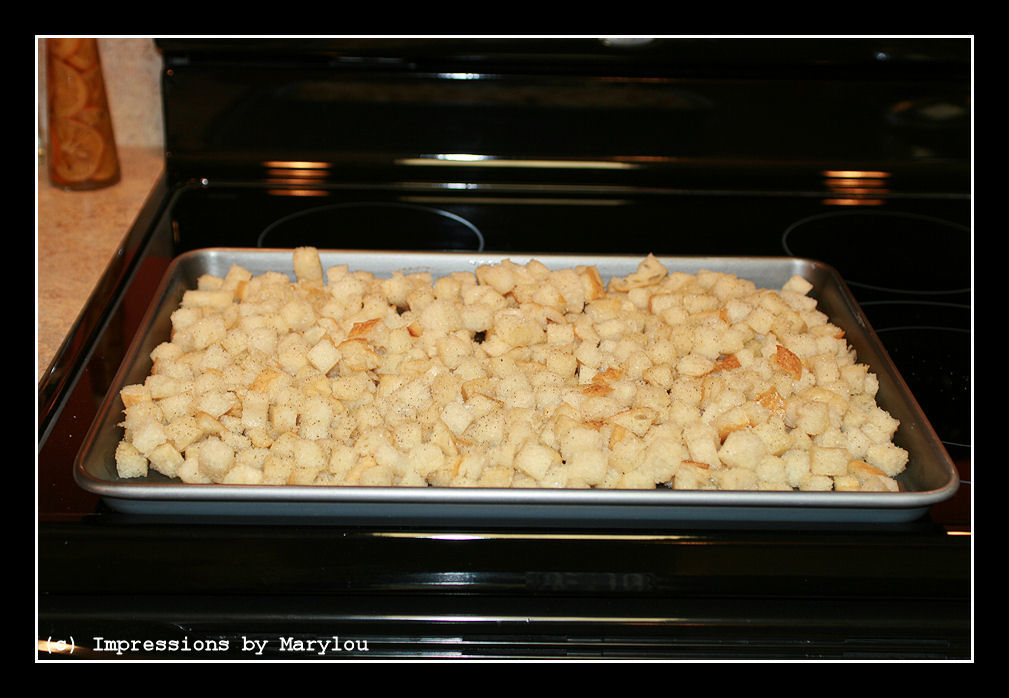
crouton 10


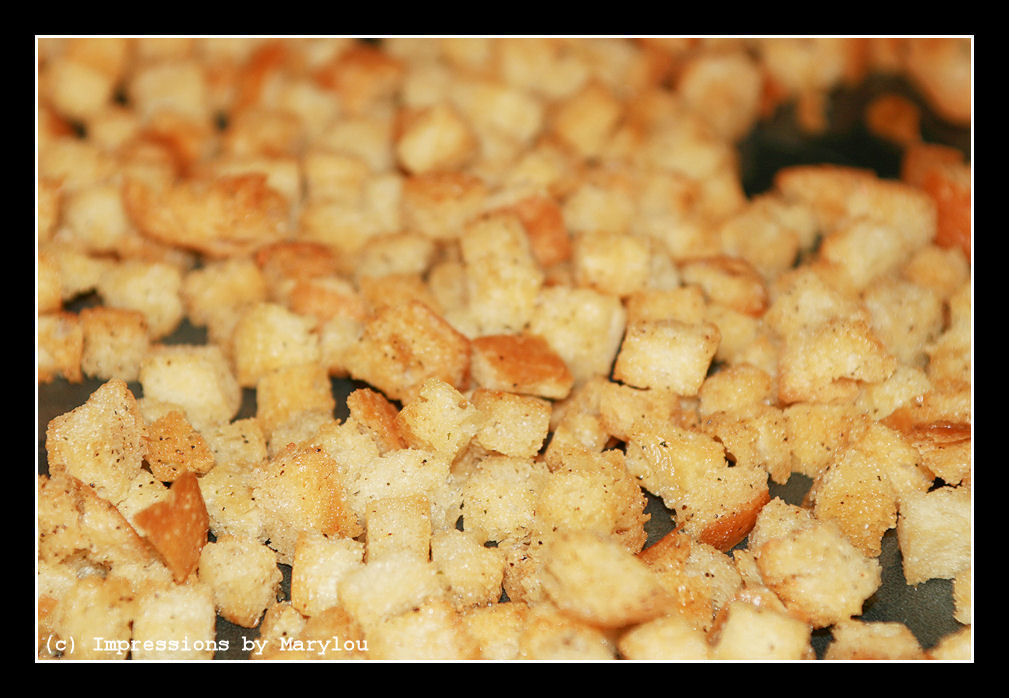
Bake at 350* and turn them every 10 minutes, checking them each time for crunchiness. You can still add seasonings if needed.
crouton 11


Once they’re golden brown and crunchy, they’re finished. I really cannot remember how long this takes. 30 minutes, maybe?? I do know that once they start turning brown they can get away from you quickly and then you end up with a brain-jarring crunch.

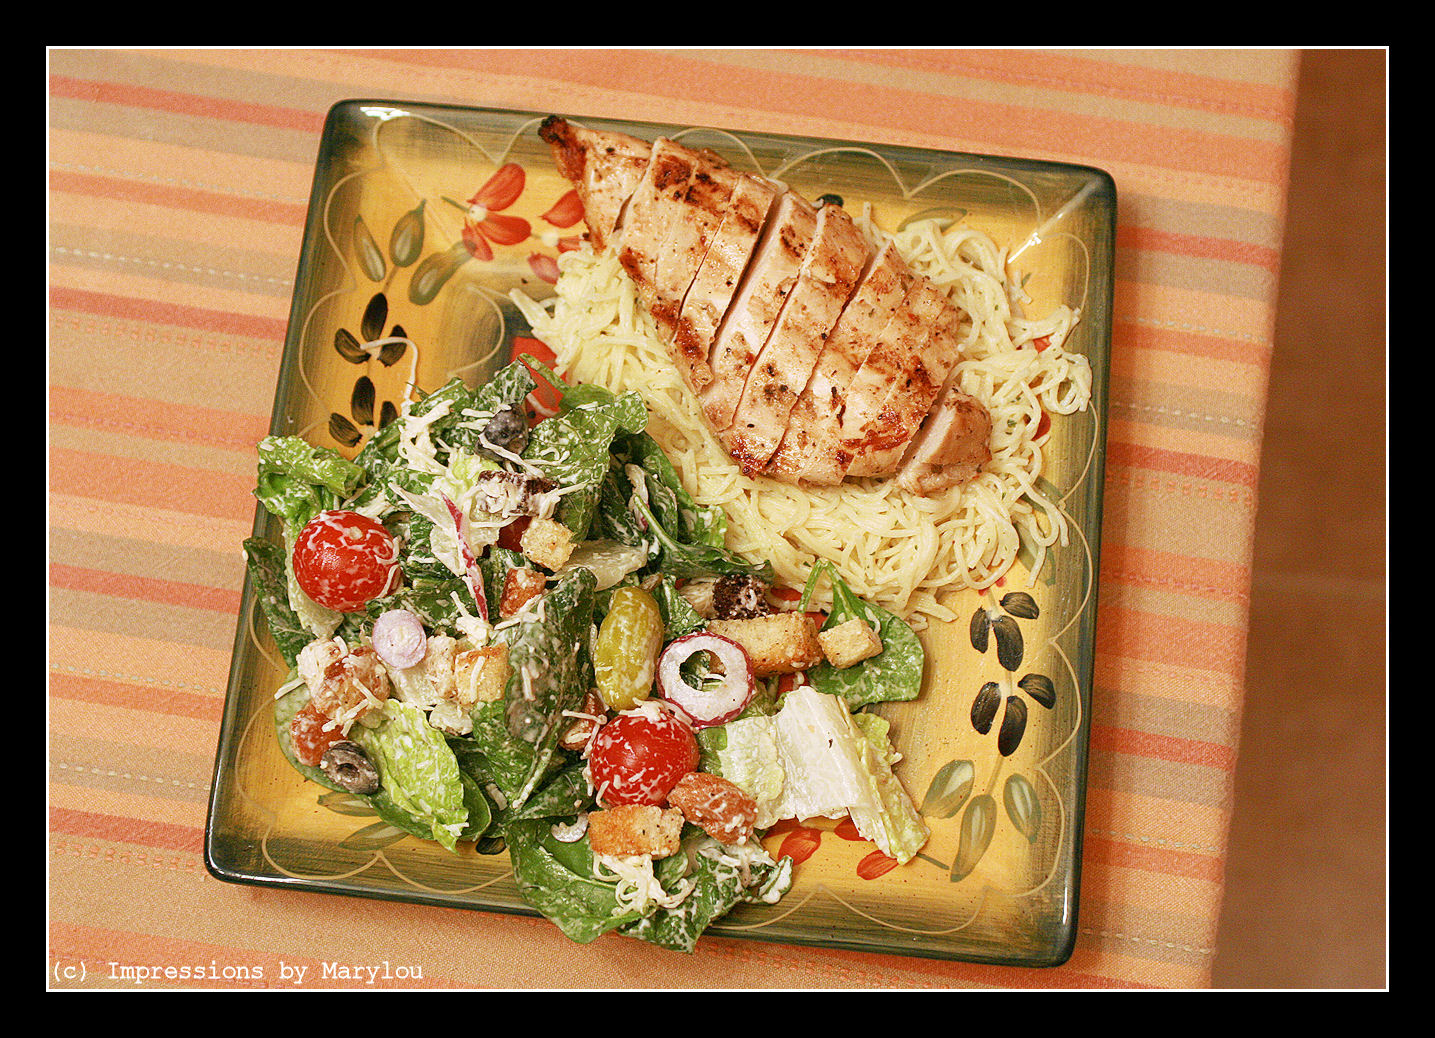
Did you want to see what I had on my plate ^ with my Caesar Salad?
ceasar salad 1


That’s angel hair pasta and alfredo sauce with grilled chicken. As I mentioned in a post in the far distant past, I occasionally buy chicken breasts on sale, marinate a bunch, grill it, slice it, freeze it by serving size and pull it out later. Very convenient, especially in small households like ours.


Soupy Weather – Chicken Enchilada Soup

Literally. Today it is dropping lightly from the sky. At a balmy 75*. Our seasons consist of summer, summer, summer and chili. When the first post-summer weather hits, post-summer weather being the first day that we have zero humidity and highs in the 60s, the tomato aisles in the grocery stores get wiped out. Tomato sauce is the local base of choice for Chili. And we’re talking Chili here, not Chili Soup. You know, the kind that makes you invest in small stocks like Tums.

While Chili is one of my favorites, Hearty Hamburger & Broccoli Cheese Soups & Cheesy Chicken Chowder are also among my favorites, I think I have a new favorite:

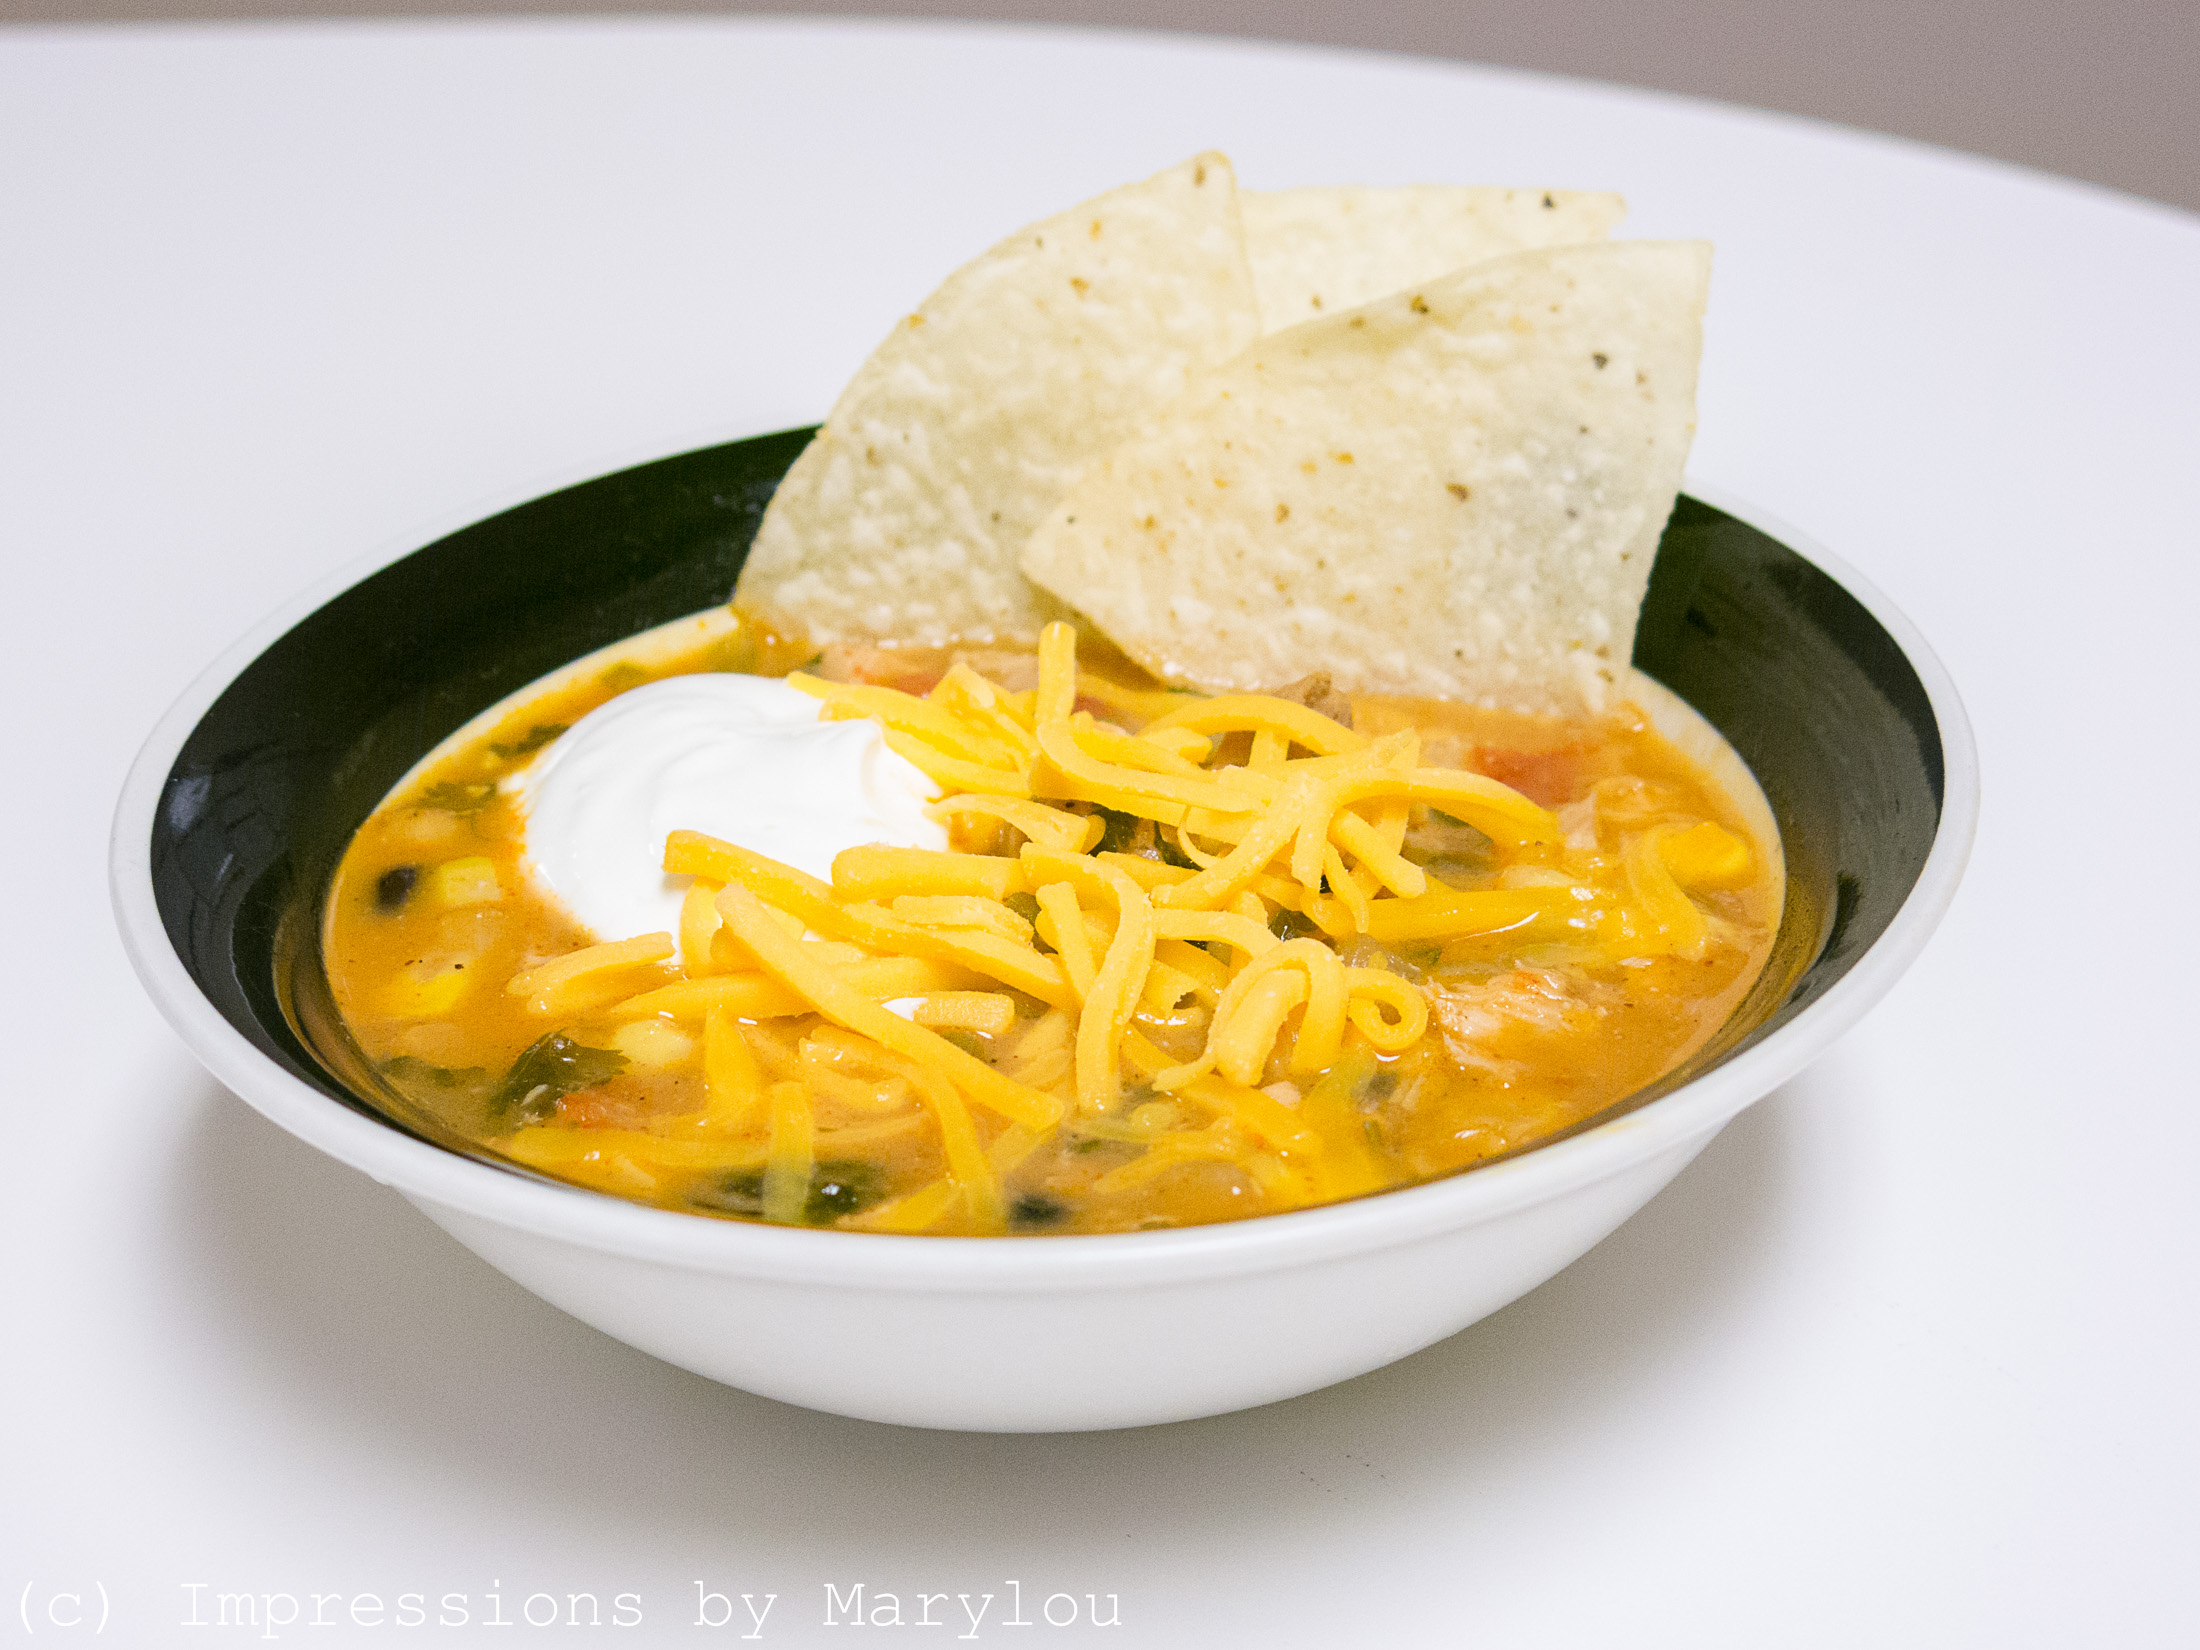
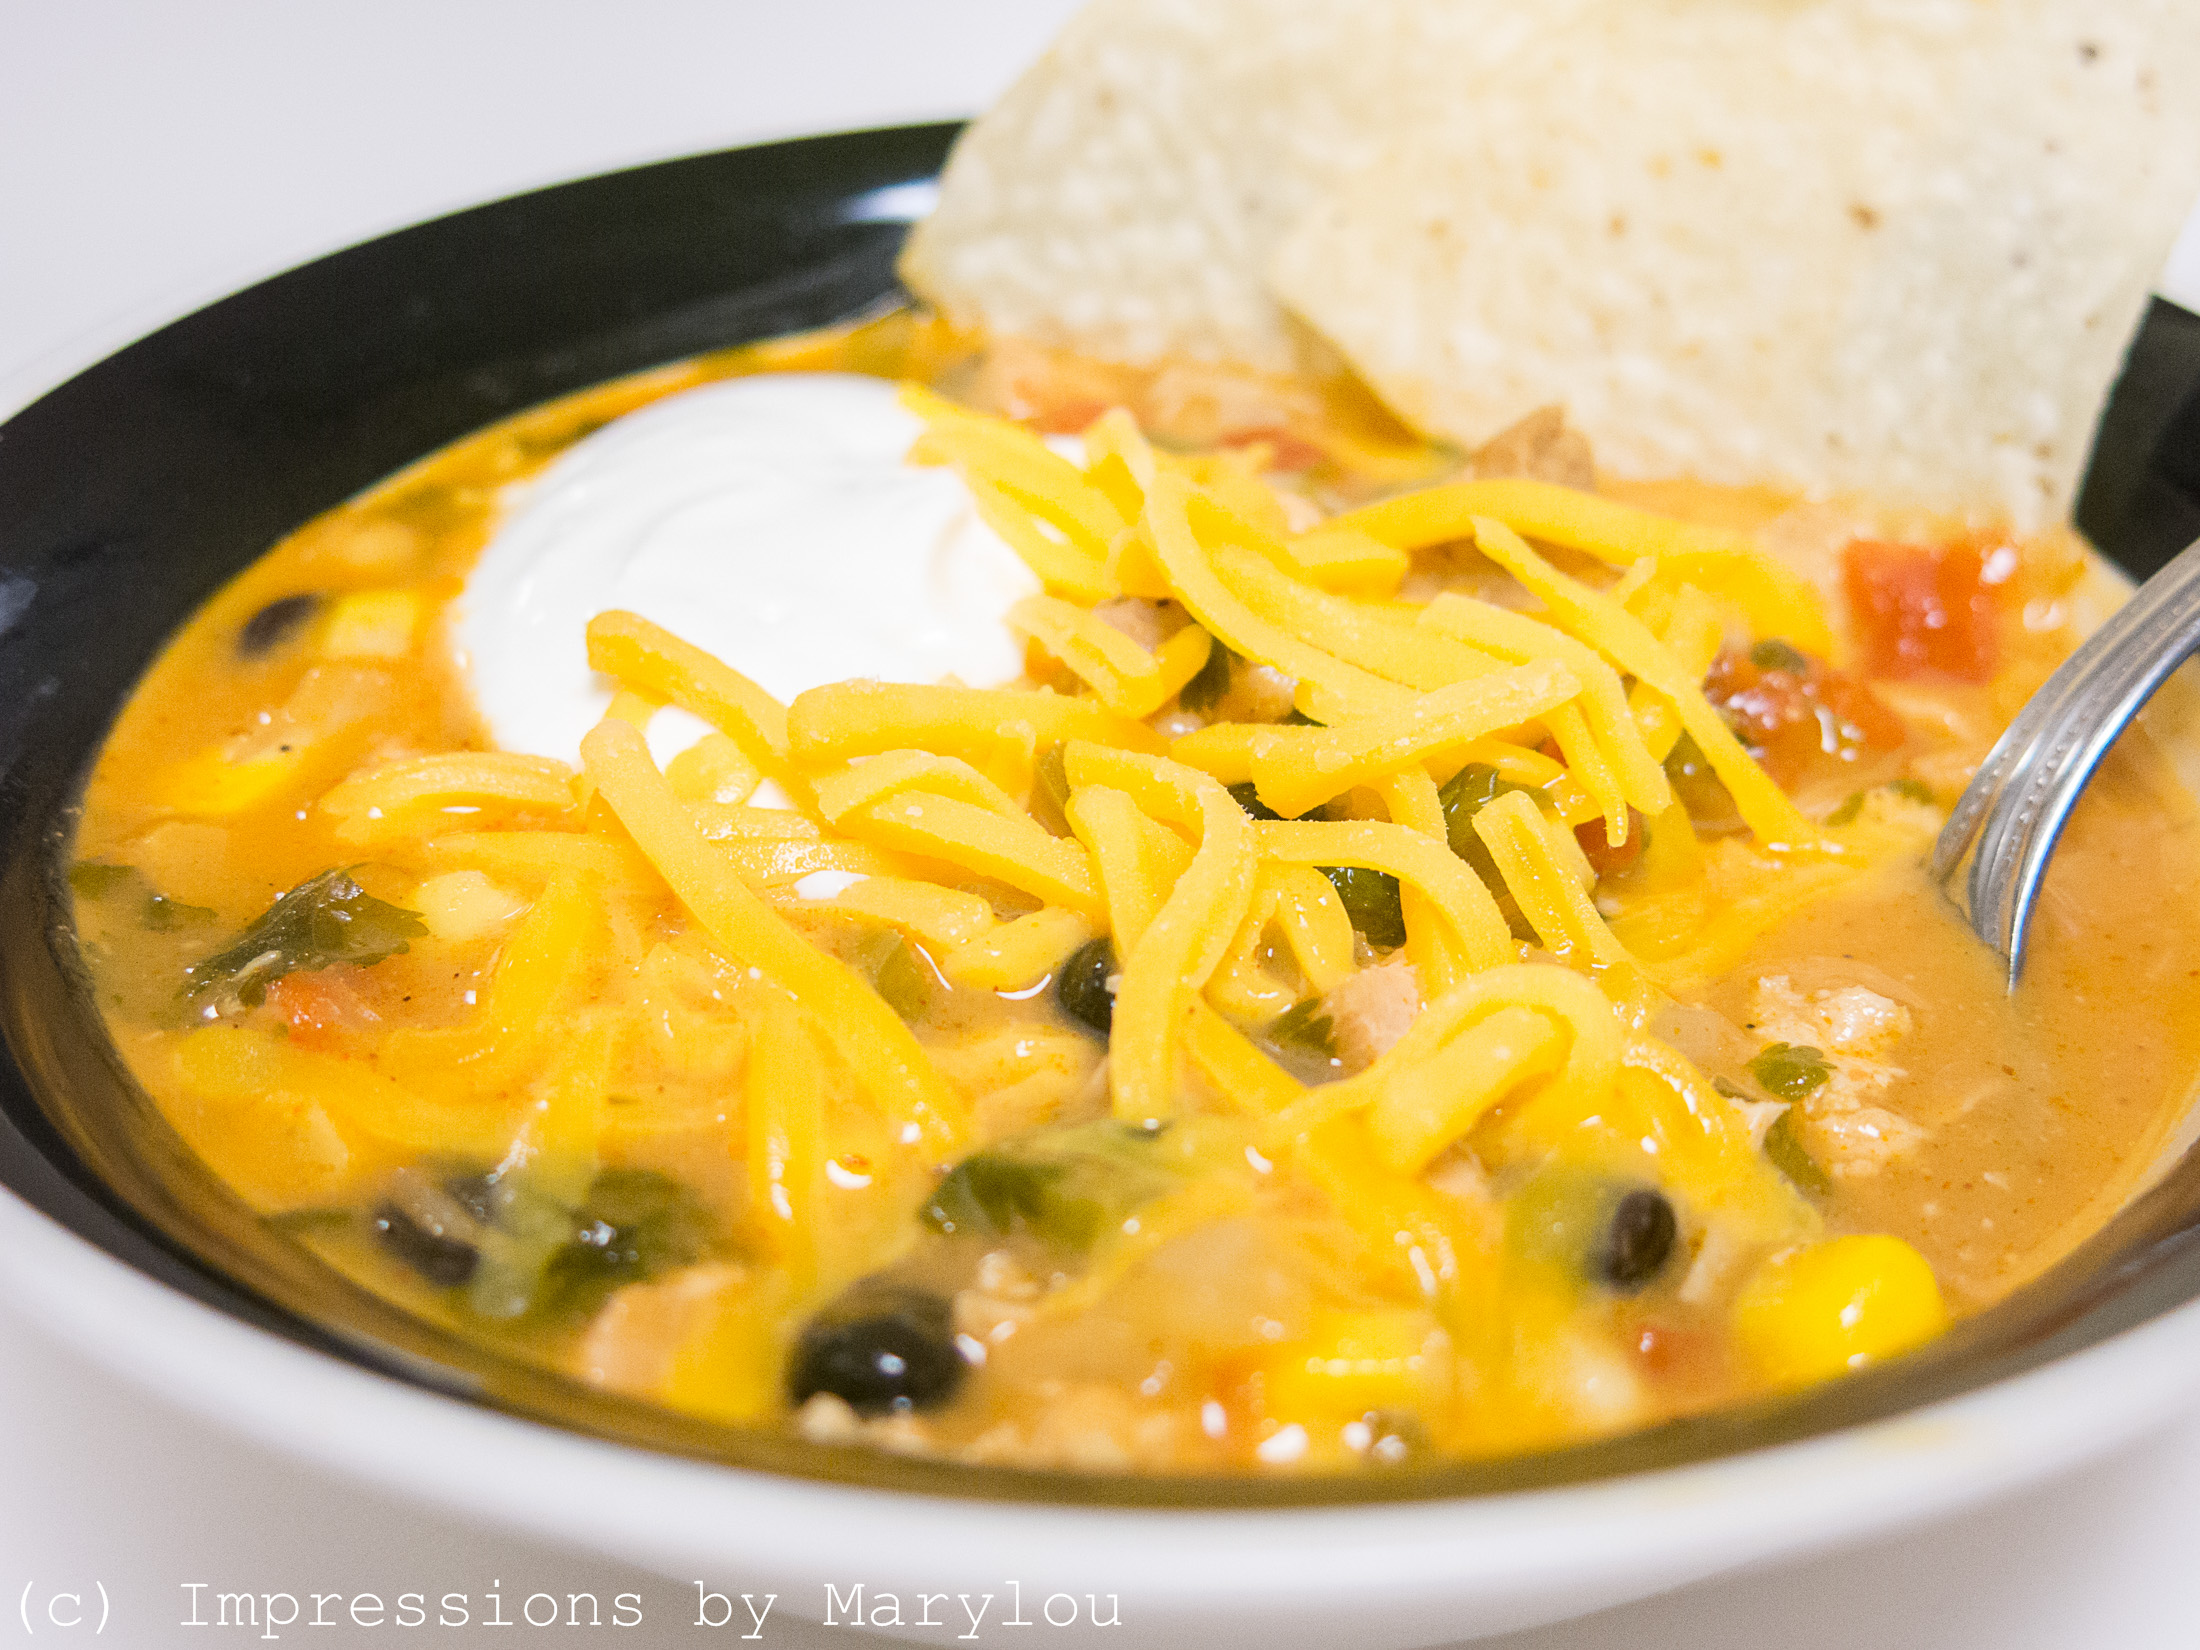
Chicken Enchilada Soup inspired by someone else’s recipe. adapted to what I had on hand.

chicken-enchilada-soup

 I opened so many cans for this that it almost wasn’t feeling like homemade soup anymore so feel free to replace items with your home-grown, home-canned products. You’ll feel better about it.

Without further non-sensical ado:

Chicken Enchilada Soup

1 can (15 oz) black beans, rinsed and drained
1 can (10 oz) rotel tomatoes
1 can (15 oz) whole kernel corn
1 medium onion, chopped
1 medium bell pepper, chopped
1 can (10 oz) enchilada sauce
1 can (10.75 oz) cream of chicken soup
1 cup water or chicken broth
1-2 cups cooked, diced chicken

Toppings:
shredded pepper jack or sharp cheddar cheese
sour cream
chopped fresh cilantro
fried tortilla strips or tortilla chips

In a medium saucepan, bring water and juice drained from corn to a boil. Cook onions and pepper until nearly soft. Add remaining soup ingredients. Heat and serve. If it is too thick, add milk to desired thinness. Serves 4-6.

chicken-enchilada-soup-2

* * * * * * * * * * * * * * * * * * * * * * * * * * * * * * * * * * * * * *

This is a little on the spicy side due to the Rotel tomatoes so you could replace them with diced tomatoes instead. And you could add jalapenos to taste. And the corn, I’m thinking home-frozen corn would be really good instead of the canned. And you could make your own enchilada sauce too. I have a recipe that I got from my friend Nettie years ago in the faraway land of NW Ontario.

So if you try it, let me know what if you liked it or not. And what substitutes you made, ’cause if your a non-conformist like me, you find it really hard to follow a recipe to a T.

And stay tuned. A give-away is coming up very soon…….


Cheese Biscuits and Regurgitated Photos

Last week as I was quickly working to finish up a supper my sister and I were making for a friend, I said, “where is your recipe for garlic cheese biscuits?” She brought it out but it needed Bisquick and I had none on hand. I said, “well, I have a Bisquick recipe but I don’t have time to make it.” Cooking after work in a limited time slot sort of cramps your cooking style, so I thought.

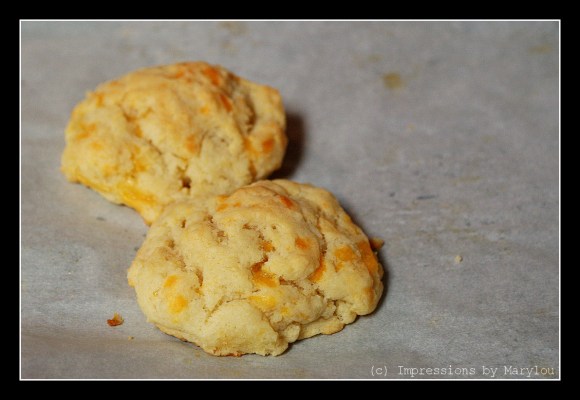
Well, I grabbed a cookbook that our friend Glori had given us from their church and quickly flipped through it. There it was … Cheesy Biscuits submitted by Susan R. And oh my! Looking at the ingredients I knew it had to be good. So I quickly throw them together, baked them and WOW! That’s all I’ve got say about that.

This is the Mother of All Cheese Biscuit Recipes although I wouldn’t recommend eating them very often.

2 c. flour
3 tsp. baking powder
1 tsp. salt
1 c. butter, melted
1 c. sour cream
1 c. shredded cheddar cheese

Mix together and drop onto greased baking sheet with spoon or cookie scoop. Bake for 15-20 minutes at 350. Makes apprx. 18.

Next time if I am not cooking for a pregnant woman who would not like the smell of garlic, I will add some in as well. And some parsley. Here’s why I like them so much.

1. They’re just plain long delicious.
2. They are just as good a day or two later, just warm them up a little.
3. They are really easy & quick to make.
4. Did I mention they are delicious??

I didn’t get a chance to get pictures while I was making them. They woulda been blurry anyway as I was dashing around the kitchen finishing my half of the meal.

Mother Biscuit.jpg


And regurgitated photos????? I mean, really!!! Just wanted something to do last week so I went through my files to see if I’m missing something so here are some you’ve seen before but with a different edit this time, and some you may not have seen yet at all.

C5

C1

C2

C3

C4

C13.jpg

C12.jpg

C11.jpg

C10.jpg

C9.jpg

C7.jpg

C6.jpg

I did go to Jekyll Island this past weekend so I have some new ones to add soon. Don’t hold your breath, though.


Cause There Ain’t No Cure – part 2

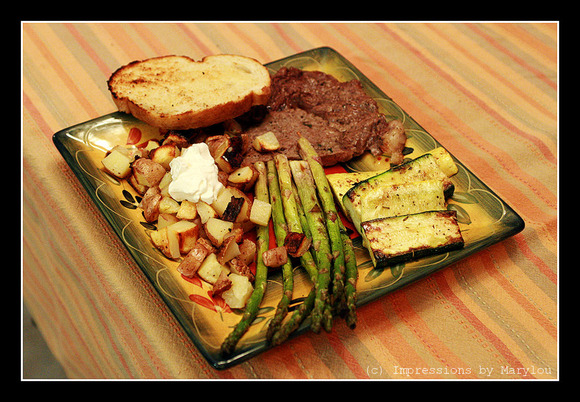
Remember this picture?

from this entry?

Same plate, same tablecloth, same cook, same season, different year, different menu.

And thanks for the suggestions for cracker recipes. You gave enough to have those crackers disappear in short order!!

Want a way of keeping the kitchen cool in the summer? How about making supper on the grill instead. I did that last night. We had a few veggies to use up so I decided to pull out a steak to go with it. A local grocery store runs specials on their ribeyes so we occasionally splurge.

steak supper 11.jpg

The only thing is, sometimes they aren’t all the special. Not bad tasting, just not as good as a ribeye should be. So we found a way that works for us. They were cut as 1″ steaks but I cut off the bone and the biggest chunks of fat and then pound them until their about 1/3 inch thick.

steak supper 12.jpg

This time I sprinkled both sides with Paula Deen’s House Seasoning (1 c. kosher salt, 1/4 c. fresh ground black pepper & 1/4 c. garlic powder).

steak supper 13.jpg

This seasoning is great and I’ve started using it alot. No need to buy Nature’s Seasons anymore.

Next, I cubed some new red pototoes in 1/2 inch cubes. On a double layer of aluminum foil (didn’t have the heavy duty stuff), I poured a little olive oil and House Seasoning.

steak supper 4.jpg

Added the potatoes and drizzled a little more olive oil and sprinkle some more house seasoning. Later I wished I had addes some chives or other fresh herbs.

steak supper 5.jpg

Bring sides together and crimp at top and on ends. I put this on the grill as I was getting the rest ready to go.

In a marinating container, I poured some more olive oil and House Seasoning. I dumped the asparagus spears in and tossed to mix.

steak supper 6.jpg

steak supper 7.jpg

We had some zuchini and yellow squash from Velma’s garden so I sliced them into 1/3 inch slices.

steak supper 8.jpg

Chopped some fresh basil

steak supper 9.jpg

added the squash and basil to the asparagus

steak supper 10.jpg

added some seasonings made to add to olive oil for a dipping sauce, and tossed it altogether.

steak supper 14.jpg

Spread the Italian bread with butter, salt & garlic powder. By this time (30 min. or so) the taters were done so pulled them off the grill

steak supper 1.jpg

and added the aspargus.

steak supper 15.jpg

The squash worked nicely on this thingie that was leftover from the fish supper. Makes it easy to turn them without them falling through the slats.

steak supper 3.jpg

steak supper 2.jpg

Veggies cooked for about 8-10 minutes. Steak on for 5 minutes (cooked medium). Bread on for 5 minutes.

steak supper 16.jpg

And voila! It’s ready to eat. And your kitchen is still cool and if it’s anything like mine, really messy.

Bon appetit!

This is probaby a meal geared toward adults. Sorry, haven’t figured out how to grill mac & cheese yet!!

Pickles & the 4th of July

What do they have in common? Not much other than they hit my calendar at the same time. We have just enough cucumbers coming out of the garden that I’ve managed to make 9 pints of dill pickles. I’m not much of a sweet pickle fan so I stick to plain dills spears. Here is a recipe I found on dill pickle search and adapted a little.

14 wide-mouth pint jars, lids & rings
fresh dill, heads & several inches of stems shaken free of bugs
cucumbers, washed, scrubbed
1 garlic clove (or more)

Brine:

8 1/2 c. water
2 1/4 c. white vinegar
1/2 c. pickling salt

Get All of this Going Before Filling the Jars.

1. Wash 7 quart jars in hot, soapy water (or dishwasher), rinse and fill with hot water; set aside.
2. Fill canning kettle half-full with hottest tap water; set on burner over high heat.
3. In a medium saucepan, bring water to a boil, drop in new lids, and let simmer.
4. In a large saucepan, bring water, vinegar and salt to boil; turn off the heat; set aside.
5. FILL JARS: place a layer of fresh dill and 1/4 tsp. dill seed at the bottom of each jar, along with minced garlic clove, then TIGHTLY load the cukes into the jar to the NECK of the jar (depending on size you may get two nice layers with a few small cukes in the top–)—squeeze cukes into the jar tightly–uniform size helps; add a little more dill seed at the top, too.
6. Once jars are loaded, pour in the brine leaving half-inch head space in each jar.
7. Add lid and ring to each jar, tightening evenly.
8. Place jars into canner with water JUST to the necks of the jars.
9. Bring water ALMOST to a boil (about 15 minutes–depending on how fast it heats up).
10. Remove jars, set on a dish towel on the kitchen counter, cover with another dish towel & let cool.

NOTES: When washing/scrubbing cukes, sort them into piles by size. This really helps make your jars look nicer, if you have uniform sizes, and makes for easier packing, too.

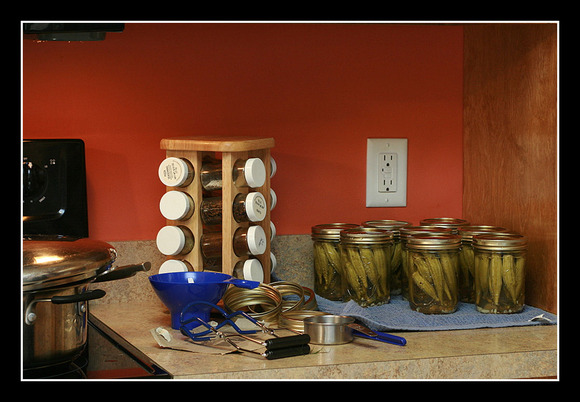
But, it so happens that I like pickled okra even better than pickled cukes. So, I picked up some okra up at the local produce store. Since I didn’t want to be too picky and pick out all the little okra, I cut up the larger ones and froze them to be added to soups this winter.

Pickled Okra 1.jpg

The smaller they are, the better they are. Once they get too big, the get tough. Also, if processed too long in the canning process, they get mushy.

Pickled Okra 2.jpg

Number 1 is too long and thick, Number 2 is small enough to fit into a pint but thick enough that it would be tough pickled. Number 3 is good but almost too long for a pint. Number 4 is perfect. Please excuse the pale hand. It’s the flash. And excuse the nails. I have trimmed them (a little) since then.

Then the rest of the ingredients. Next year I want to grow more dill.

Pickled Okra 3.jpg

After washing the okra (or washing and slicing the cucumbers) put them in icy water until you’re ready to put them into jars. This is supposed to help them be a little crispier. Notice I said supposed to. I didn’t actually test it to see if I could tell a difference. And I wouldn’t want to open 2 jars at one time just to see if it worked.

Pickled Okra 7.jpg

I used a whole clove of garlic, and since they weren’t sized the same, pulled out the handy chopper thingy

Pickled Okra 4.jpg

and minced away.

Pickled Okra 5.jpg

Place fresh dill in the jar, along with 1/4 tsp. dill seed.

Pickled Okra 6.jpg

Fill the jars with okra (or cukes), stuffing them as tightly as possible.

Pickled Okra 8.jpg

Pour the brine over okra, filling it to the neck of the jar.

Pickled Okra 9.jpg

Remove the lids from the boiling water and close the ring tightly. The water in the cooker should come to the neck of the jars. I had it pretty hot but didn’t want to put warm jars into a boiling pot so I think it took about 15-20 minutes for the water in the kettle to come up to boiling.

Pickled Okra 10.jpg

Remove them and place them on a towel then cover with a towel. Be careful not to hit them against other jars.

Pickled Okra 11.jpg

So, the moral of the story is that if Marylou can do it, you can do it!!!

And the morning and the evening were the the 3rd day of July. And behold, Marylou was very tired and left her kitchen in half an uproar and went to bed.

The next day being July 4th, she arose not very early and did proceed to put fertilizer down on the grass, a grueling task under the baking 90+ sun. Around boiling peanuts and doing laundry she henceforth applied 3 bags of fertilizer, wisely choosing 3 and 4 for the level of distribution, hoping to not have a repeat of the results of the spring’s application: zebra stripes if there was ever a two-toned green zebra.

And then she proceeded to bake a cake for the evening cookout, and did iron even a half and one hours for a friend. She took herself, the cake, some ice cream, the boiled peanuts and a marinated steak over to Jeffs for the evening. And she proceeded to yawn which caused great turmoil with the other ladies, ’til they were nearly to all fall asleep (not).

She was delighted to be able to try out her digital camera on the fireworks display that were displayed in a nearby town.

fireworks 039b.jpg

fireworks 032b.jpg

fireworks 024.jpg

fireworks 042b.jpg

And the evening and the morning were the 4th day of July, and a grateful, tired Marylou dragged herself to bed, thankful for freedom that Christ brings & the joy of being with friends and family.

Amen.