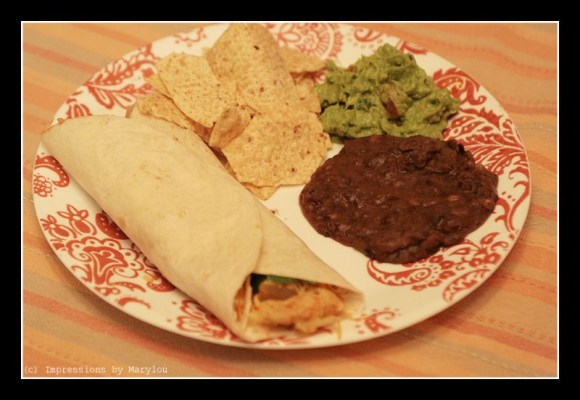
Chicken Fajitas

I used to cook a lot of Tex-Mex meals. Anything with sour cream and cheese. Maybe it was a reaction to my time in VS when we only had those items when they were on sale, and then only sparingly. Maybe it was because we had a great cook there who grew up in Mexico and shared her delicious enchilada sauce recipe with us.

Maybe I just plain long liked this type of food. I certainly did not grow up eating this kind of food, although we always ate well. I’d say it was more the down-home country cooking.

Anyway, I’ve been on a Italian kick for the last year or three and the other day I felt inspired to make fajitas. I had everything on hand and I was amazed again at how little time it takes to make a meal like this.

Slice the chicken breasts into small pieces. I should’ve cut these finer because after it was cooked I had to do that. This is 2 boneless, skinless chicken breasts. It is in one of those homely melmac bowls that we have on hand because it doesn’t matter if it gets broken when kids use it. Matter of fact, they probably can’t break it. Plus it is easier for them to scoop food up, since it has a nice bowl shape. But this is supposed to be about fajitas, not homely melmac bowls.

Fajitas 001 b

I minced 2 cloves of garlic, sprinkled kosher salt, seasoned salt, chili powder & lime powder. My sister got some lime powder in Thailand. It tastes just like the lime in the koolaid packs. It is handy to use instead of lime juice.

While meat is marinating, slice a pepper and onion

Fajitas 003 b

into bite-sized pieces.

Fajitas 005 b

This is also a great way to stretch your meat.

Wash and chop some fresh cilantro.

Fajitas 008 b

Get the peppers and onions cooking in a skillet over medium heat. Since the veggies haven’t been marinating, sprinkle them with salt, seasoned salt and chili powder. I only used about 1 T. olive oil. The veggies will draw their own juice.

Fajitas 011 b

When they were about 1/2 finished cooking, I added 1/2 a nice ripe tomato that I had, chopping it into 1/2 inch chunks.

Fajitas 013 b

The tomatoes will kind of disintegrate into mush but I loved the extra flavor they added.

Fajitas 015 b

After they’ve cooked for another 5 minutes or so, remove the veggies and place in a bowl to keep warm.

Throw the chicken in the skillet and cook just ’til meat is white all the way thru. Overcooking white meat is the best way to ruin it!

Fajitas 018 b

Toss with the veggies and start to build your fajita.

I like to spread sour cream right on the tortilla. And speaking of tortillas, everytime I have homemade ones, I declare I will never buy them again. But, I must admit it is much more convenient to just buy them. And I buy them most of the time.

Spread a small amount of fajita mixture on tortilla. And PLEASE do not over fill them! It just makes no sense to eat them with a fork. They are supposed to be eaten out of the hand!!

Fajitas 021 b

Sprinkle some fresh cilantro over it and seal it up. I didn’t have any fresh or canned salsa to add to this but quite honestly, I didn’t think it needed it. I personally do not care for bought salsa. There is one brand (Herdez) that I buy the Salsa Casera and add cilantro to that I like pretty good. And deep in the recesses of my xanga archives is a recipe I use to make “restaurant salsa.” That is what I most often make.

Fajitas 023 b

I made some guacamole, using the verbal recipe that Linda gave me, as best as I could remember. And it was good. I usually used mayo in the gaucamole and just did not like how it tasted. But for some reason I thought that’s how it was supposed to be.

And I had some leftover beans I pulled out of the freezer. Linda, these were some you cooked for me for the rice and beans meal for CB.

Fajitas 027 b

There you have it. Simple and easy. It really needed rice to go with it, but we are out of rice right now.

Happy cooking!
Quick Pizza

Need a quick meal idea? Who doesn’t? Have leftover French bread hanging around your house that needs to be used up? Here is a quick meal (that you may already know of).

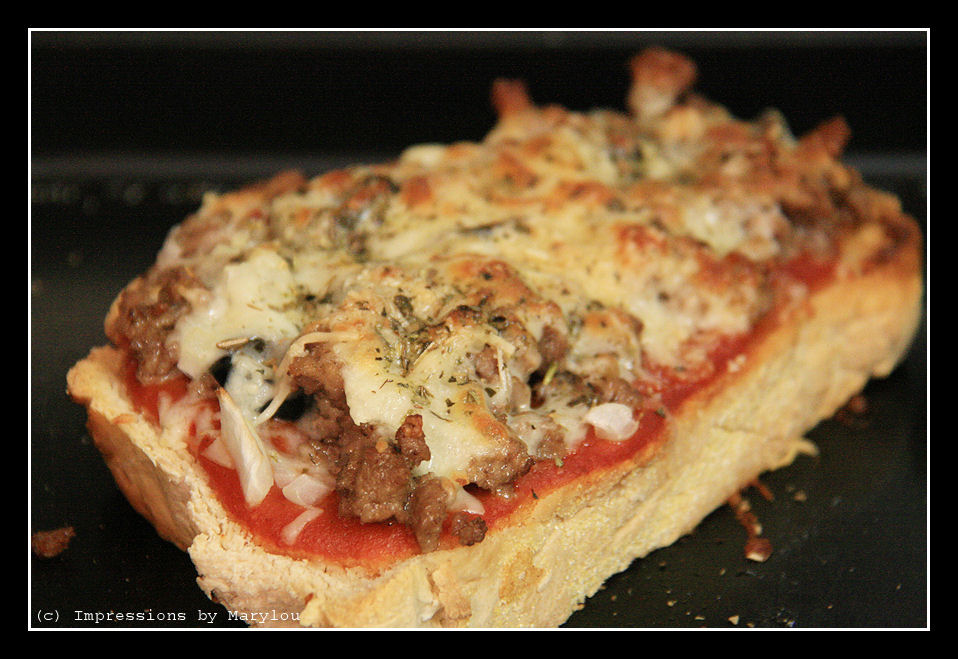
Take French bread (this was homemade and I had sliced it thinner than normal ’cause I was gonna use it for sandwiches), spread some butter or olive oil on it, sprinkle garlic salt on and broil for a bit until just starting to turn brown. Spread pizza sauce over the toast and then add whatever toppings you want. I used hamburger, onions and black olives.

quick pizza 1

Bake for about 5 minutes. My little toaster oven has a convection option which is what I used. You may need a little longer in a regular oven. Add your choice of cheese on top and sprinkle on a little pizza seasoning and stick it back in the oven for another 5 minutes or so.

quick pizza 2

I think I turned the convection broil on for a little bit.

quick pizza 3

There you have it. A quick, yummy little pizza sandwich thingie.


Back to Cooking

Seriously, I can’t quite remember the last time I cooked a full meal (except for dessert). I think it was close to a month ago. And I know you moms are freaking out about that. But not to worry, the grass isn’t usually greener on the others side and all that.  When you have two singles living in the house who work full time, and then the schedule had my sister out of town one weekend and then both of us another weekend, and another weekend we were involved with workings of a funeral, we just didn’t get too much cooking done.

I know I’ve had lots of sandwiches the last while and simple things like cracker soup. Does anyone besides my family know what that is?

Tonight there was thawed sirloin steaks so I decided to make a real meal for a change. We don’t often buy steak and roasts but my parents had 2 steers butchered this summer and we were able to get meat for a very good price. But since I don’t cook sirloins very often and just enough to know they can be chewy, I googled some recipe suggestions and a simmered version sounded good. The only thing was, it called for meat, onions, canned mushrooms and water. No seasonings mentioned but that’s not a problem. I thought some greens would be a nice addition so I bought a bag of turnip greens washed, chopped and ready to cook. Cheater.

Steak supper 2.jpg

I also bought boneless ham hock to add to it for flavoring.

Steak supper 1.jpg

Here it is before I started cooking it.

Steak supper 3.jpg

Meanwhile I trimmed the fat off the sirloin and started pan frying it in a little olive oil. I sprinkled them liberally with season salt and Morton’s seasoning blend, Nature’s Seasoning.

Steak supper 4.jpg

After I flipped them, I threw in sliced onion. We love onion so the more the deliciouser.

Steak supper 5.jpg

Added more Nature’s Seasoning and then added 3 or so cups of water and about 1/2 red cooking wine. [Edited to add: that’s supposed to be 1/2 c. red cooking wine, lest anyone is sure that my problem below was from the bottle.  ]

Steak supper 6.jpg

I covered this and let it simmer for about 45 minutes.

Meanwhile, on the other side of the stove the greens had greatly shrunk, as they are wont to do.

Steak supper 9.jpg

We interrupt this cooking post to bring you a commercial.

   –   –   –   –   –   –   –   –   –   –   –   –   –   –   –   –   –   –   –   –   –   –   –   –   –   –   –   –   –   –   –   –   –   –   –

MASON

Steak supper 7.jpg

The jar that preserves your sanity by preserving your preserves.
(I would never make it very far in marketing.)

   –   –   –   –   –   –   –   –   –   –   –   –   –   –   –   –   –   –   –   –   –   –   –   –   –   –   –   –   –   –   –   –   –   –   –

These jars got filled too full with applesauce last fall and instead of the jars cracking, the tops just popped off, rings and all. The lid was so bowed it hardly stayed in the ring. I’m assuming, though, that the applesauce was slow enough in freezing that it didn’t give the jars any concern.

Meanwhile, back on the stove, I added the mushrooms to the steak and onions to simmer a while. We like mushrooms as much as we like onions. Come to think of it, I don’t think I’ve typed “garlic” for a very long time on this site. Probably months. Not that we haven’t used any. I think I’ve canned over 50 pints of dill pickles and pickled okra this year. I am finished for this year. I gave some of the okra away as birthday gifts. So glad my friends don’t think I’m strange.

Anyway, about the mushrooms, we don’t buy the fresh ones very often but it is nice to use them while they are still very fresh and white.

Steak supper 8.jpg

I kind of only like the small white ones the best. Looking at portabellas kind of gives me the heebie jeebies, whatever they are.

steak supper 10.jpg

After simmering for about 15 minutes without the lid, there was nice rich au jus so I dipped the meat and veggies out and started making a little gravy. It was lumpier than wanted it so I poured it into a jar to blenderize it and just as I was lifting the heavy iron skillet over the jar, I bumped it and it went crashing to the floor.

No, I’m serious. I bet you didn’t see that coming!! I didn’t either, neither did my skirt or shirt, or kitchen cabinets for that matter.
Steak supper 11.jpg

Talk about a perfect mess!!! Sticky and there went my delicious au jus!

After I cleaned it up I had to make a roux with flour and oil and then added cream and milk. I didn’t even have beef broth or bouillon to add to it.

And mostly all’s well that ends well. It was good, just had a different flavor than I was hoping and my floor had some extras cleaned up from it.

Steak supper 12.jpg

And it still needed more salt. Mercy how one can add salt to things. And we’re not even salt freaks. We probably make it less salty than a lot of people.

steak supper 13.jpg

Imagine a glass of freshly brewed iced tea to go with it.

Amen.

of Weather and Raspberries

We have been having just the most beautiful weather these past few days. I would use about 10 exclamation points but that might be redundant.  We had low humidity and cooler temps. The highs for at least 4 days was in the 80s. Combine that with a reduction of humidity and it was wondermous! We had guests for a cookout Saturday evening and we even lit a campfire and the kids roasted marshmallows. Thank you, God, for a delightful gift. May it come again next week when we have VBS.

And what’s more amazing is that the northeastern states are having hotter weather than we are. Right now it’s 84° and feels like 90°. Meanwhile, in Mystic, CT, it’s 94° and feels like 101°. Once in a while life is fair.

In honor of all 12 raspberries

raspberries.jpg

that I have harvested from my newly transplanted-from-SC vine,

raspberries 2.jpg

I shall share 2 recipes with you.

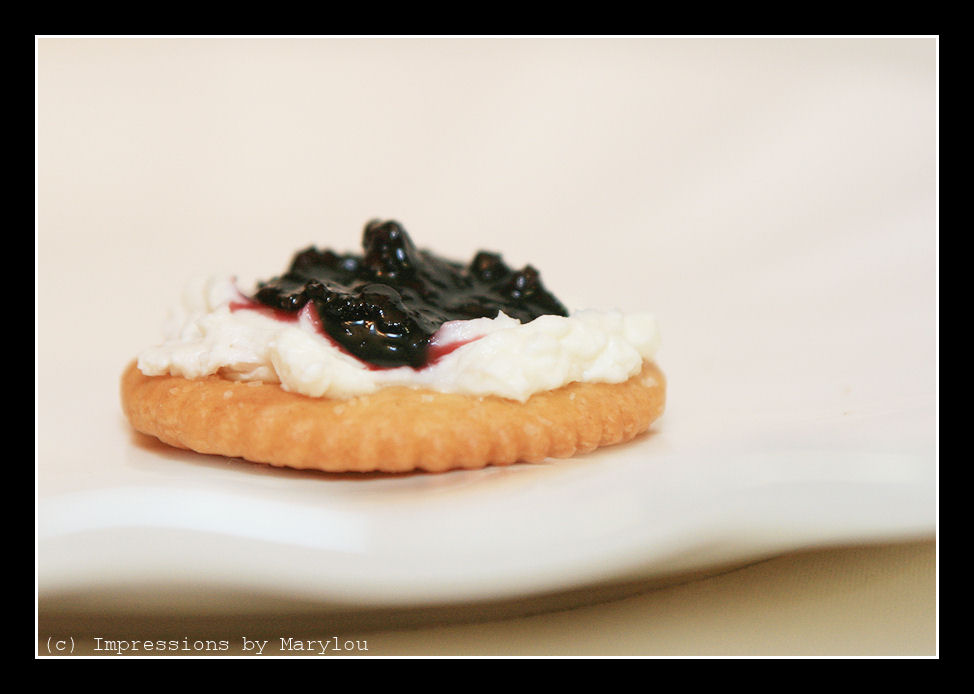
As I blogged about, many moons ago, I love the Hot Pepper Raspberry Preserves that does get expensive to buy. Last year I managed to get some black raspberries from our friend Beat K’s mom when we were in PA for a weekend. I googled until I found 2 recipes to try. And oooh la la! It changes the face of cream cheese and crackers forever.

raspberries 4.jpg

Here are the 2 recipes that I used and it bums me out that I didn’t make any notes. The bell pepper flavor was slightly stronger than I prefer so I would tweak that a little. Also, next time I make some, I will strain the seeds out of both. I do not enjoy getting them stuck in my teeth.

Raspberry Jalapeno Jelly

1/2 c. chopped green bell pepper
1 c. frozen or fresh raspberries
1/4 c. jalapeno peppers, chopped
3 c. sugar
3/4 c. cider vinegar
3 oz. pectin

Remove seeds from the jalapenos, unless you want fairly hot jelly.

Place the raspberries, green pepper, jalapeno pepper, sugar and vinegar in a large saucepan. Bring to a boil and cook for 1 minute. Remove from heat. Cool for 5 minutes. Stir in pectin. Strain mixture through a fine strainer to remove pieces of pepper and seeds. Pour strained liquid into hot jars. Cover with new lids that have been boiling tightly and store in a cool place for up to 6 months (if it lasts that long). Yield is about 2 cups.


Raspberry Pepper Jam

5 c. fresh raspberries
2 jalapeno peppers
1 bell pepper
4 c. sugar
1/2 c. apple cider vinegar
1 package powdered pectin

Wash raspberries and place 1 cup in the bottom of a large sauce pan. Crush them and then add the remaining berries. In a food processor, chop the jalapenos and bell pepper. Add the chopped peppers to the sauce pan along with the sugar and vinegar. Cook the mixture over medium heat, stirring often. Simmer for 15 minutes until all the berries are broken apart. This concentrates the berry flavor and boils off some of the liquid content. At this point, stir in the powered pectin. Bring to a rolling boil and boil for 1 to 2 minutes. Ladle into hot 1/2 pint jars and process in a boiling water canner for 10 minutes. Makes about 5 half pint jars.

This second recipe is not nearly as spicy and next time I think I will double the jalapenos.

Some notes: be careful when handling the jalapeno peppers. The fumes can kind of burn your lungs and the oils can be painful to your skin and eyes if it comes in contact with them. I usually use gloves if I’m handling more than a couple of jalapenos. I’ve had some painful hands because I didn’t do that.

Also, the first recipe does not tell you to process in water after you close the jars. I can’t remember if I did or not. It probably wouldn’t hurt to do that.

We like it best with cream cheese and crackers but I think it would be good on some kind of meat as well.

raspberries 3.jpg

Salad by Caesar


More likely named after Caesar Cardini than by Julius Caesar, so say online sources. Google it if you want.

Anyway, I’ve been on a Caesar salad kick recently and I couldn’t always find a dressing that I really liked. I’m the creamy Caesar dressing fan so I did a google search for recipes and found one that I love. I’ll share it with you if you send me a $20 bill with the request “Send me the Caesar Salad Dressing recipe, please” written on it in small letters.

Just kidding.

You know this is a No Purchase Necessary site. So here it is:

Creamy Caesar Dressing

2 garlic cloves
1 c. mayo (hellmans)
1/4 c. half & half
1/3 c. grated parmesan cheese
2 T. lemon juice
1 T. dijon mustard
salt & fresh ground pepper
2 tsp. Worcestershire
anchovy paste, if desired
more half & half for thinning if needed

Process in blender or food processor. Refrigerate 3 hours before using.

I really did use Hellmans since I was able to get it at CVS for $1.25 a quart after a B1G1 and coupon deal. Not bad considering their original price was $6 a quart. Honestly, WHO pays $6 a quart for Hellmans????

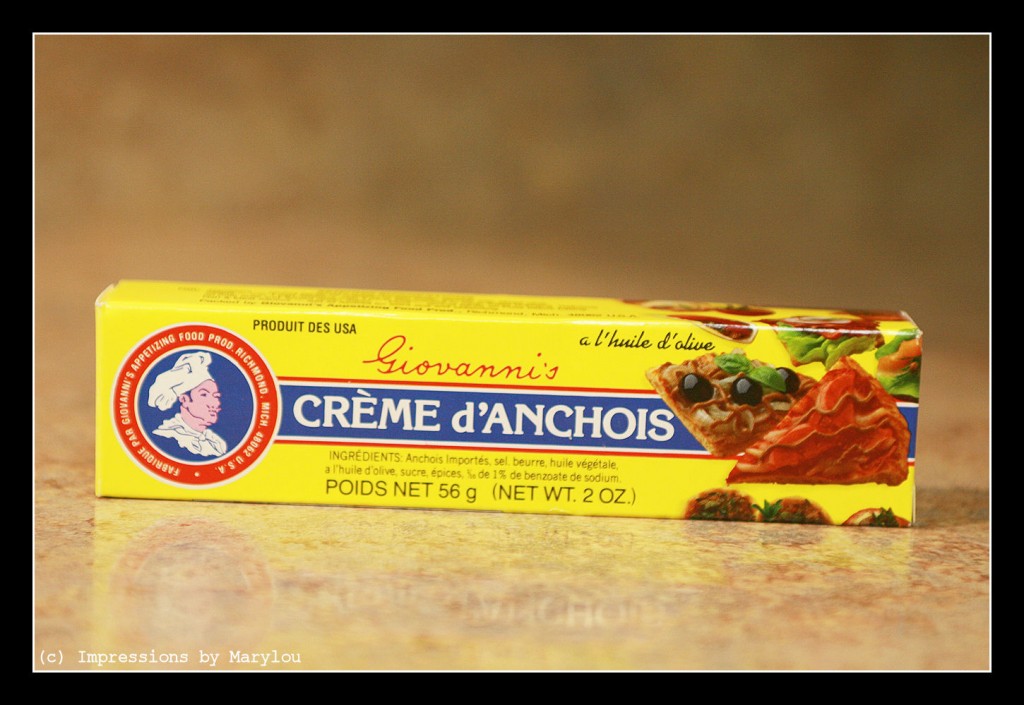
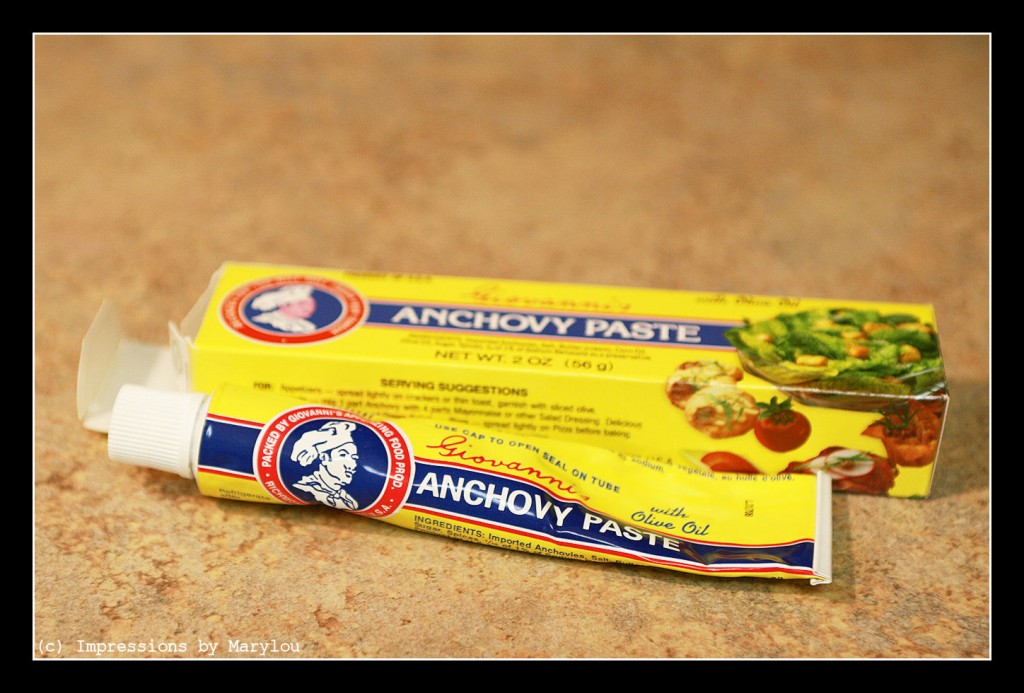
The first time I made it I made it without the anchovy paste since I couldn’t find it locally in our “huge” selection of grocery stores (Wally W and Harveys) and I was not about to mash up anchovy filets as the recipe suggested for a replacement.

I did finally find the paste at Kroger.

ceasar salad 4

If you can read that you did much better than me. Unfortunately I’m the epitome of the American unilingual (unless you count the 50% Pennsylvania Dutch that I attempt to speak). I wanted to say unilingualist because that sounded more grammatically correct by the dictionaries did not like it.

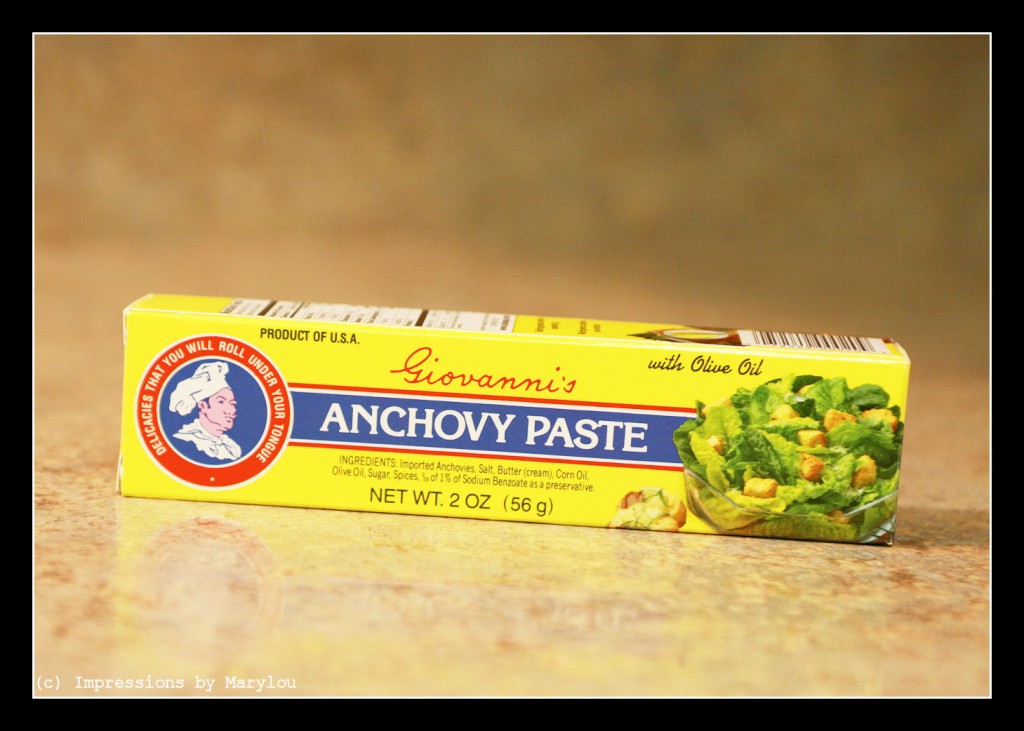
ceasar salad 5

There’s the translation for you other unilingualists.

ceasar salad 6

It comes in a tube and I think I used a rounded teaspoon or so. Try not to think about it being pulverized little fishies in olive oil and seasonings. It’s probably high in Vitamins D and Q and Omega 3s. Or something.

I also used milk instead of half and half since I didn’t have said half and half in the fridge at the time. Actually, we almost never have half and half in our fridge. We have 2% milk because it’s a compromise between whole milk and tinted water (skim milk, which I refuse to drink).

I also didn’t process it in the blender. Wonder what difference that would make in its consistency. I use the nifty dressing maker that Pampered Chef sells.

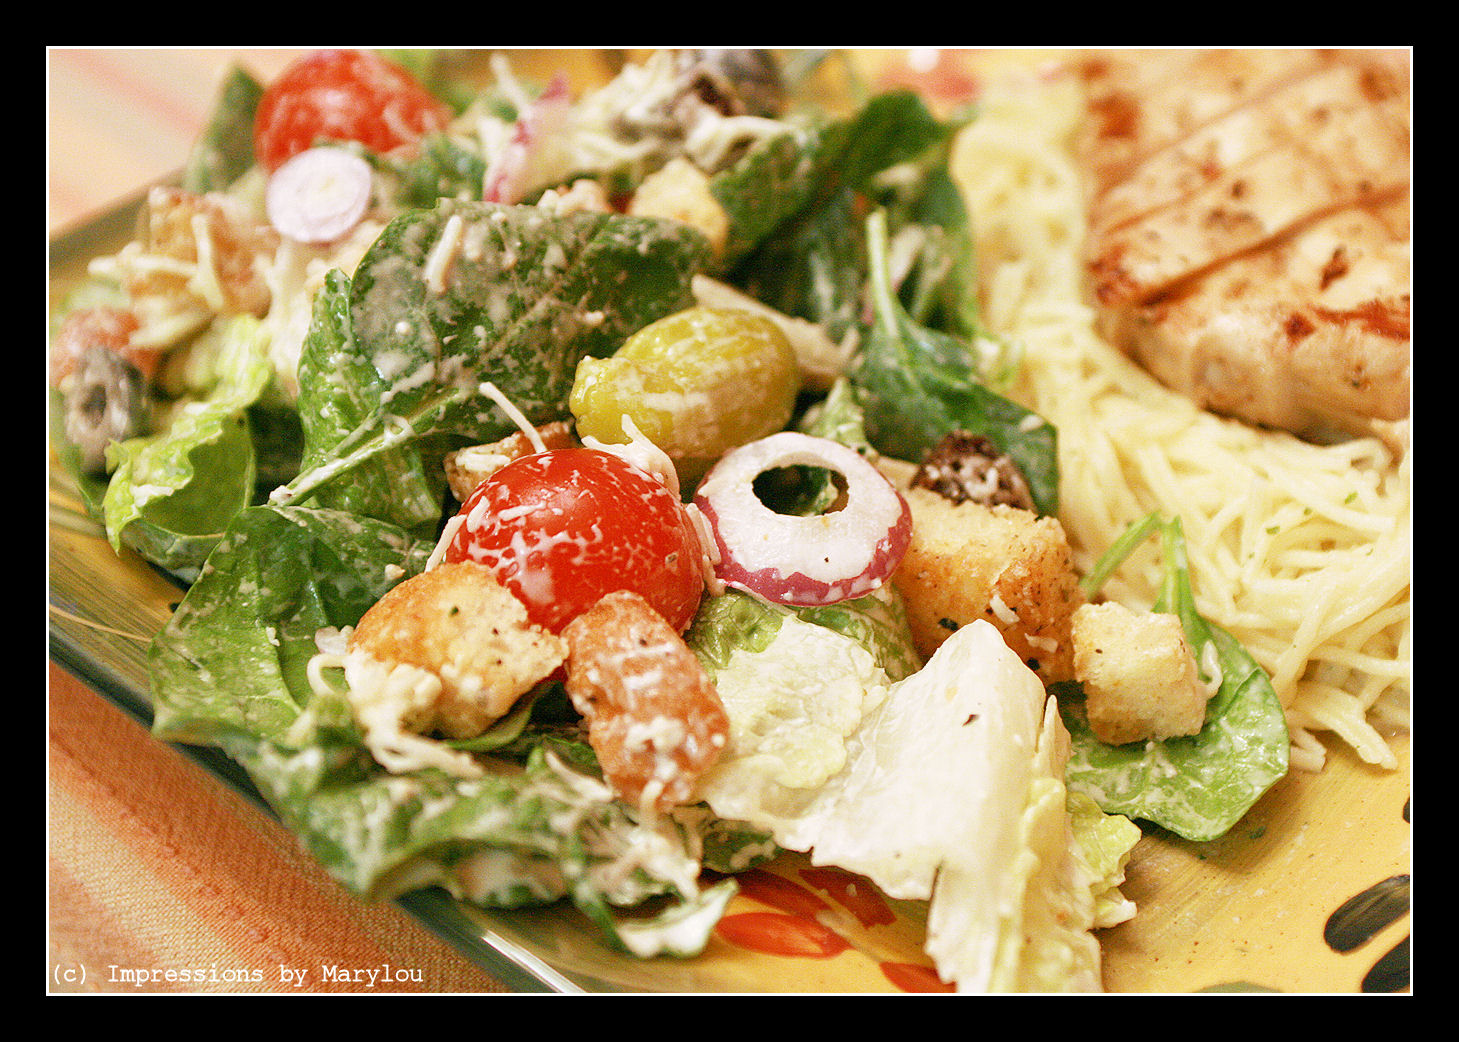
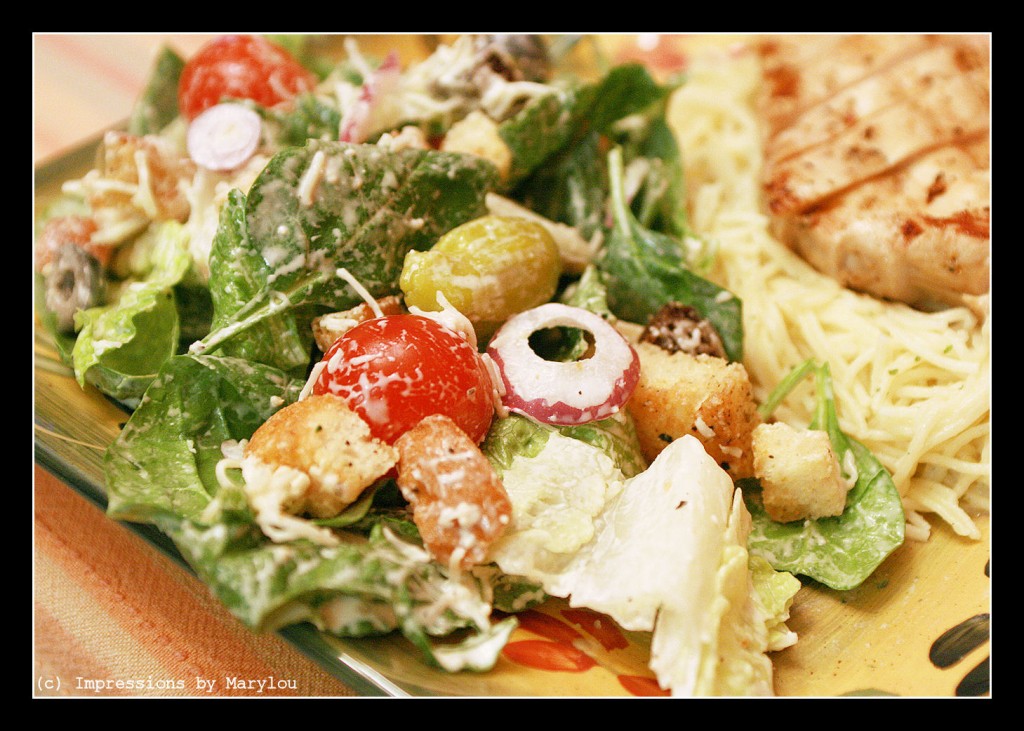
This is what my salad typically looks like:

ceasar salad 2

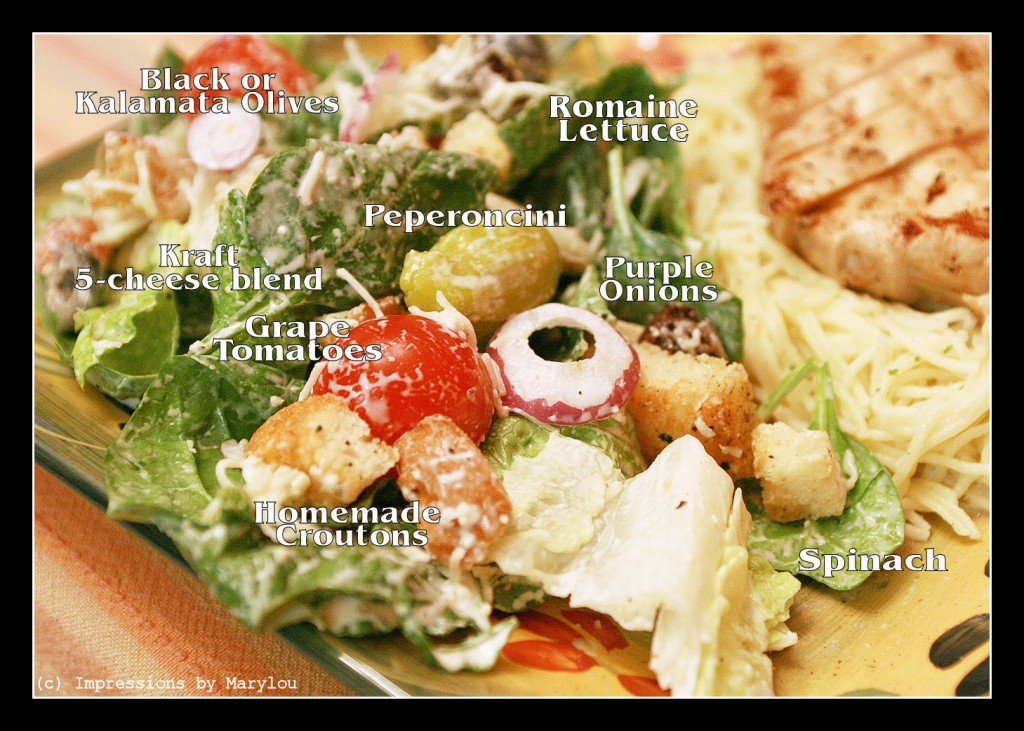
More precisely:

ceasar salad 3

I sometimes slice celery to toss with it as well and some feta cheese. The croutons are homemade, which I love to make. Here’s what I do:

crouton 1

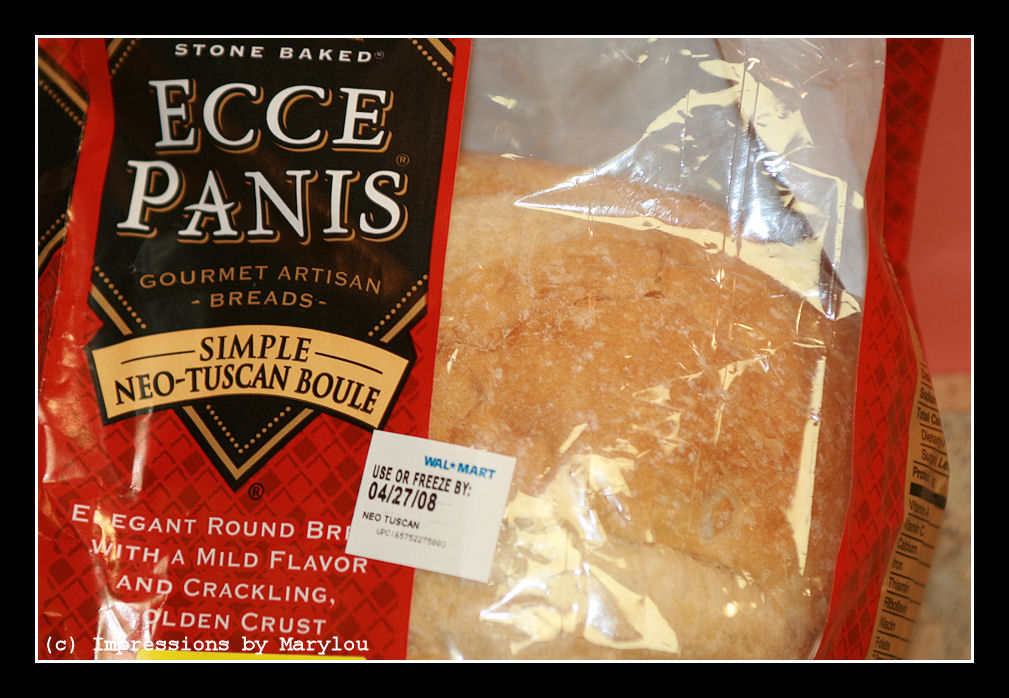
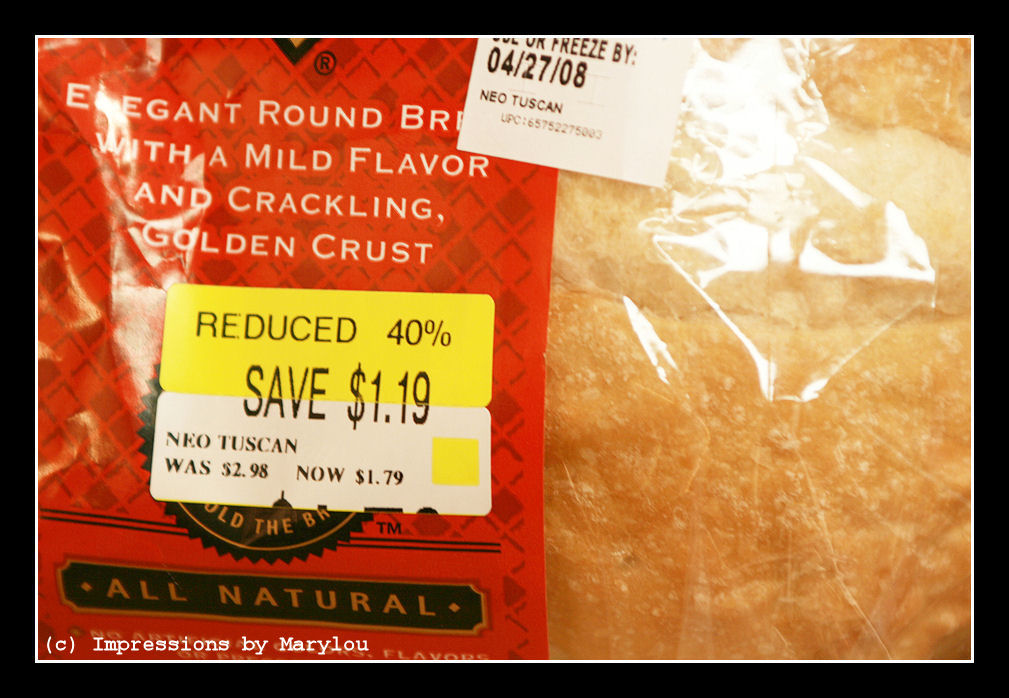
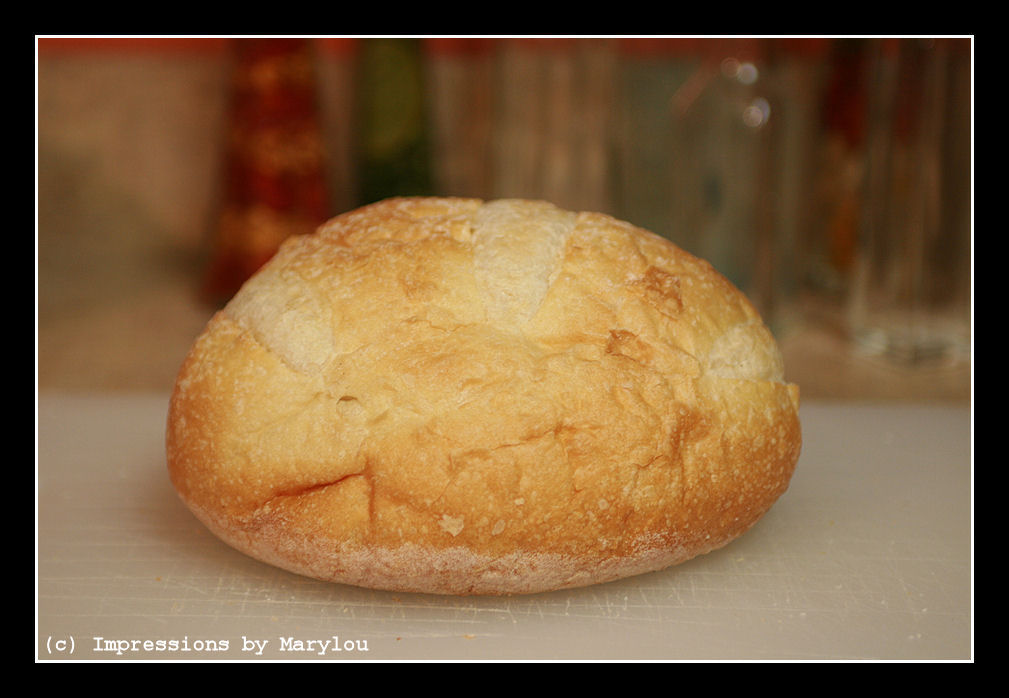
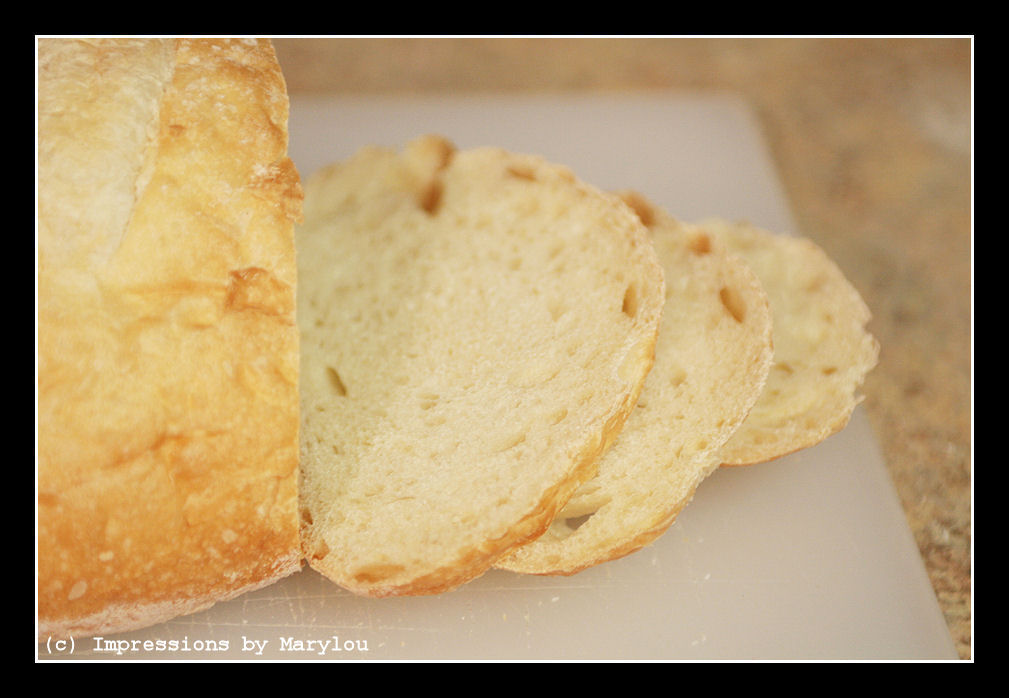
I like the Boule bread the best because it’s a lot of bread with a little crust. And I like to keep my eye on it at Wally World where they mark it down eventually and it works great for croutons.

crouton 2


Crouton 3

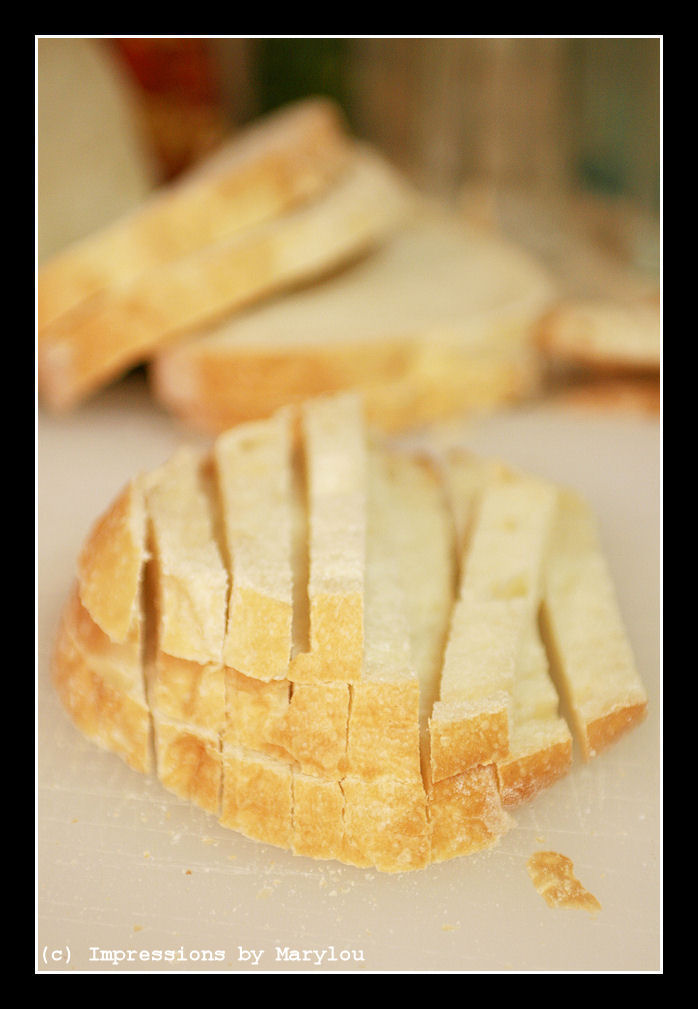
An electric bread knife is essential in getting them sliced evenly. I believe every modern kitchen needs a bread knife. (Did you hear that Ginny?  I know, next time it can be a hostess gift.)

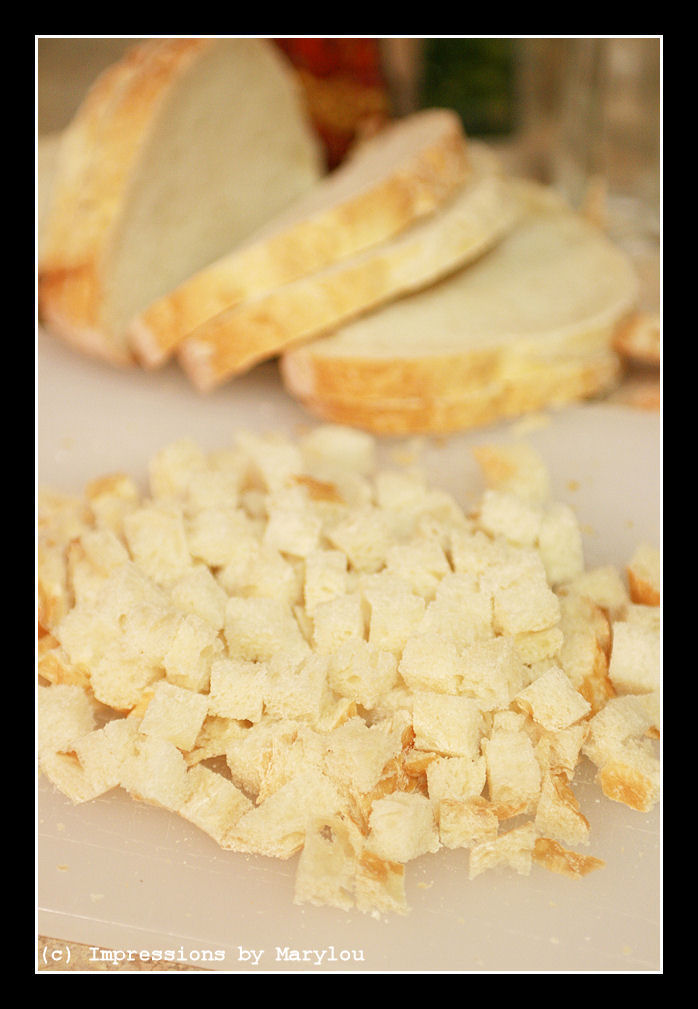
Slice the bread into 1/3 to 1/2 inch slices. You don’t have to be OCD about this but if you get them too big and they end up too crunchy, it can be an embarrassing mouthful of crunch.

crouton 4

crouton 5

crouton 6


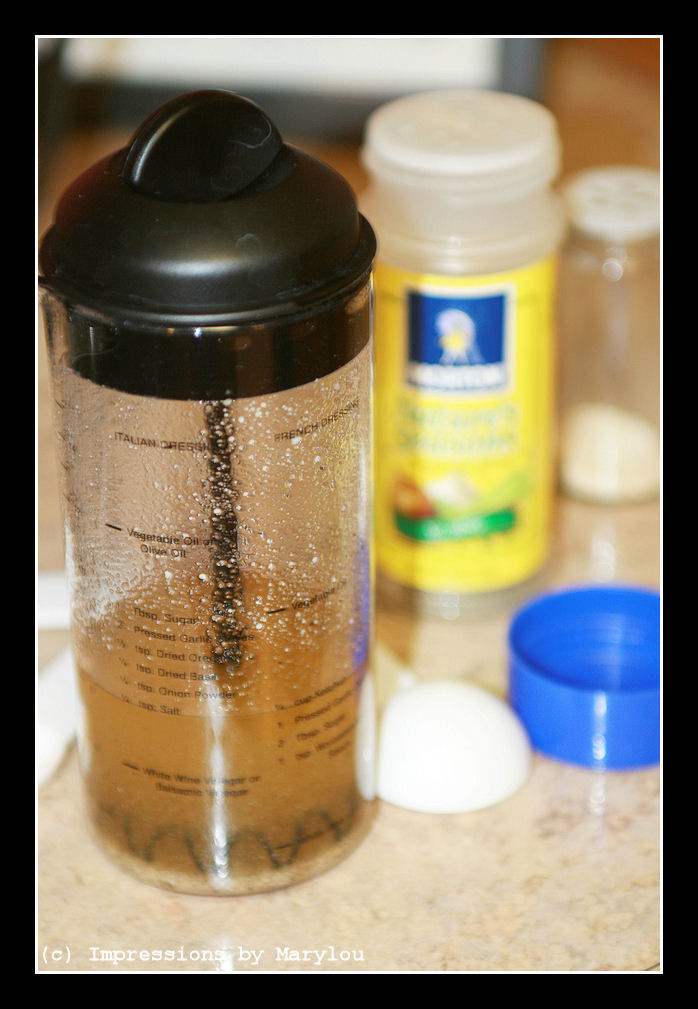
Throw some olive oil in a container (in this case the Mix and Pour) along with your choice of seasonings.

crouton 7


I like to use Natures Seasoning, garlic salt, regular salt and Parmesan cheese.

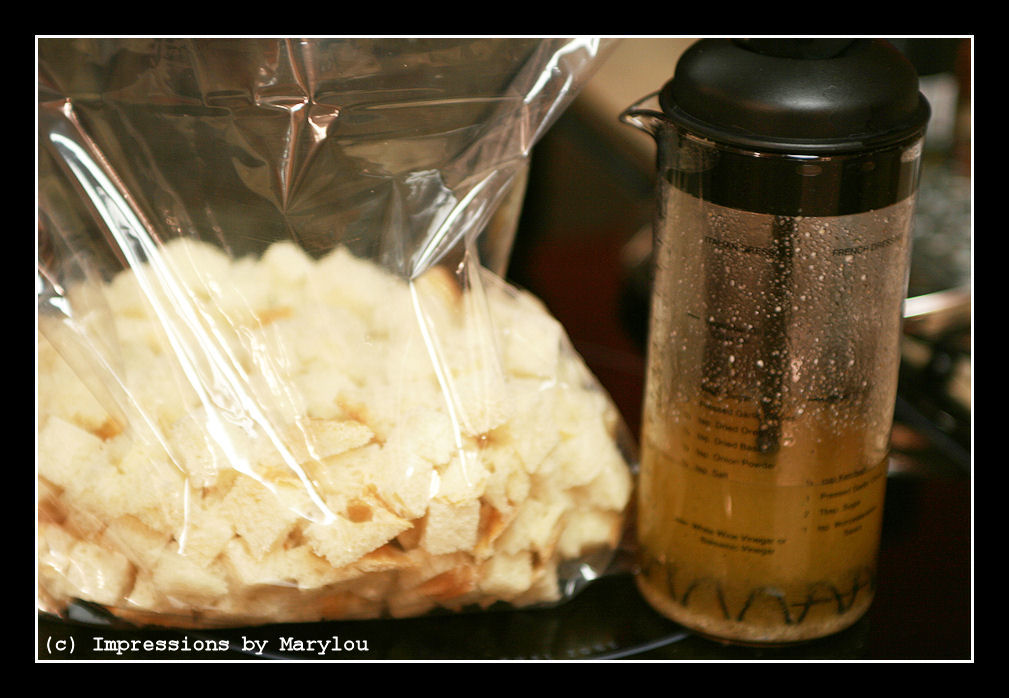
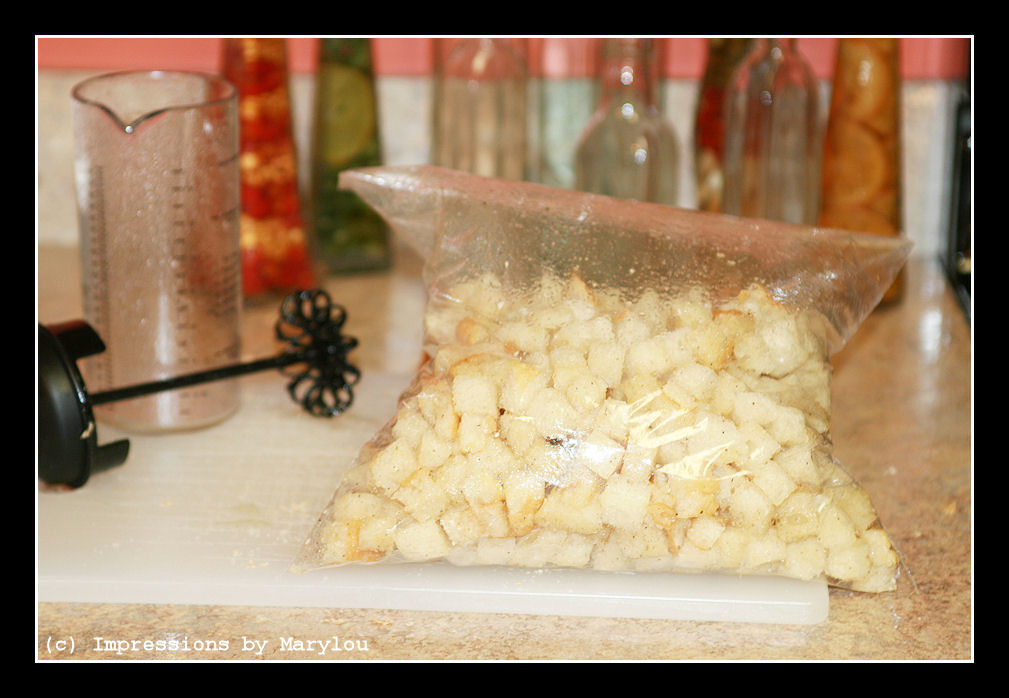
Put the bread cubes into a gallon zipped bag or a sealable container.

crouton 8

crouton 9


Pour the seasoned oil over it and toss to get everything as evenly coated as possible.

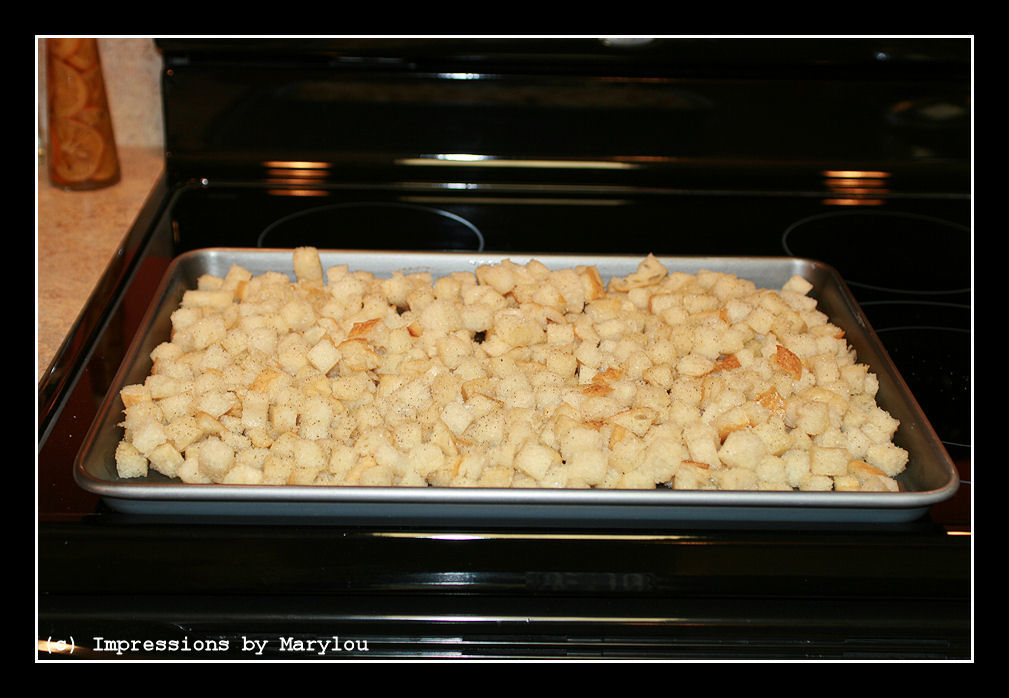
Lay them on a baking pan. This is one loaf of bread. If you do more than that, you probably should use another pan. They get crunchy quicker if they’re not piled too thick.

crouton 10


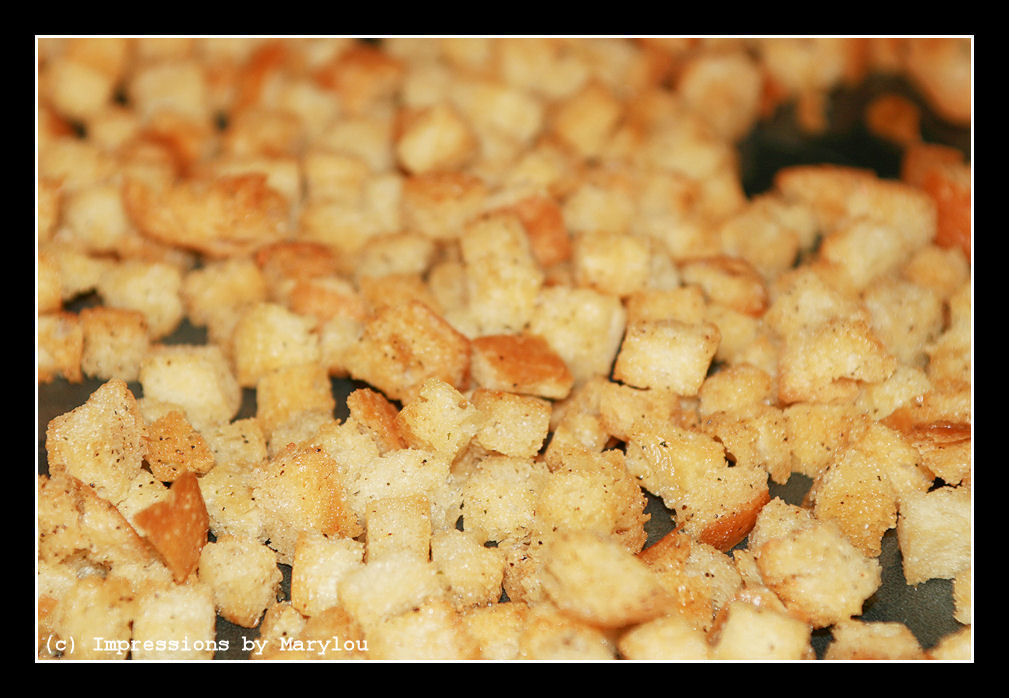
Bake at 350* and turn them every 10 minutes, checking them each time for crunchiness. You can still add seasonings if needed.

crouton 11


Once they’re golden brown and crunchy, they’re finished. I really cannot remember how long this takes. 30 minutes, maybe?? I do know that once they start turning brown they can get away from you quickly and then you end up with a brain-jarring crunch.

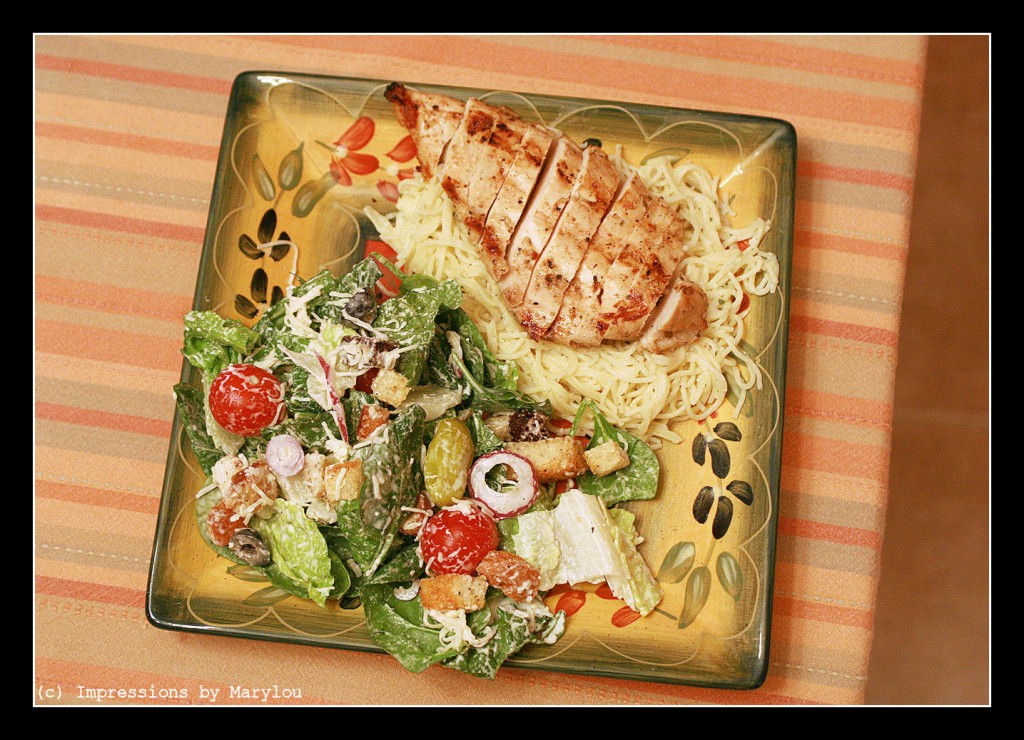
Did you want to see what I had on my plate ^ with my Caesar Salad?

ceasar salad 1


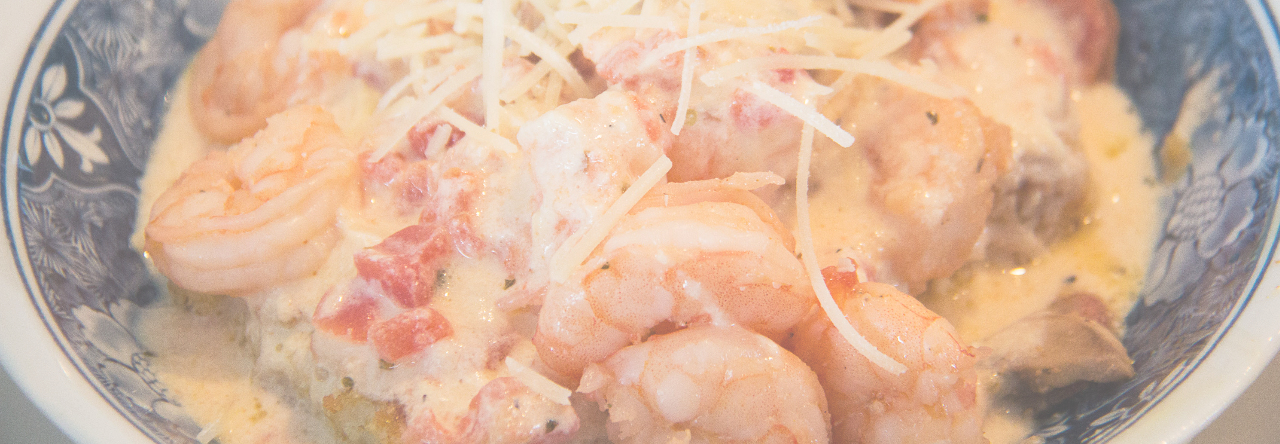
That’s angel hair pasta and alfredo sauce with grilled chicken. As I mentioned in a post in the far distant past, I occasionally buy chicken breasts on sale, marinate a bunch, grill it, slice it, freeze it by serving size and pull it out later. Very convenient, especially in small households like ours.