Ever since I got back from Italy, I’ve been pursuing homemade pizza recipes. I’ve watched YT videos and found Gemma at Bigger Bolder Baking. She has a really good non-sourdough pizza crust recipe but I wanted to make a sourdough version because … well, I’m kinda fond of sourdough and sometimes have discard to use up. I typically only feed mine when I’m about ready to use it so don’t have a lot of discard that I throw away but this last time that I made pizza, I pulled my starter out of the fridge and fed it about 3 times before making the pizza dough. It’s been nearly 2 months since I fed it last.
My cousin Veronica, who was also pursuing the pizza thing, alerted me to Gemma’s sourdough crust version a while ago. The 1st time or 2 used it, my crust didn’t turn out that great. I learned a few tips along the way and I’ll share with you a few things that worked for me.
First of all, here is the link to Gemma’s recipe. And HERE for the print ready version. If you don’t have sourdough starter, here is her yeast recipe. The tips below would mostly work for this as well. With this recipe, I can do the hand-tossed thing, whereas the sourdough I can’t for some reason.
———————- TIPS ——————
Tip #1 – I’ve had the best success when I used starter that had been last fed at least 8 hours before I made the dough.
Tip #2 – The bread flour is much better for this than unbleached flour, as she mentions. I accidentally made it with unbleached flour recently and while it was good, the bread flour was better. (I’m a King Arthur fangirl for both.)
Tip #3 – I let my dough out (after the pull/stretch) for about 8 hours before dividing and fridging it for the long fermentation. (She says 4 hours.) I leave it in the fridge a minimum of 48 hours and have left it in up to 4.5 days (see attached pizza photos below).
Tip #4 – I use olive oil in my containers to let it develop in the fridge. Oil the sides well so that it doesn’t deflate completely when you dump it out. I usually remove it from the fridge several hours before I want to bake it, and dump it out onto the parchment paper about 20 minutes before I make the pizza. If you forget to pull it out, you can drop it onto the parchment paper cold, and let it set for about 45 min. before pressing it out. Set it on top of the oven that is being preheated.
Tip #5 – Parchment paper is key here! I like to leave a nice crust edge so I use my fingers to flatten the center and work my way out, leaving the bubbles in the last 1″ of dough. I have not been able to do the hand toss method with this crust without it tearing. Pressing it out on the parchment paper helps eliminate any problems with this. Be careful not to press it out too flat that you make holes in the crust center.
Tip #6 – If you divide it into 3 crusts, they will be more like personal pizza size x 1.5. I haven’t measured mine but probably about 12″ across. If you want larger pizzas, divide into 2 crusts.
Tip #7 – Use a cast iron low lipped pan. Yes, it is worth the $. I got one from BB&B almost like this one. (updated to add: Dick’s Sporting Goods carries the one I have.) My handles are smaller. This low lipped pan works much better than a iron skillet. Preheat the pan at the hottest your oven can go (500* – 550*) for at least 30 – 45 minutes. You can use a pizza stone, but some tell you to not go over 450* and you want a hotter oven if possible.
Tip #8 – Bake on the next-to-the-top shelf in the oven. That will help the top finish about the same time that the bottom does, which is against very hot cast iron. If you want a little crunch and almost char on top, after you slide the pizza into the oven, switch from Bake to Broil. Don’t do this if you are using a pizza stone. It could cause it to crack. This should be ready to pull out in about 5 minutes. If you use broil, don’t forget to keep a close eye on it!!
Tip #9 – Use a pizza peel or a baking sheet with no sides to slide the pizza and parchment paper onto the cast iron pan. I let it bake for a couple of minutes and use tongs to pull the parchment paper out from under the pizza crust. This will keep the bottom of the crust from steaming up and you’ll get a the nice speckly spots on the bottom the crust, along with a little crunch.
Tip #10 – Turn the pizza after you remove the parchment paper. If your oven is like mine, the crust toward the back will get done more quickly than the front. See my photos below where I didn’t remember to flip it around. Be careful! Everything in the oven is hot-thirty.
Tip #11 – Keep it simple. You don’t need a ton of anything on it to make it good. No pizzas that we encountered in Italy had more than 3 – 4 toppings on them. I learned to appreciate simple.
Tip #12 – You can bake pizzas back to back but the cast iron pan does cool down some. Unless you let it heat up again for 5-10 minutes, the bottom of the 2nd pizza won’t get done quite as quickly as the 1st.
Before you think I’m obsessed with pizza, I can assure you that I am not as obsessed as French Guy Cooking, who actually took apart and finagled an oven to trick it into getting as hot as a wood fired oven. I did get some tips from him, though.
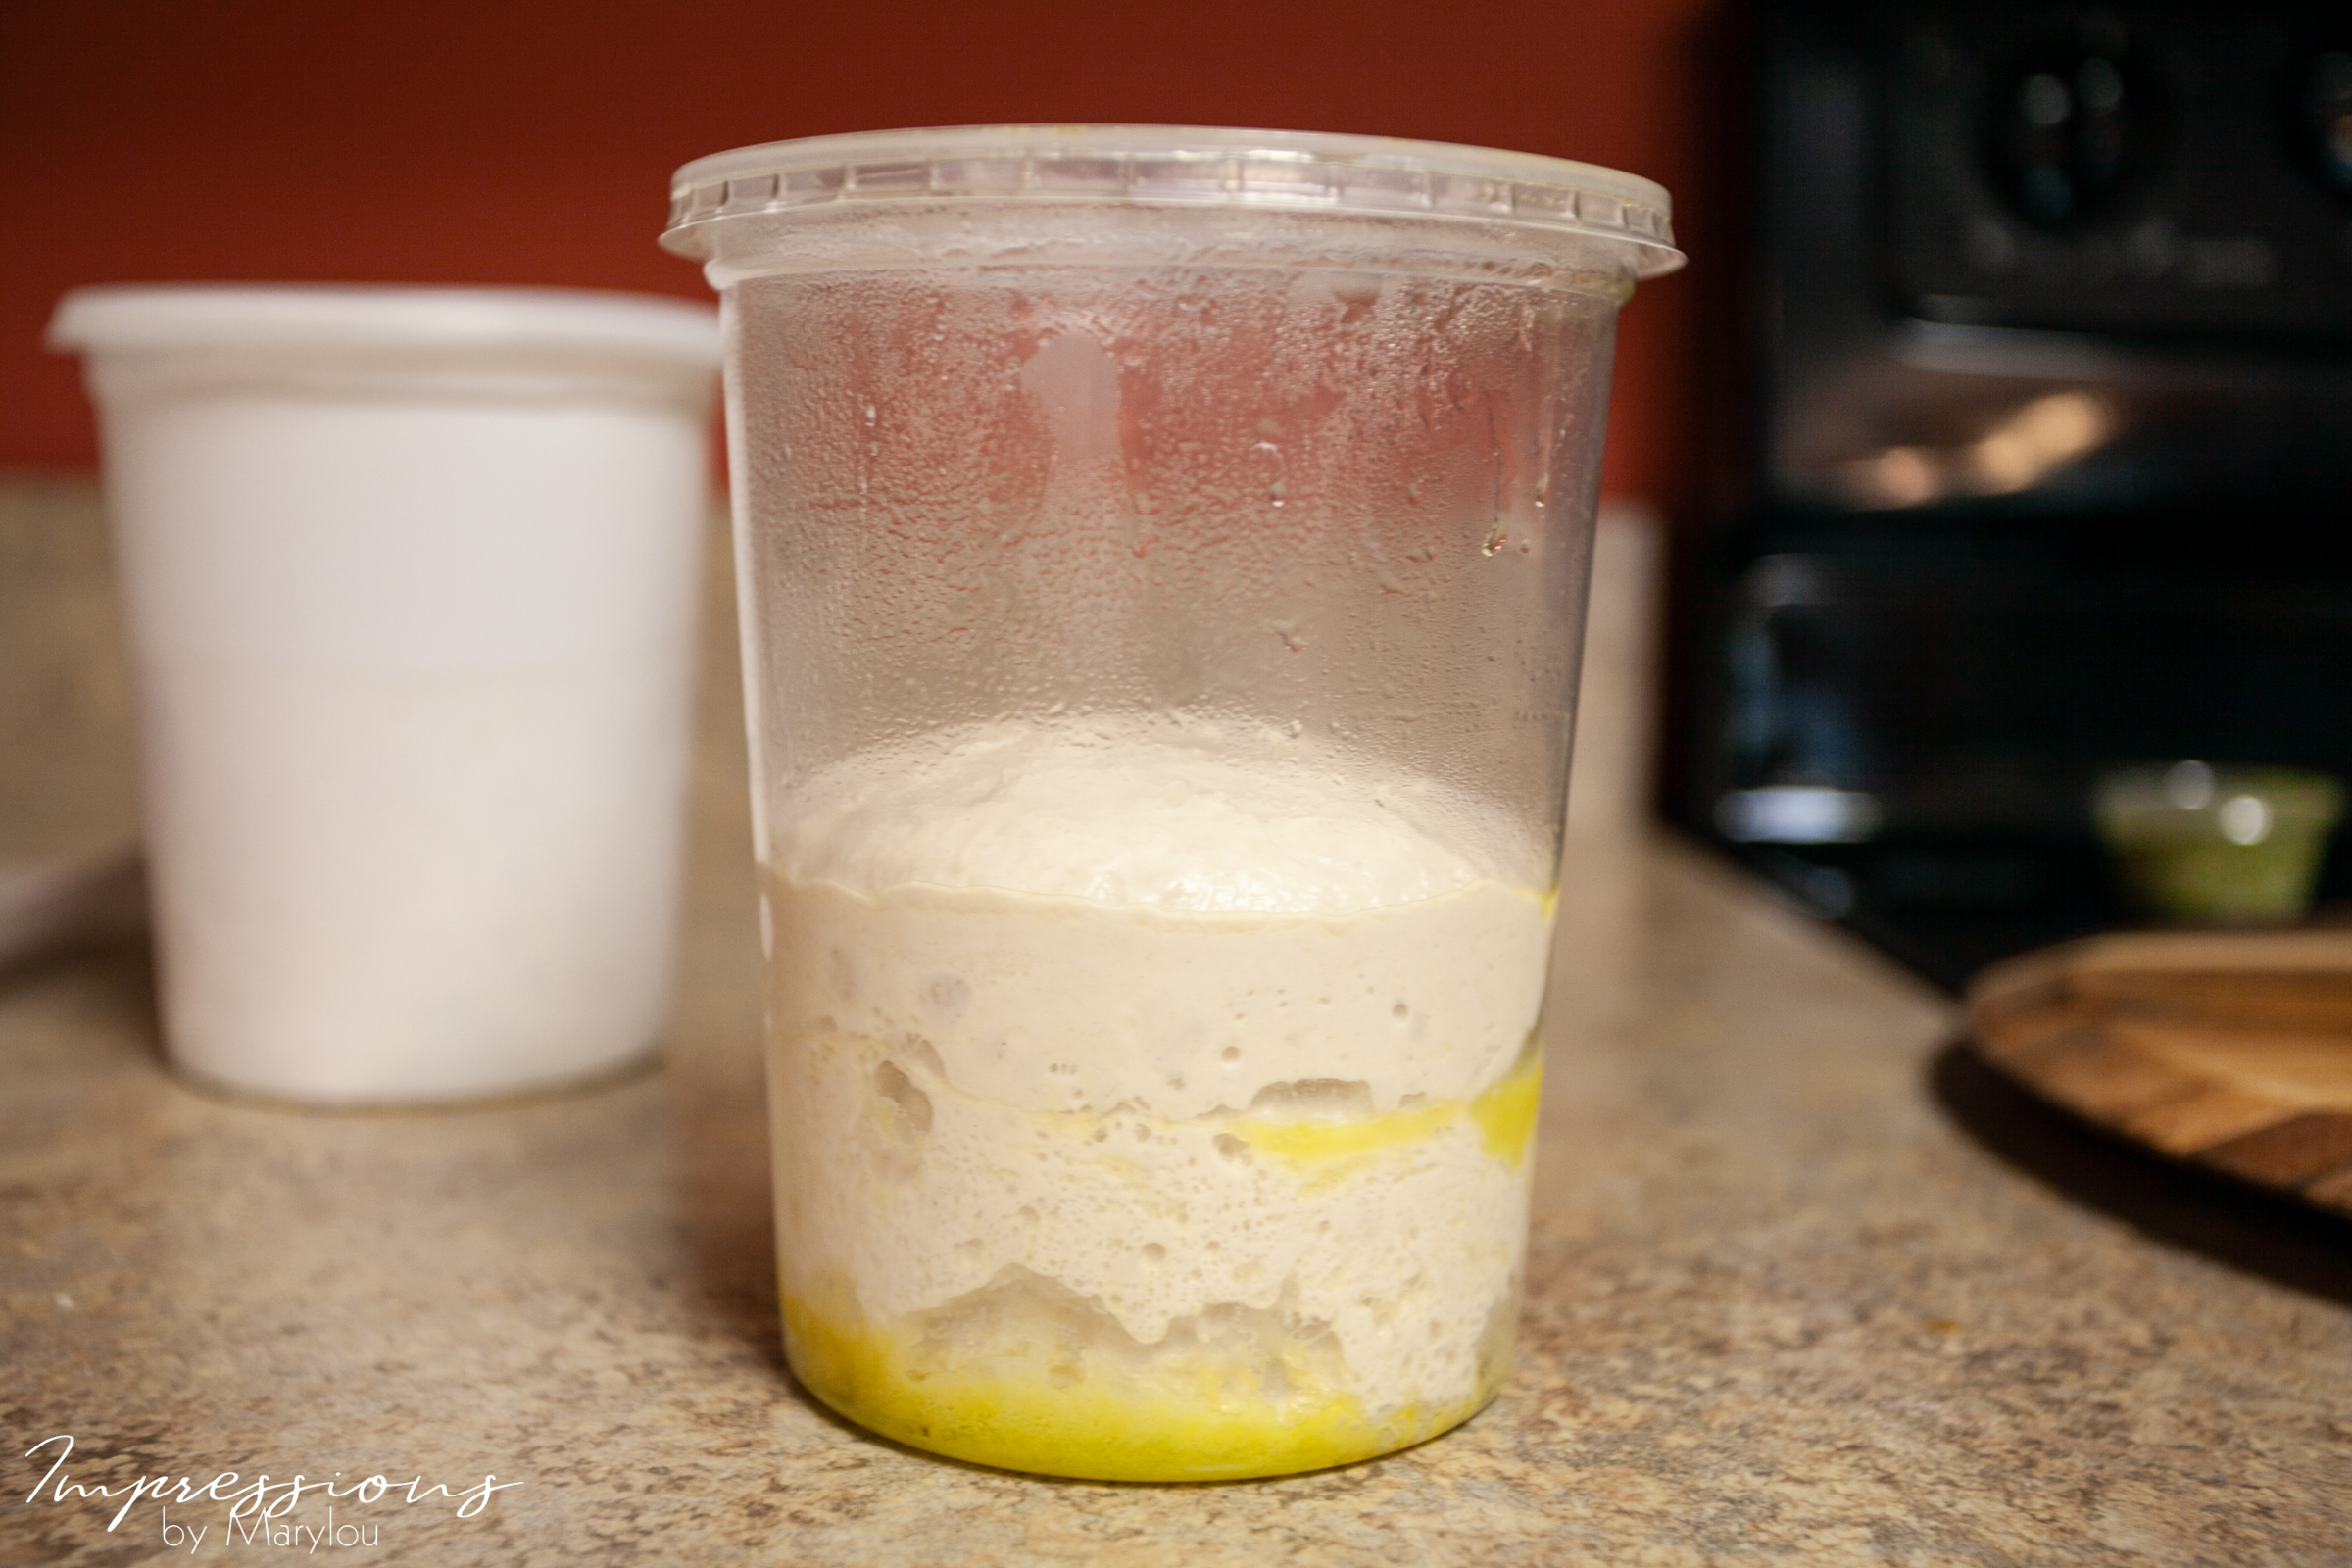
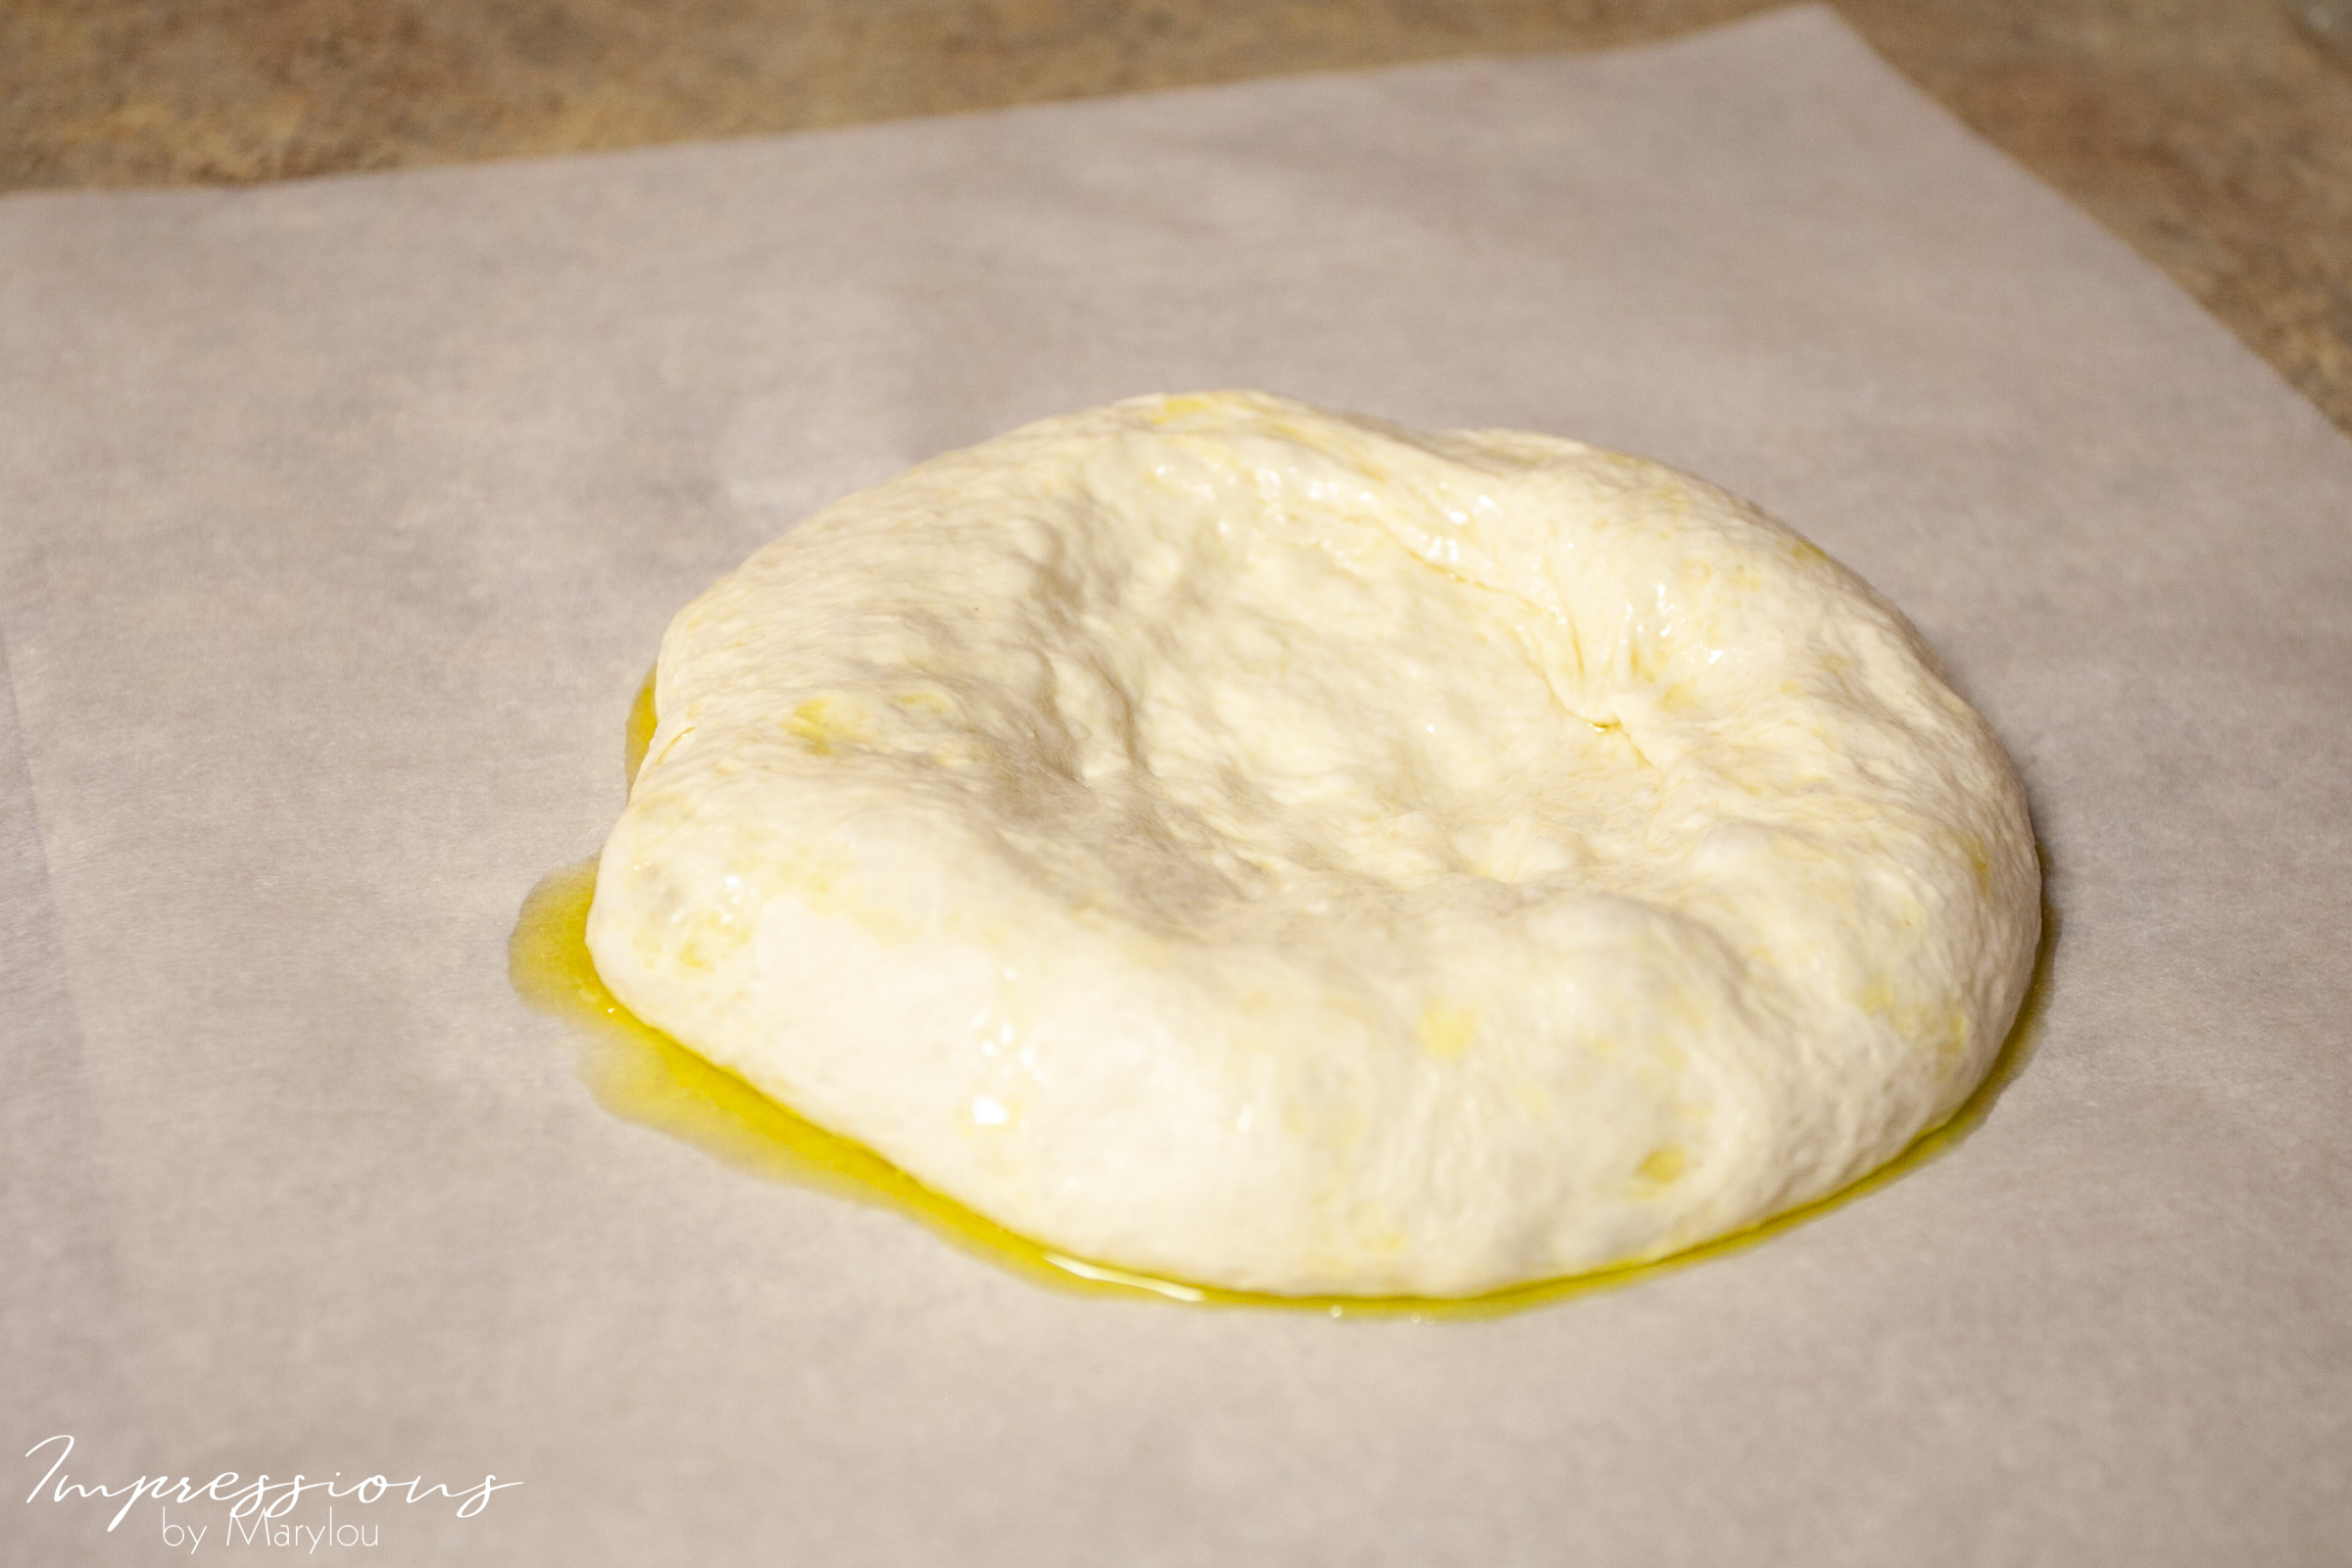
Sourdough dough after 4.5 days in fridge. This dough at least doubled, maybe tripled.
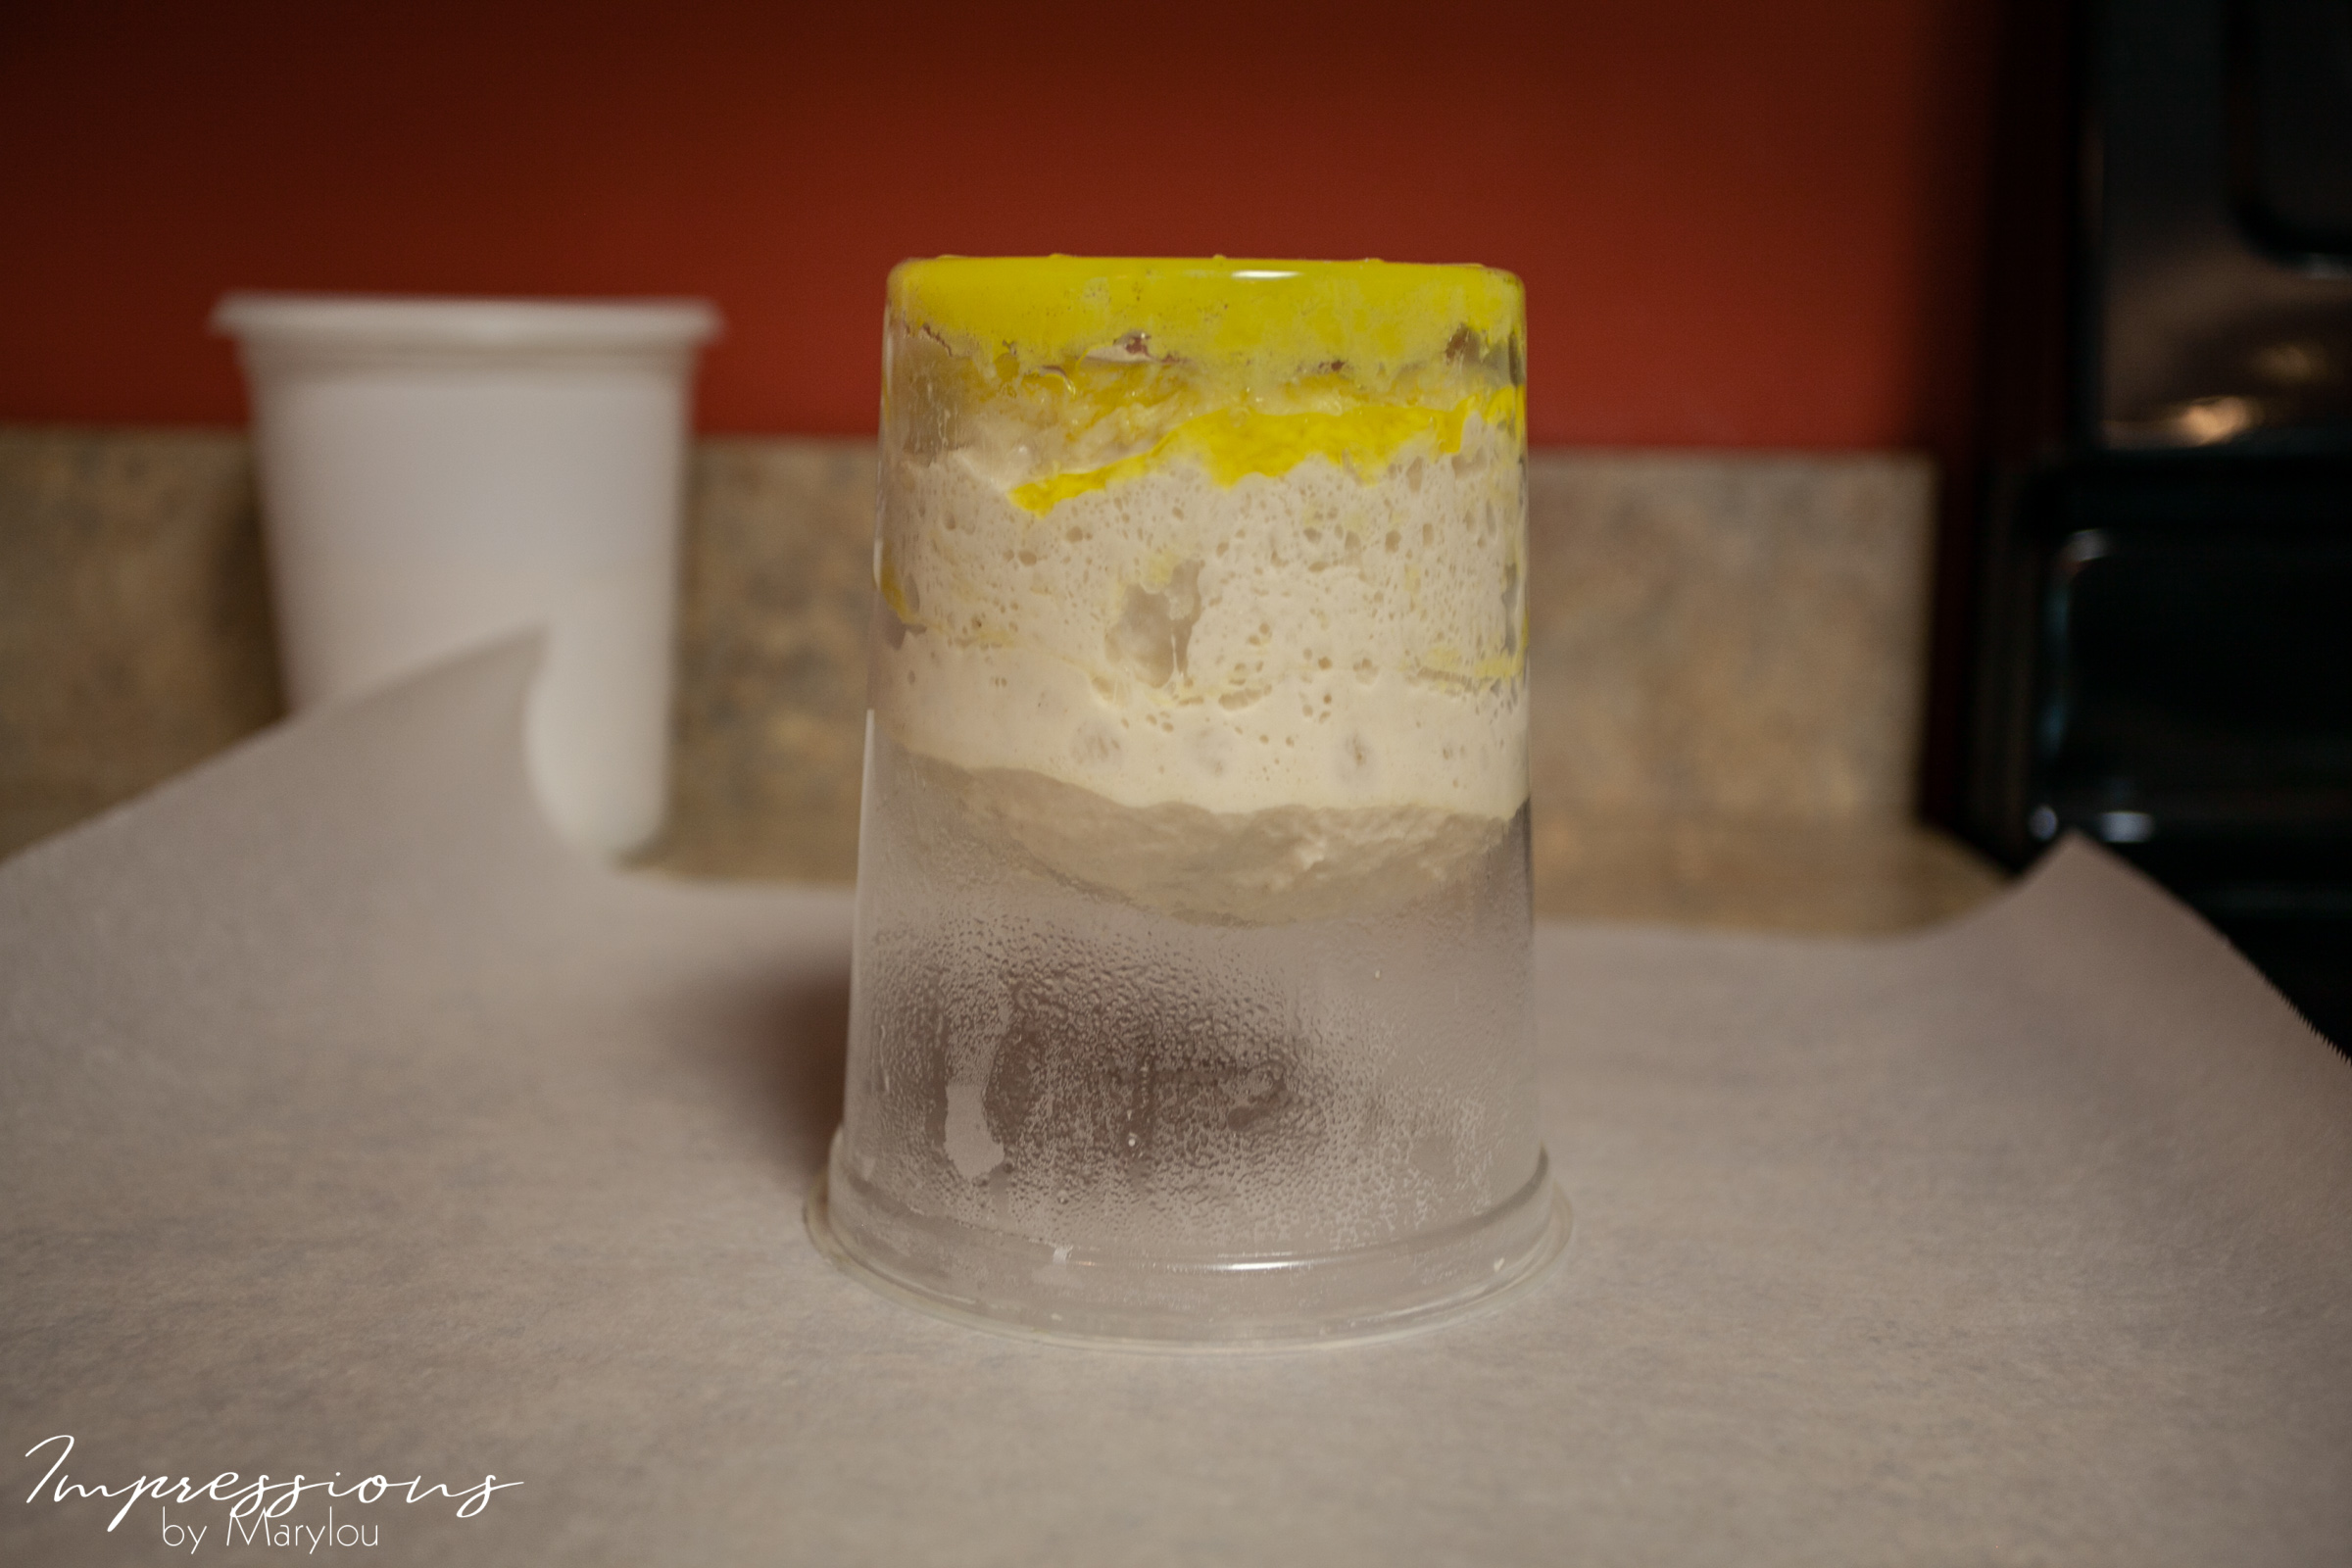
I forgot to pull it out several hours ahead of time so dropped it onto parchment and let it warm up to room temperature, about 45 minutes. It warms up much more quickly out of the container.
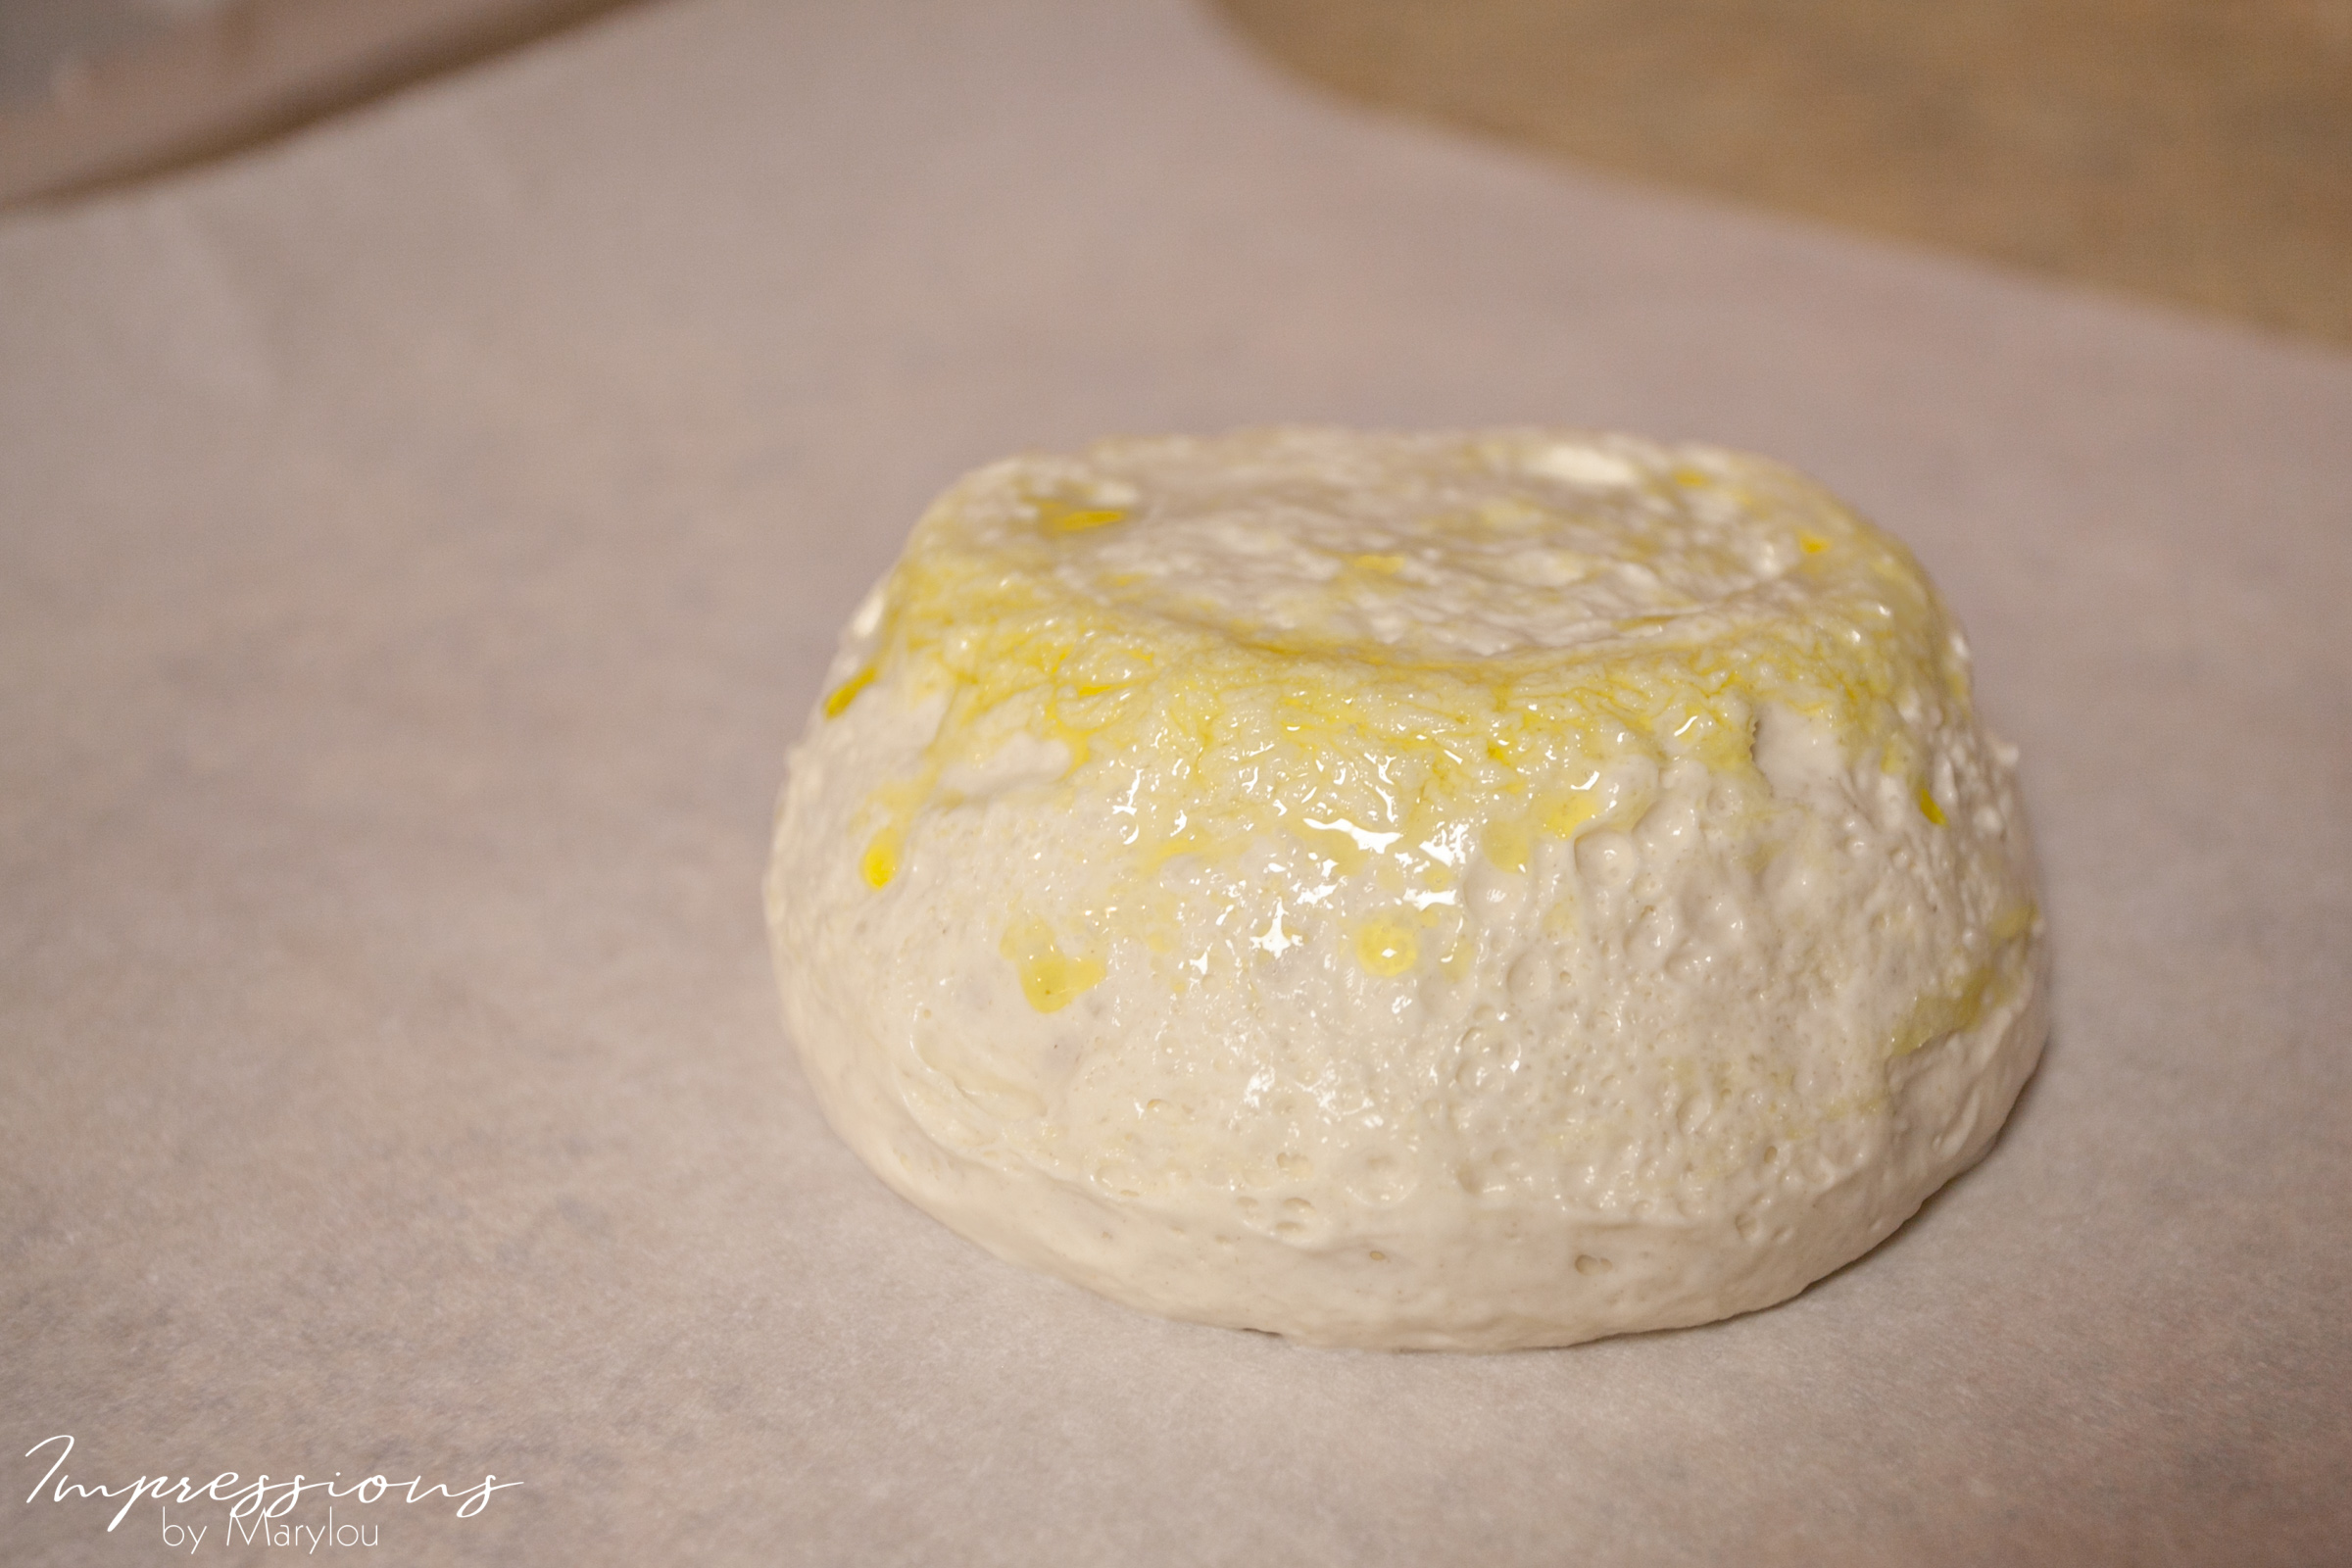
Nice and puffy!!!
Start by pressing into the center in a circular motion. Leave that puffy lip if you want a puff crust edge.
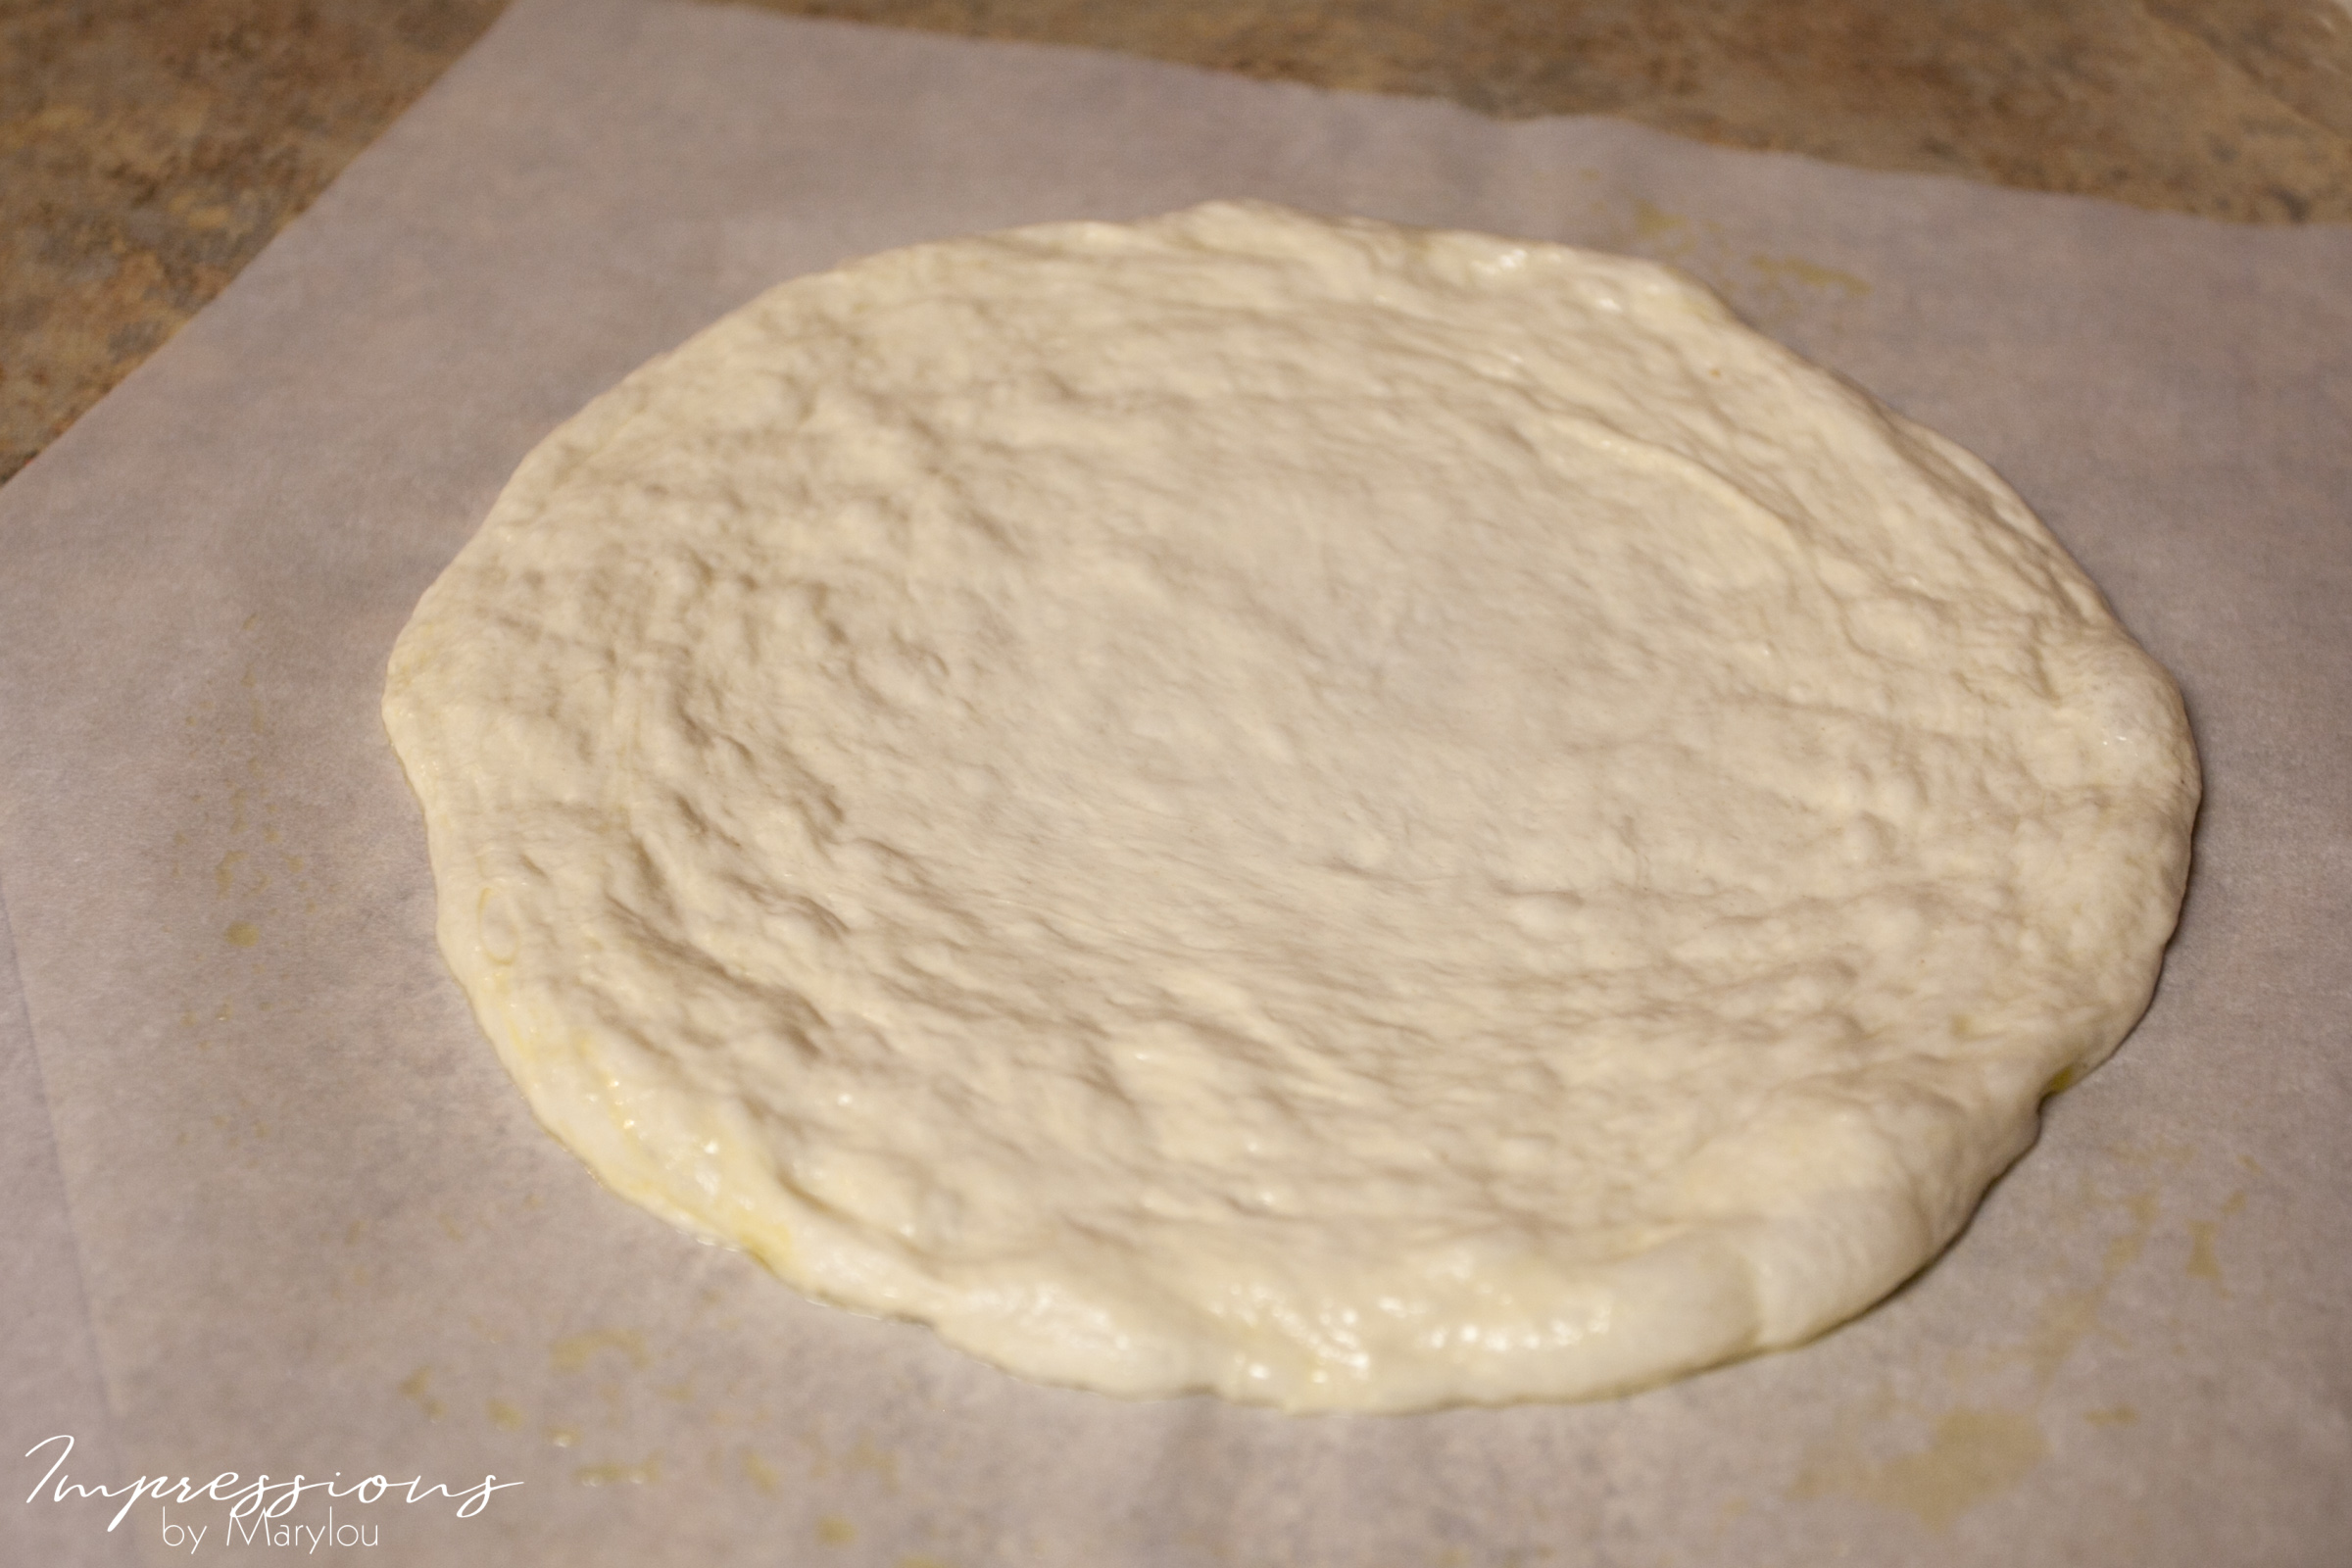
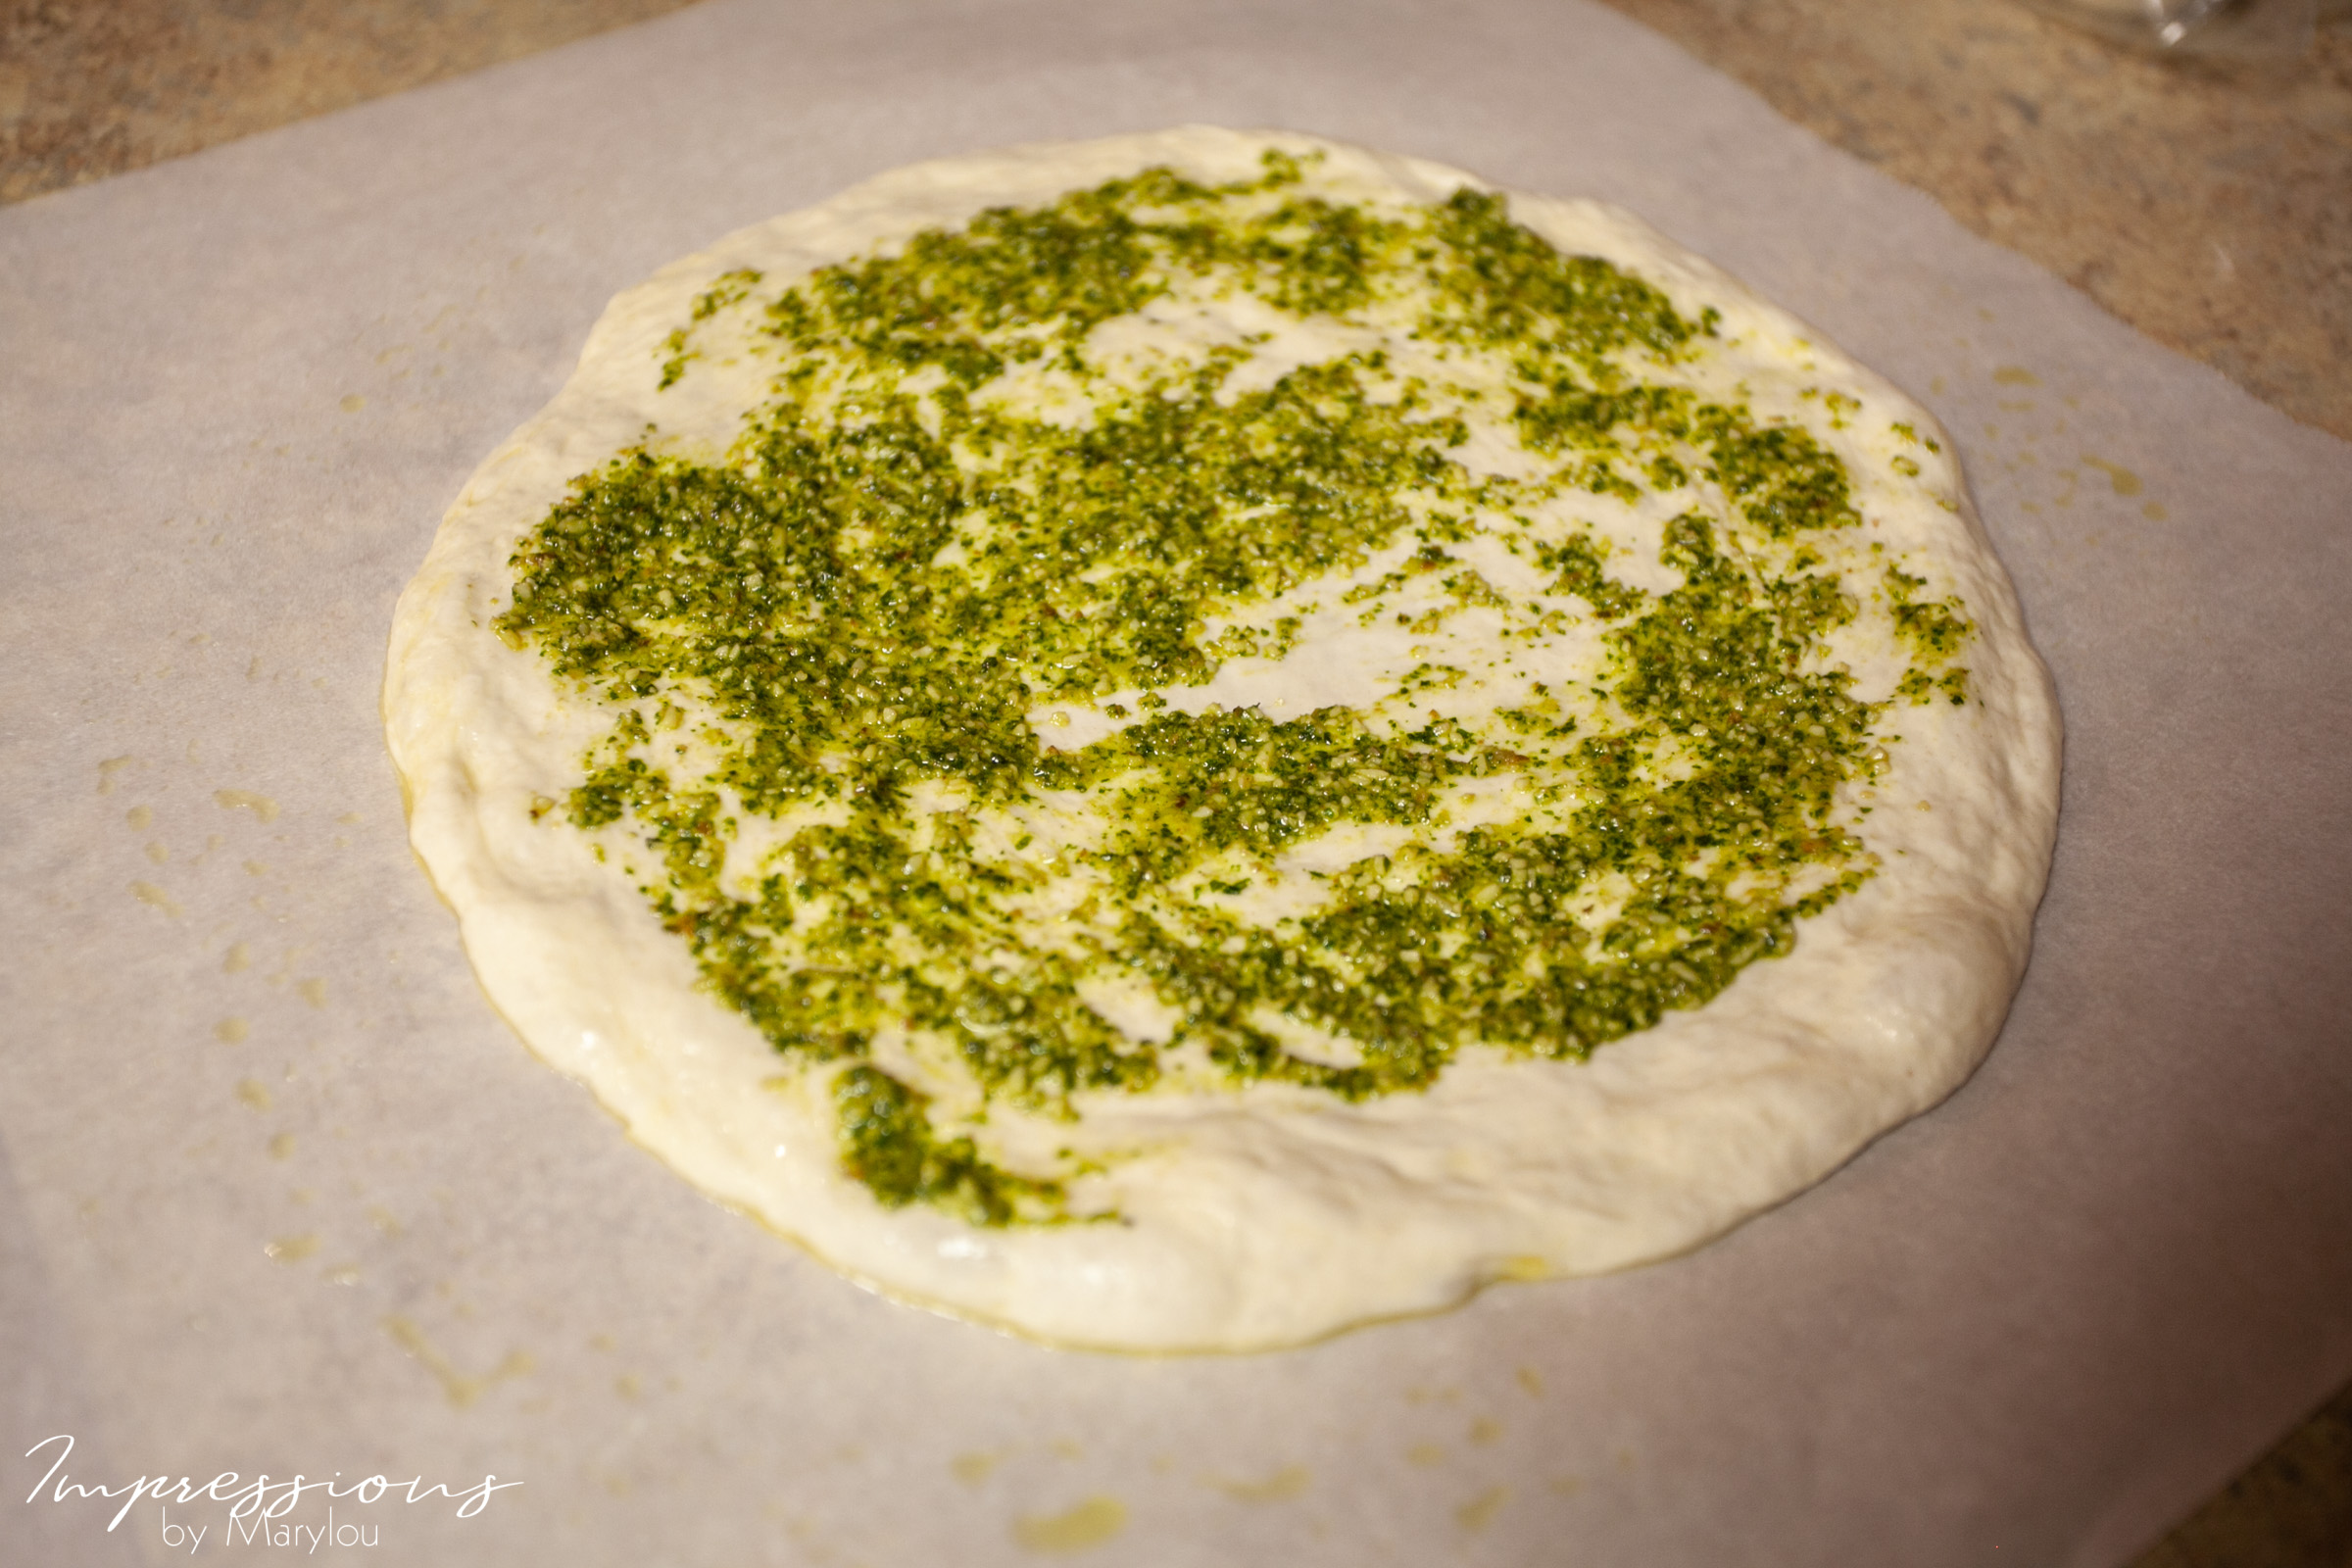
Ready for toppings.
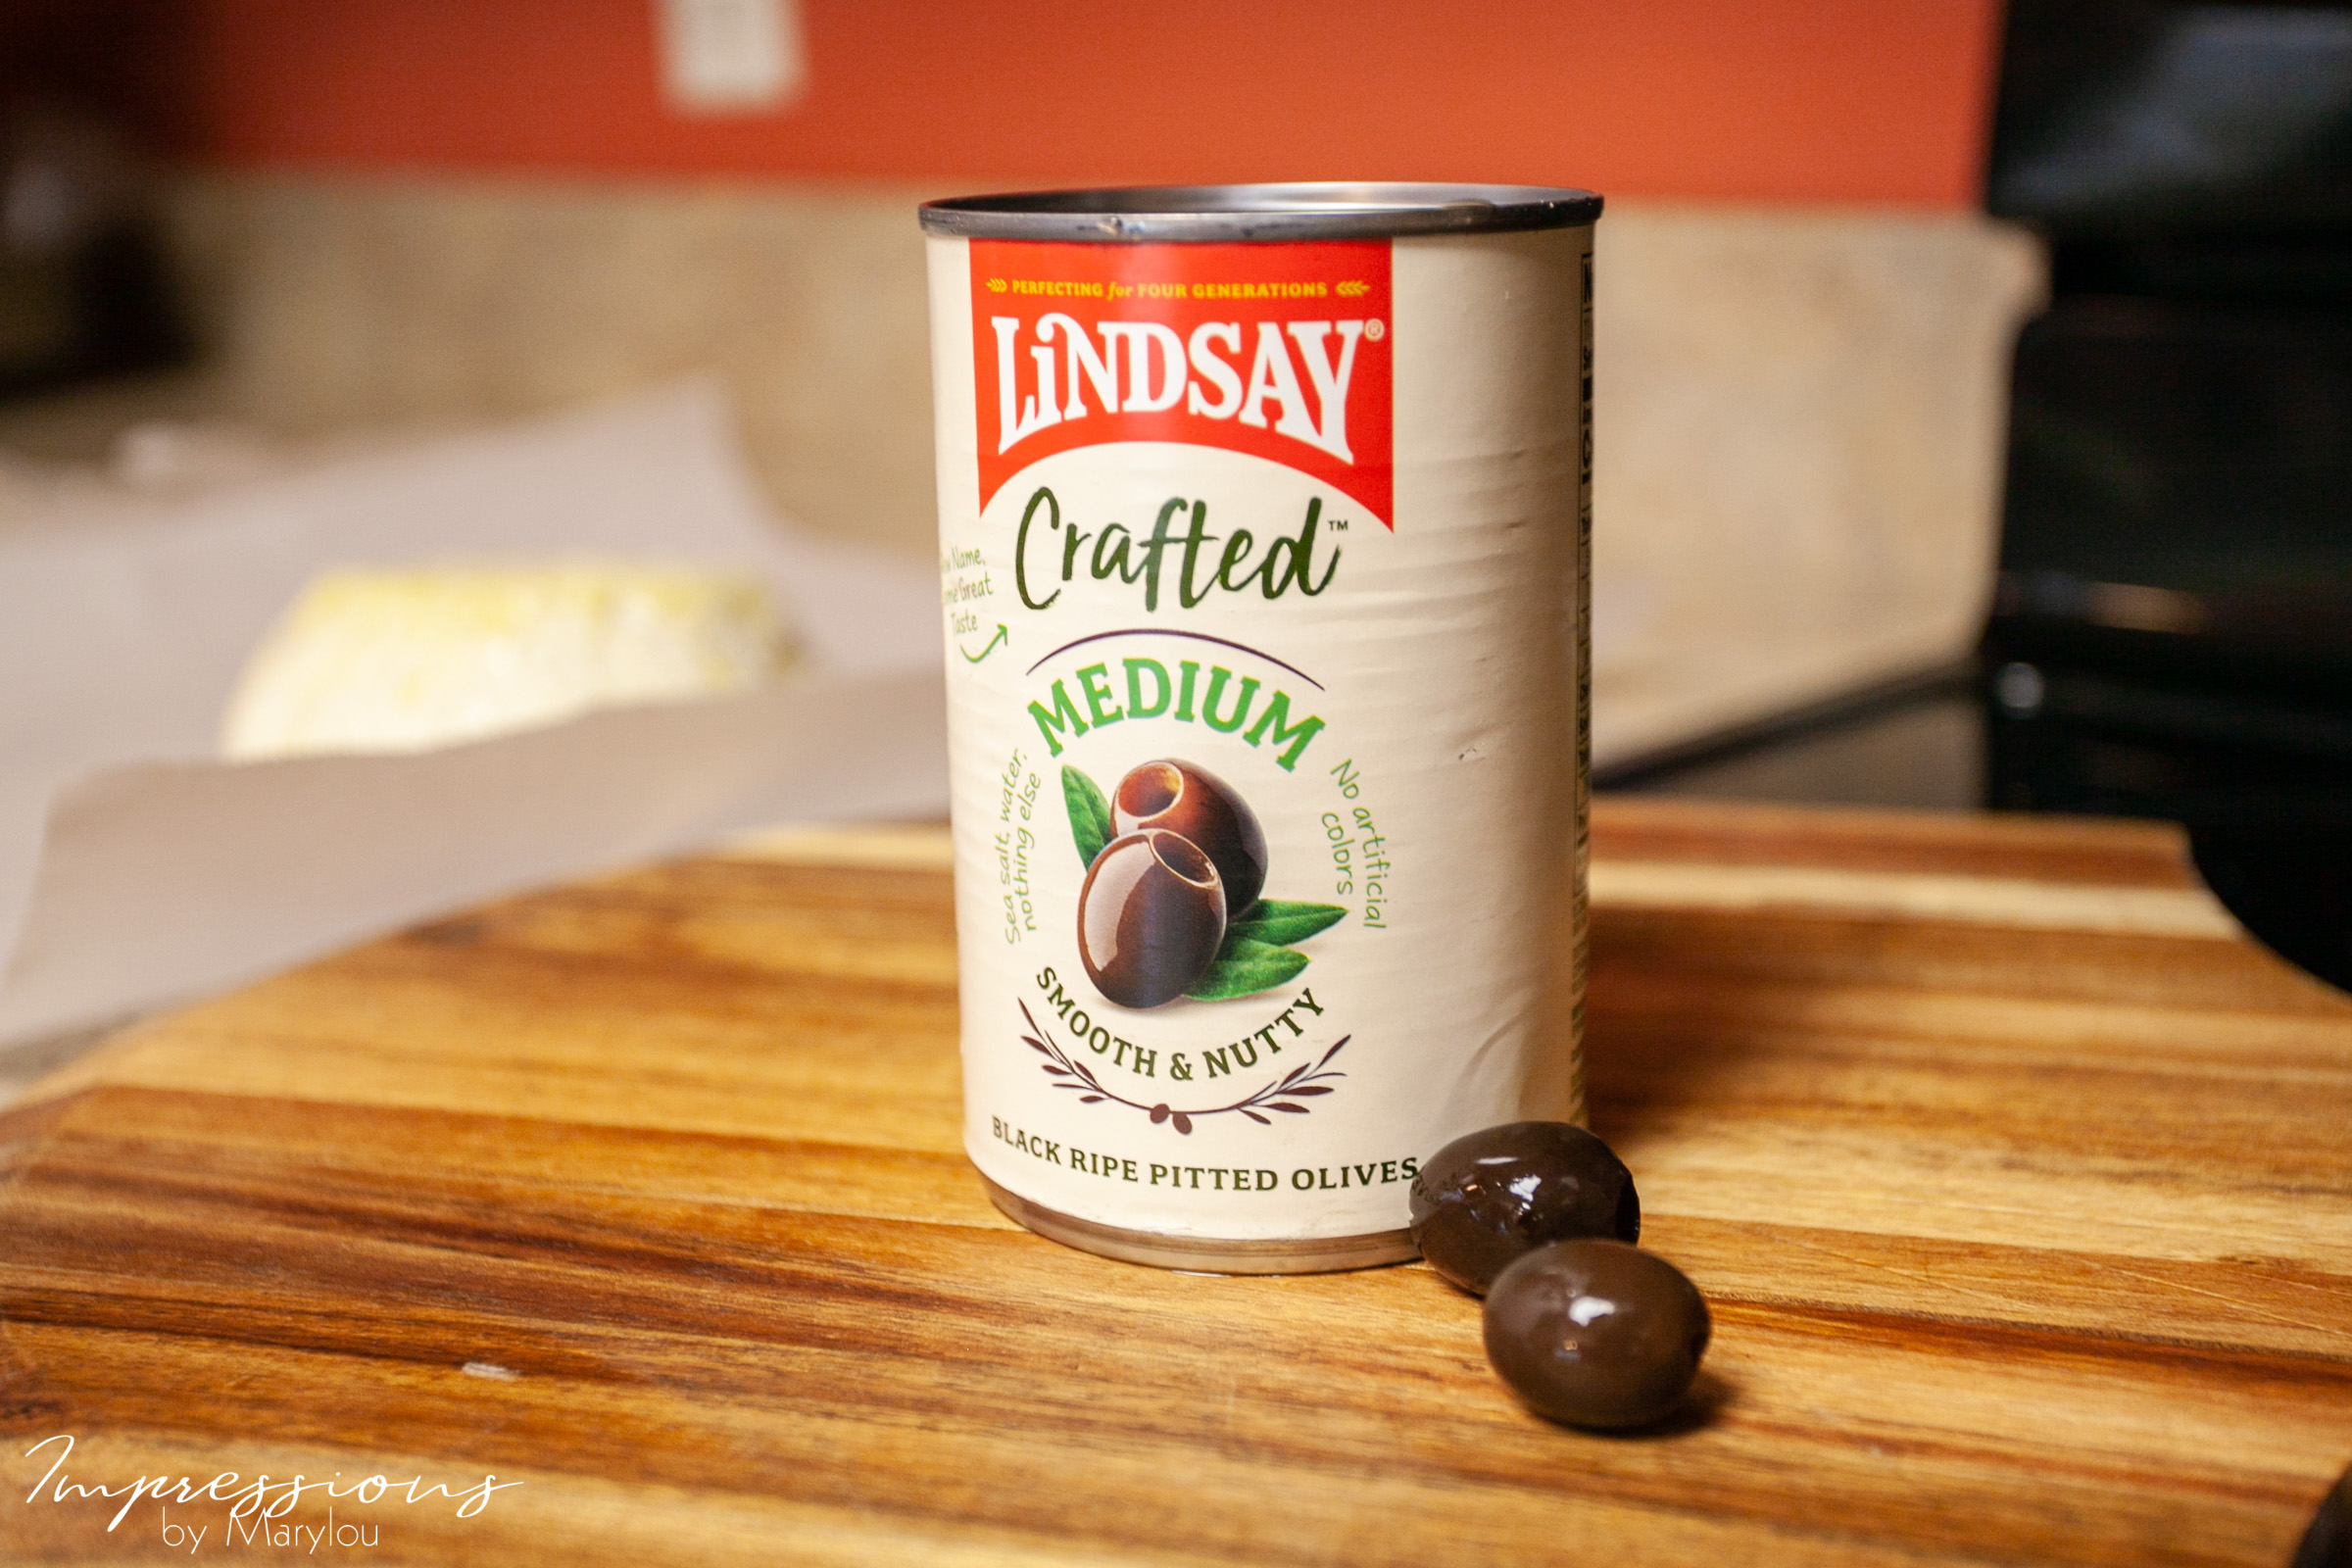
We break for a product review. This brand of olives is just absolutely delicious. I can eat them by the handfuls if I’m not careful. The green ones are my favorite! Forget roses for Valentine’s Day. Bring me Lindsay olives. [This post not sponsored by Lindsay but I wouldn’t mind if it was!] 🙂
Back to pizza making ….
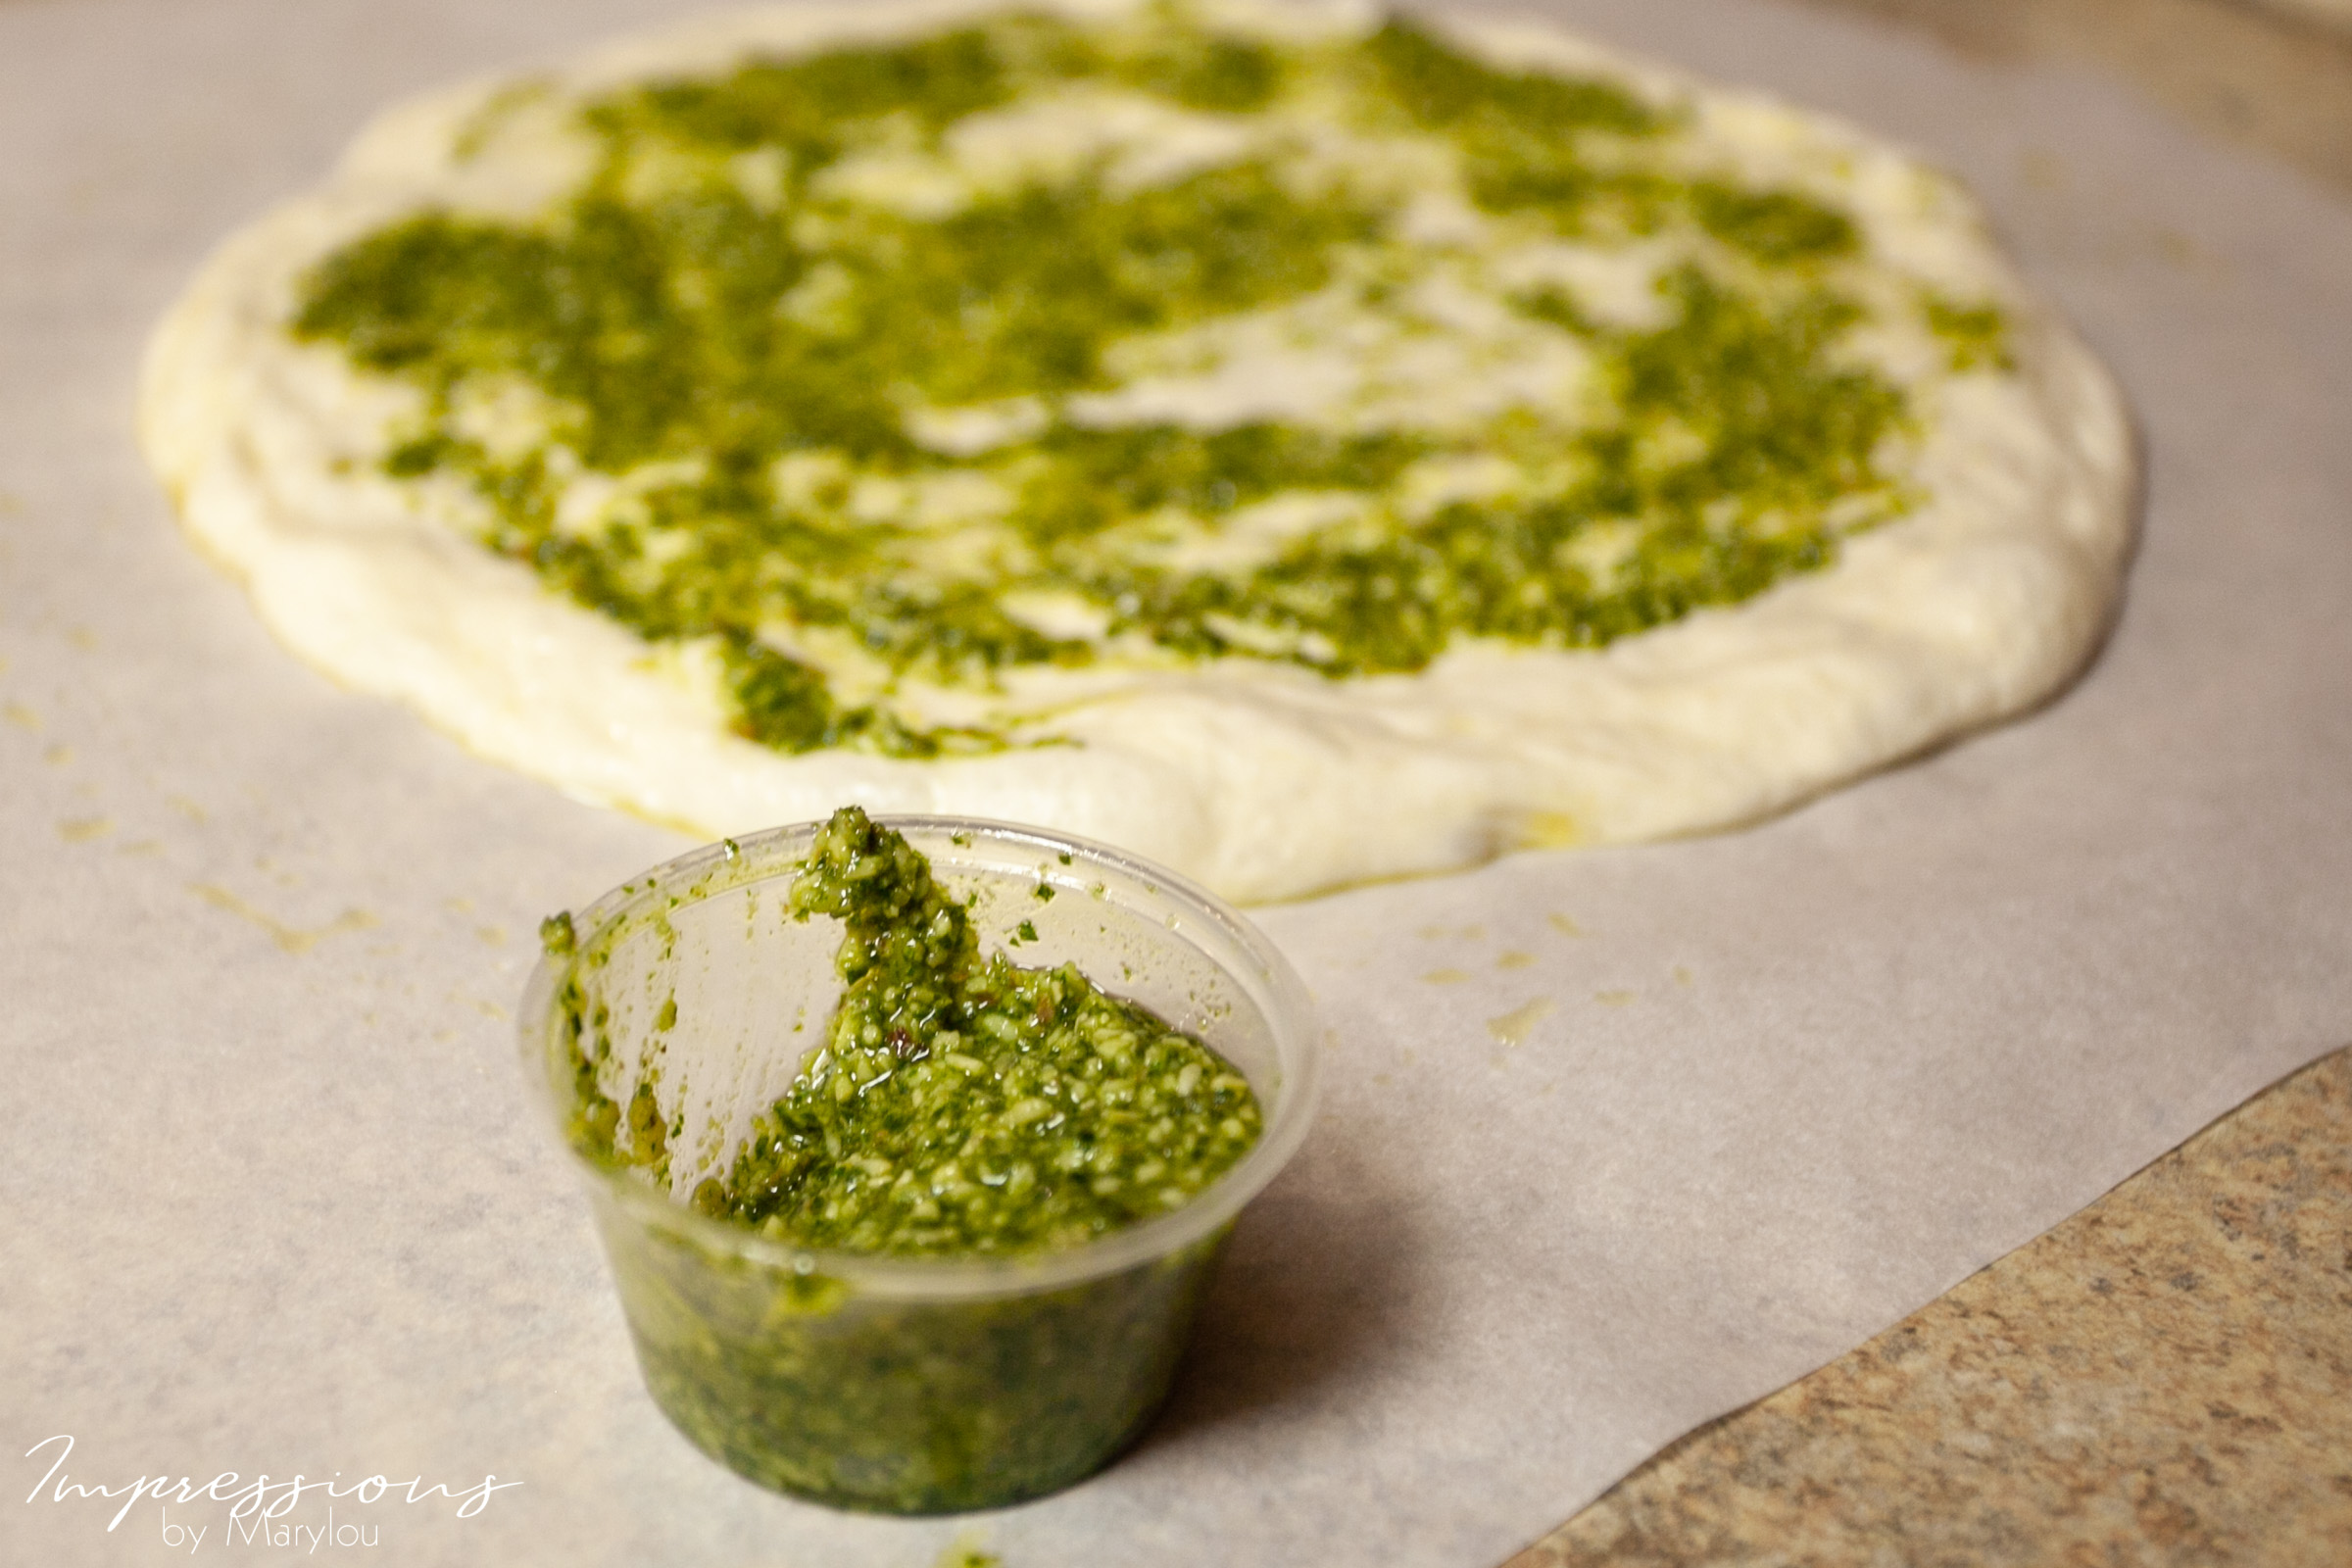
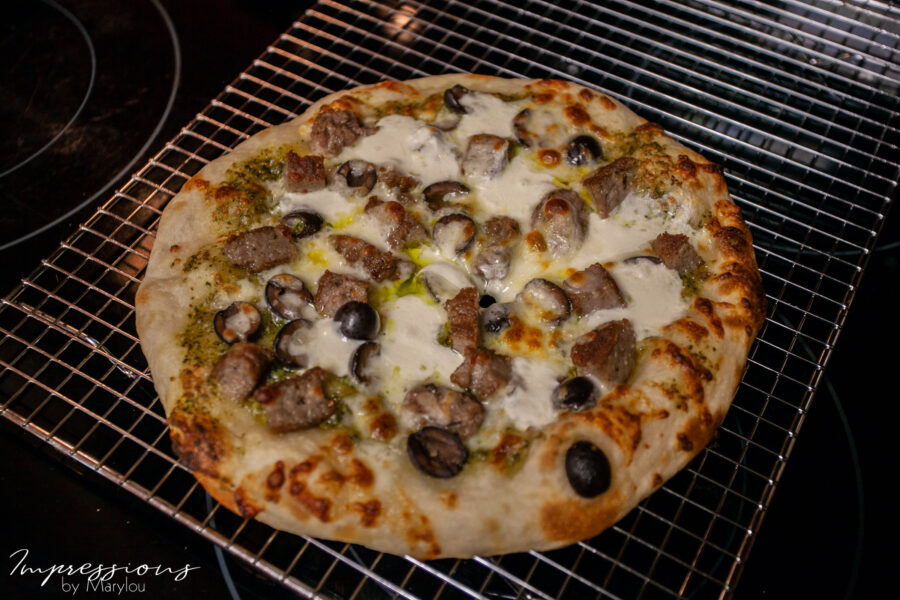
Here’s another tip for you … make fresh pesto and freeze in small containers. It tastes just like fresh, even after 5 months in the freezer!! This is a 2 oz container. It covered 2 small pizzas. Neither my sister nor I are terribly into traditional pizza that we get here in the USA, as you can tell.
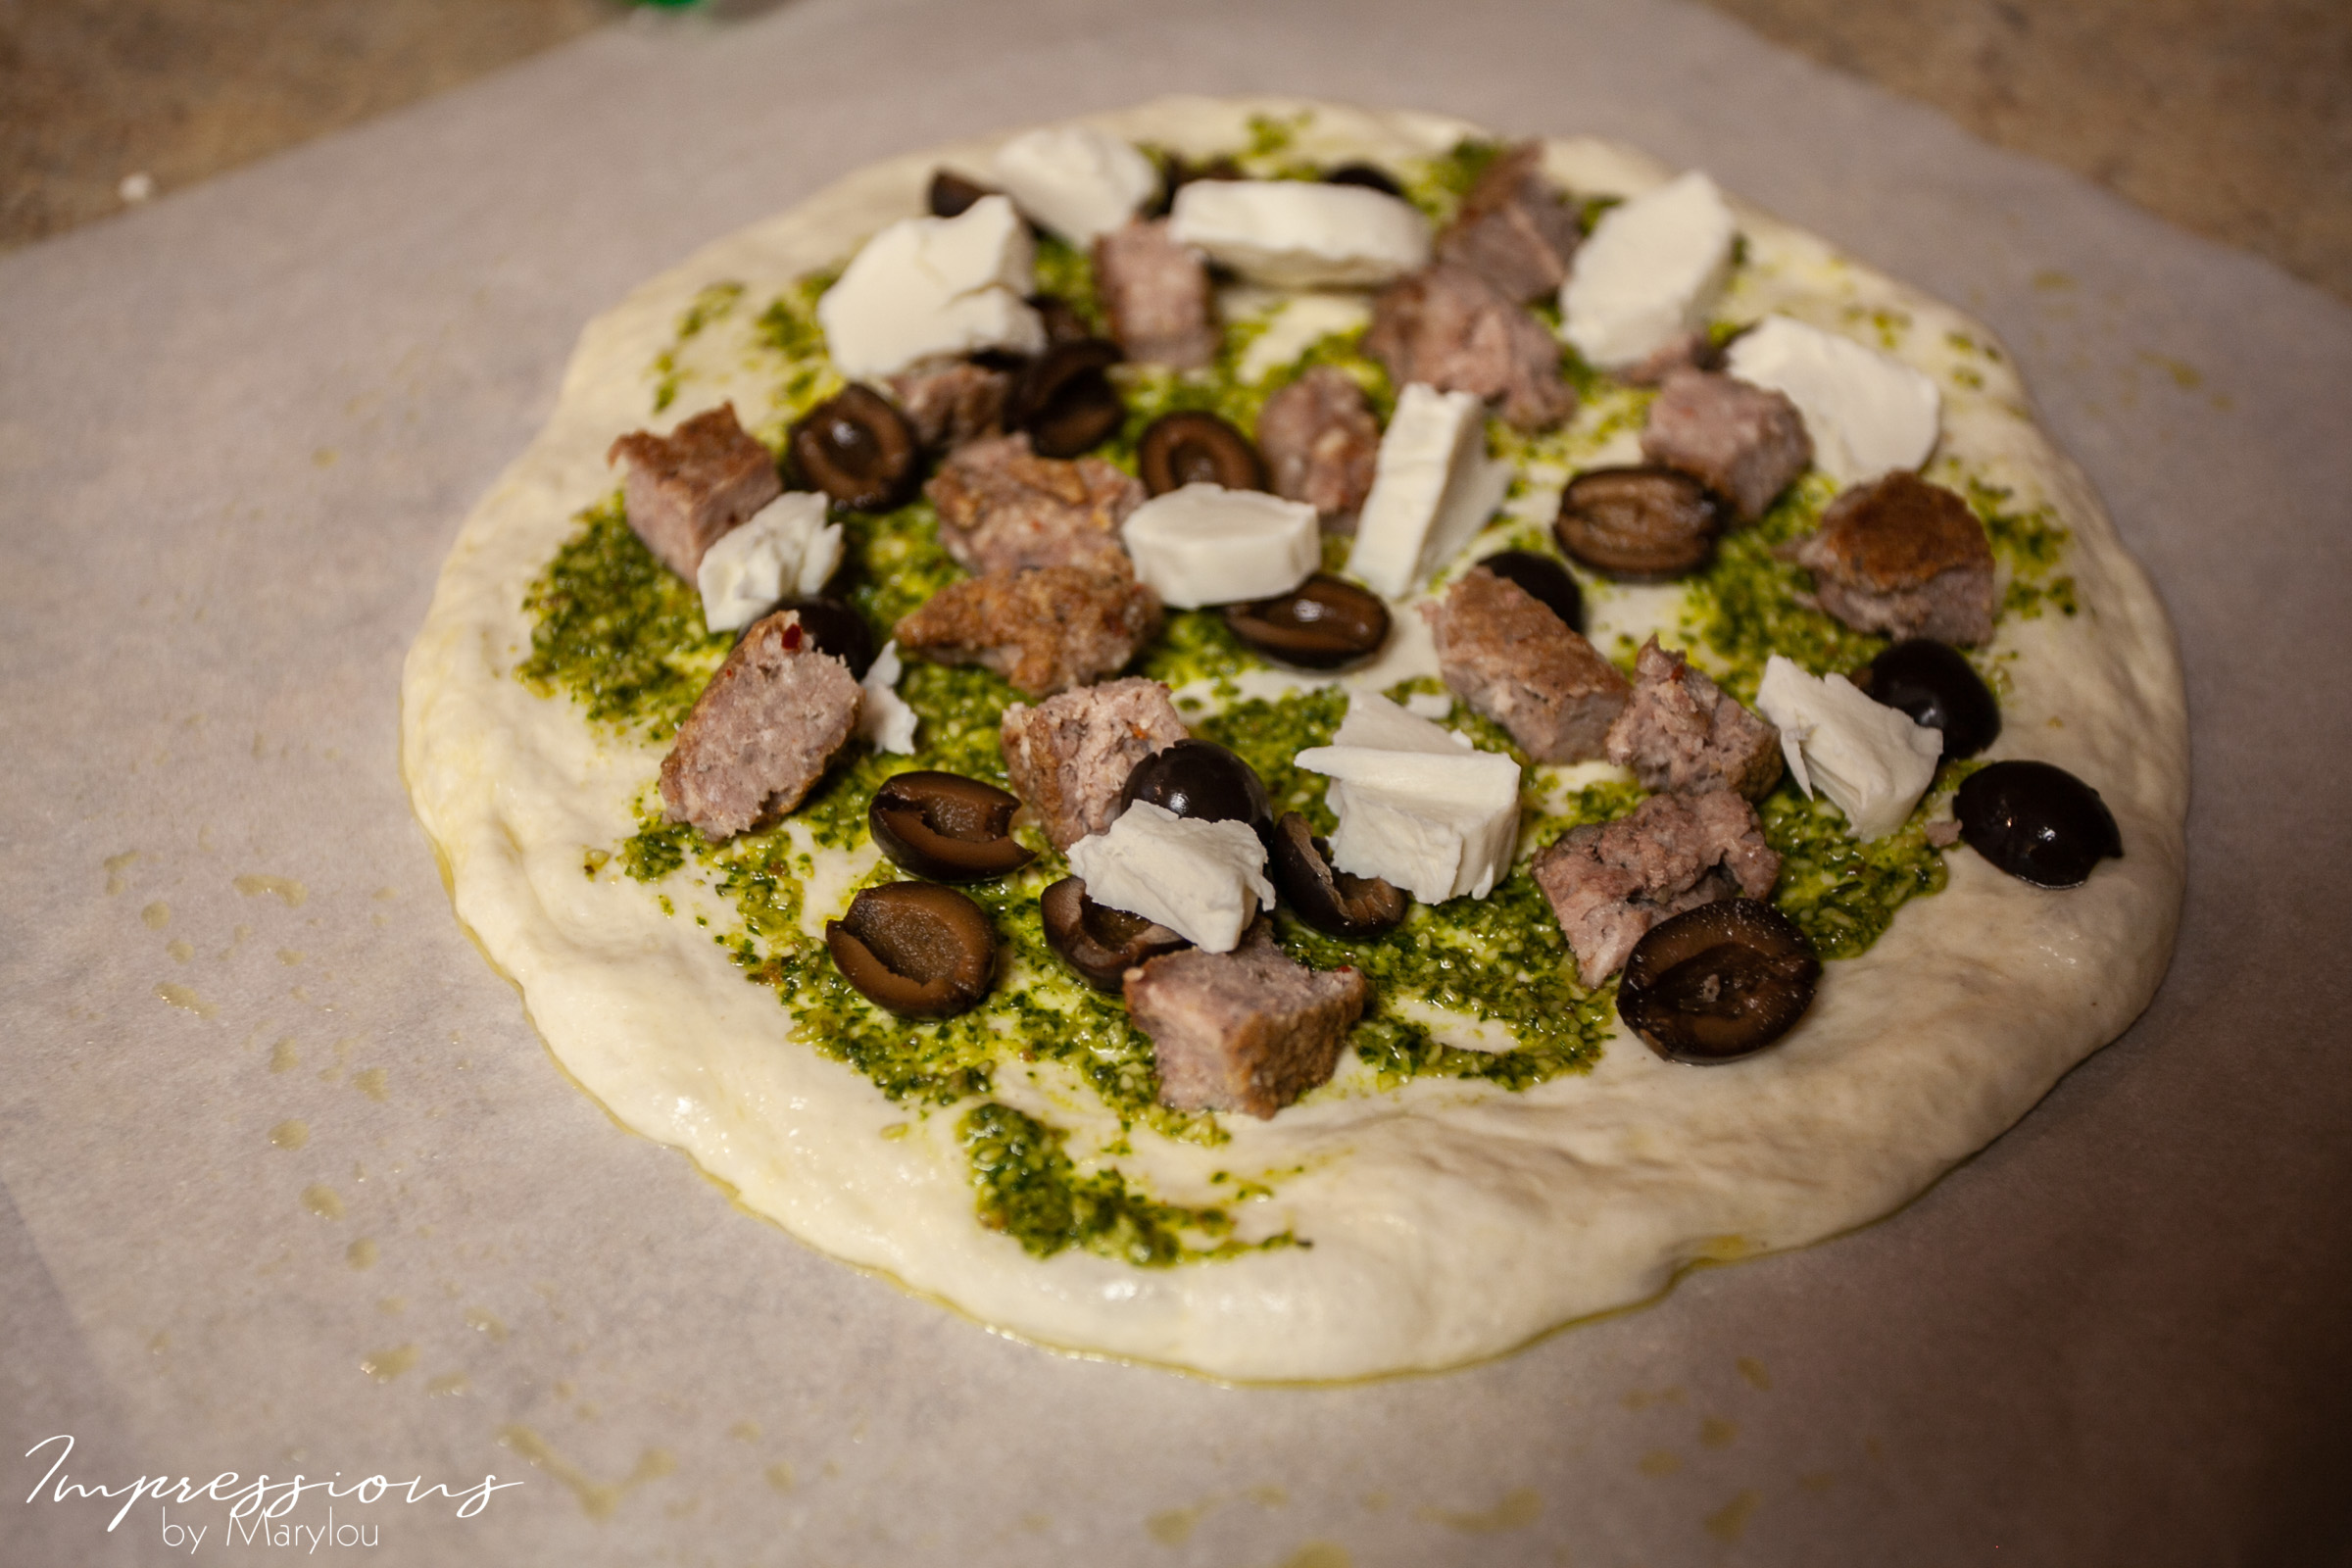
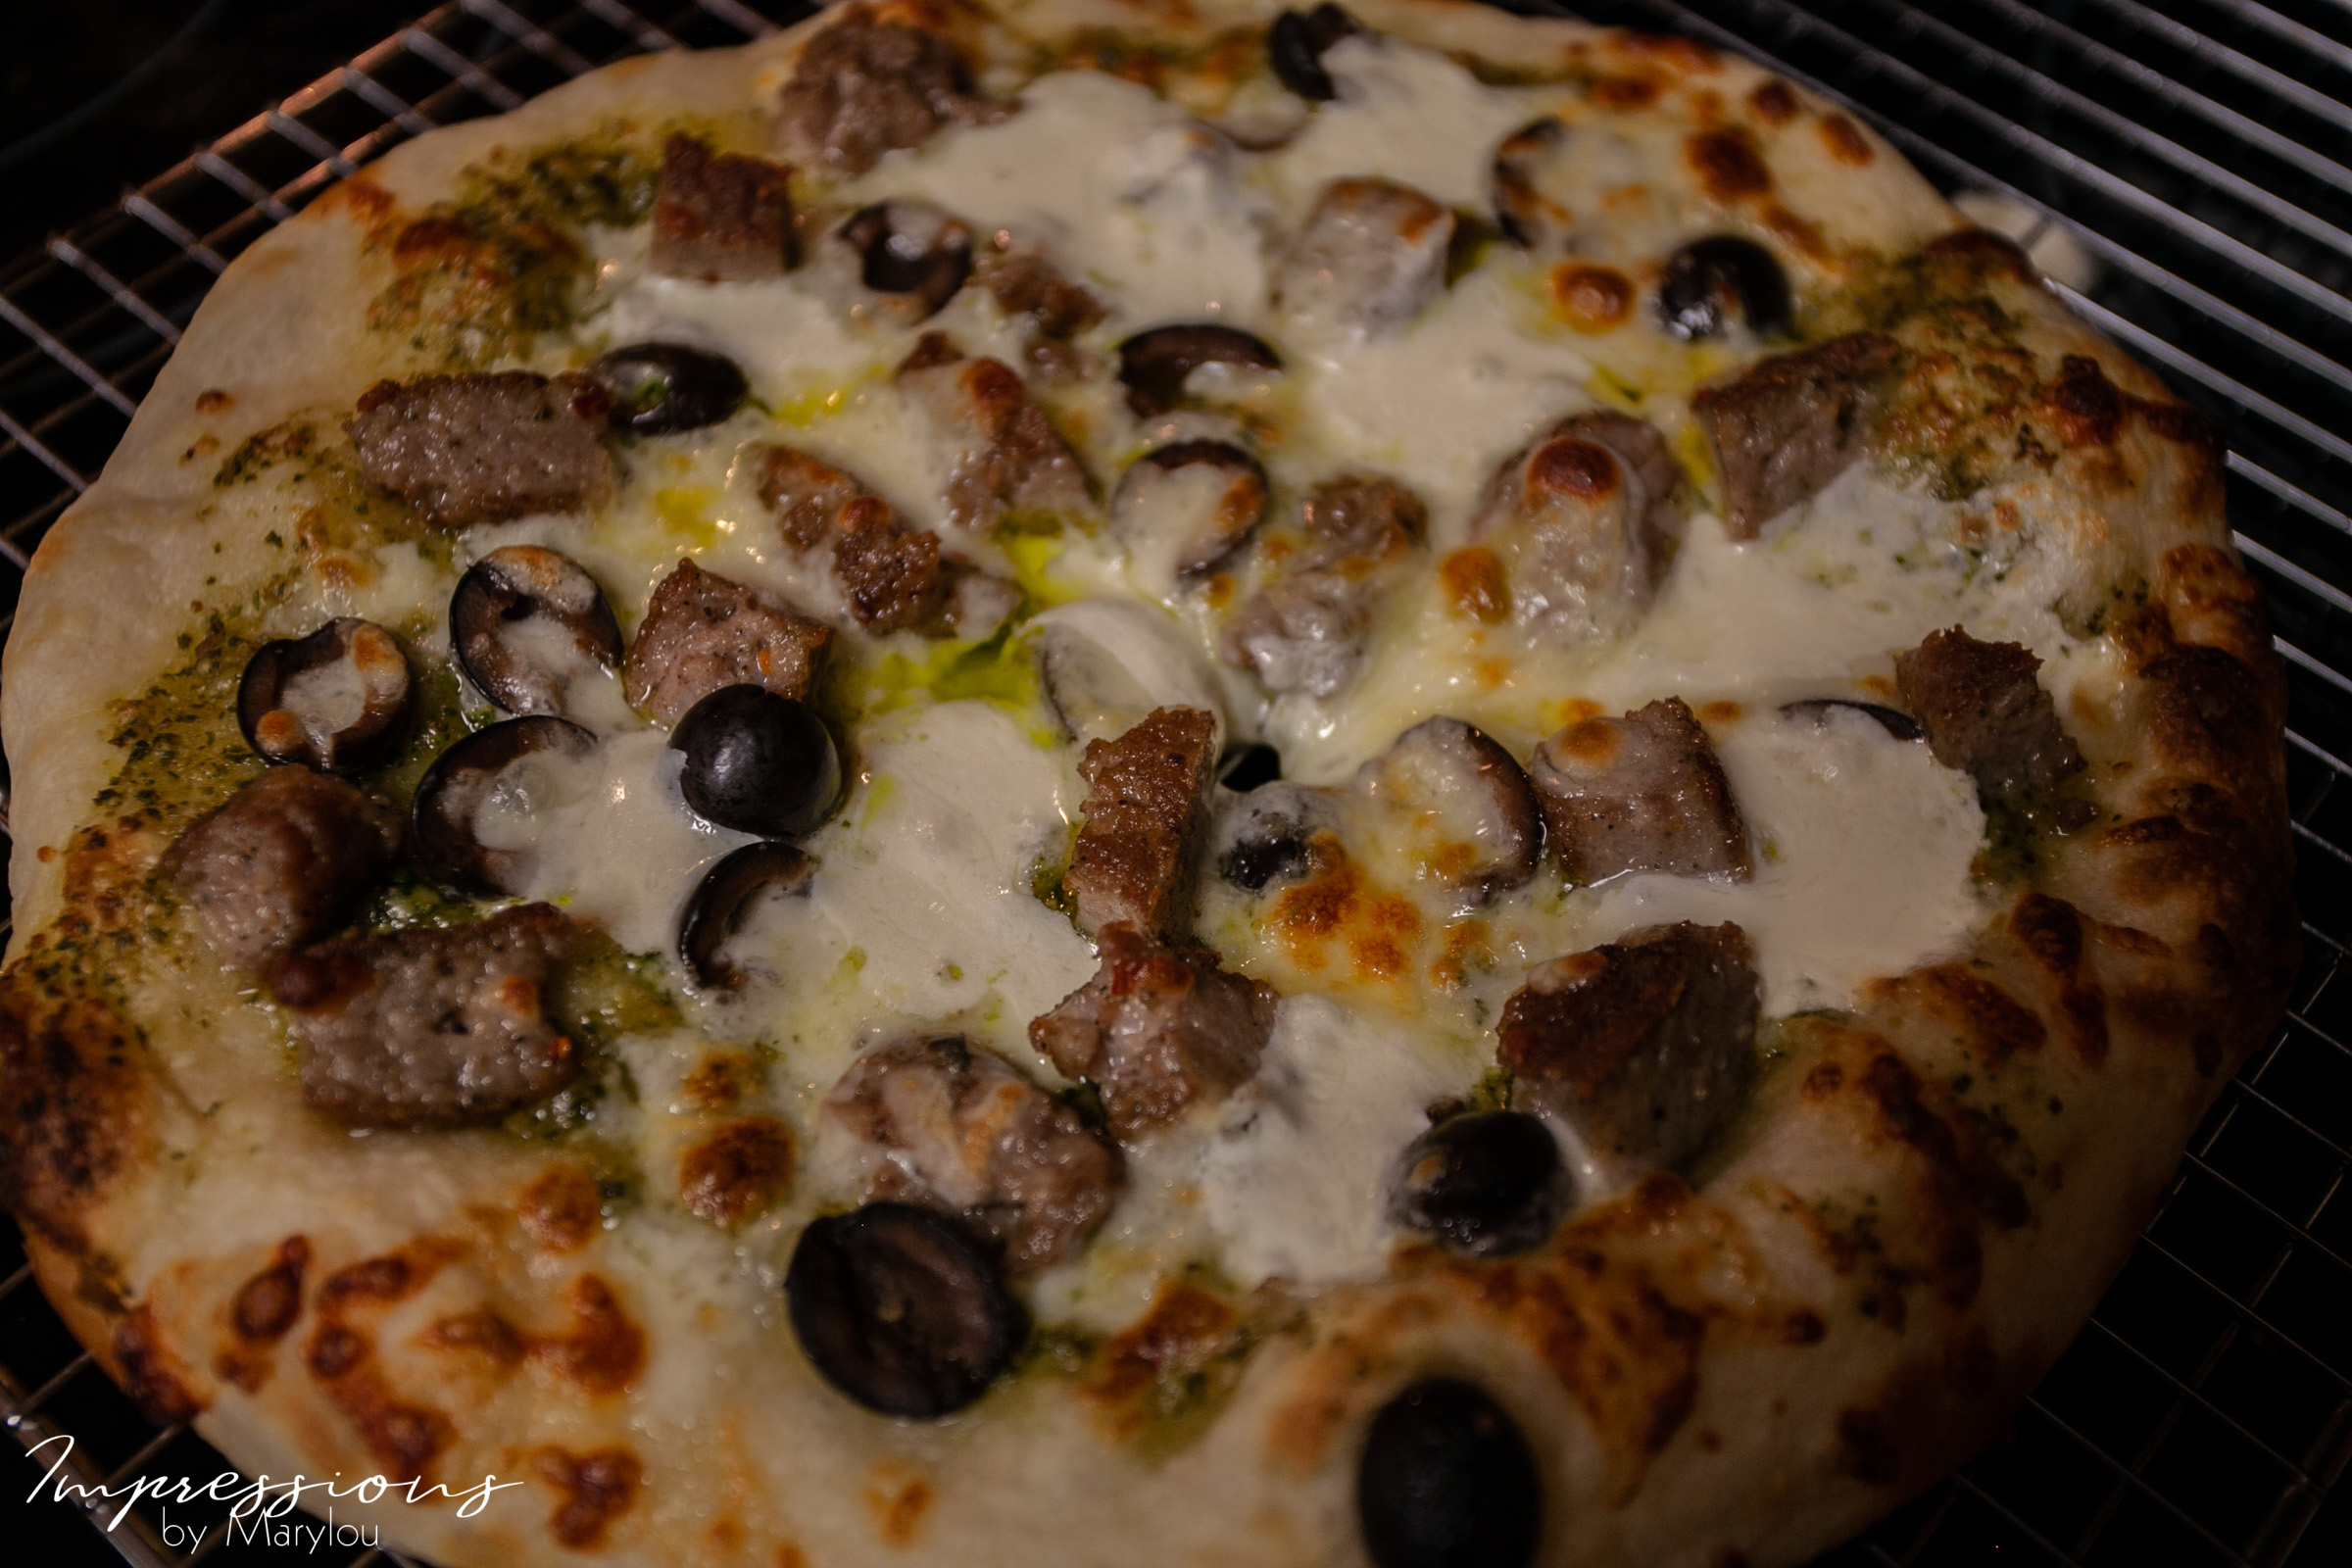
I used left breakfast sausage patties (homemade sausage that my sister made with our Kitchen Aid attachment. Another post for another time, maybe??), olives & cheese, fresh and grated mozzarella.
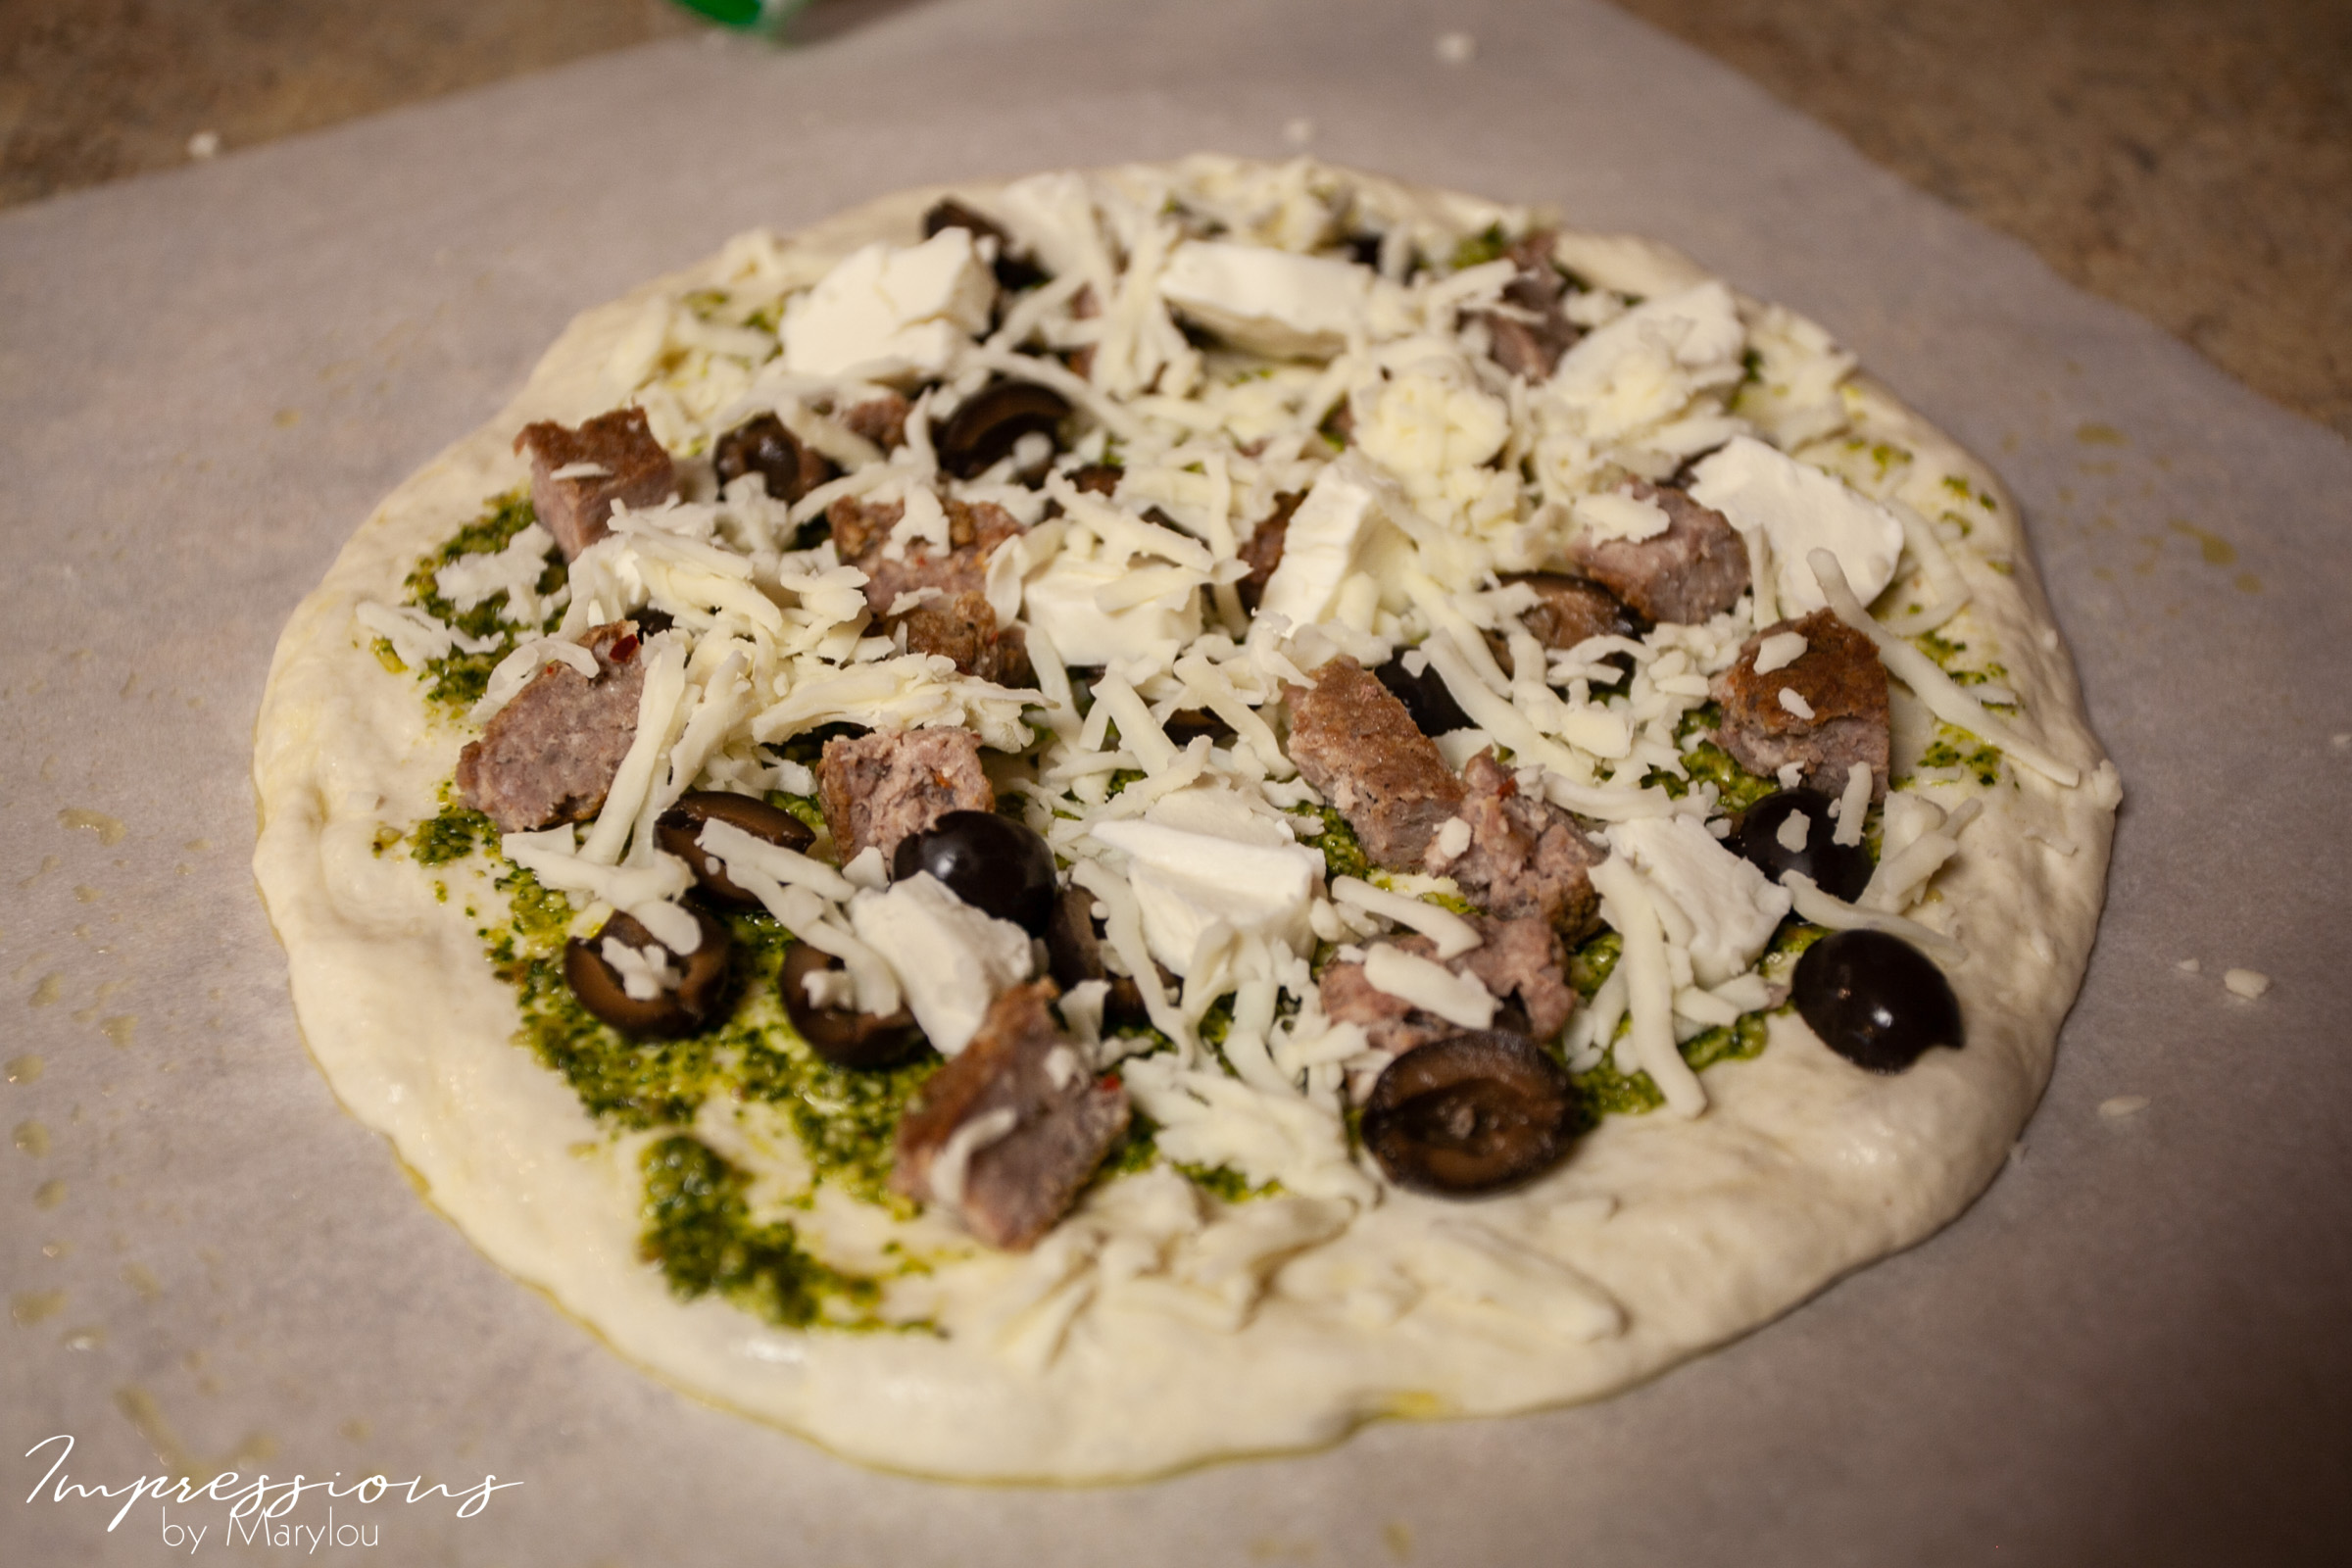
Ready for the oven.
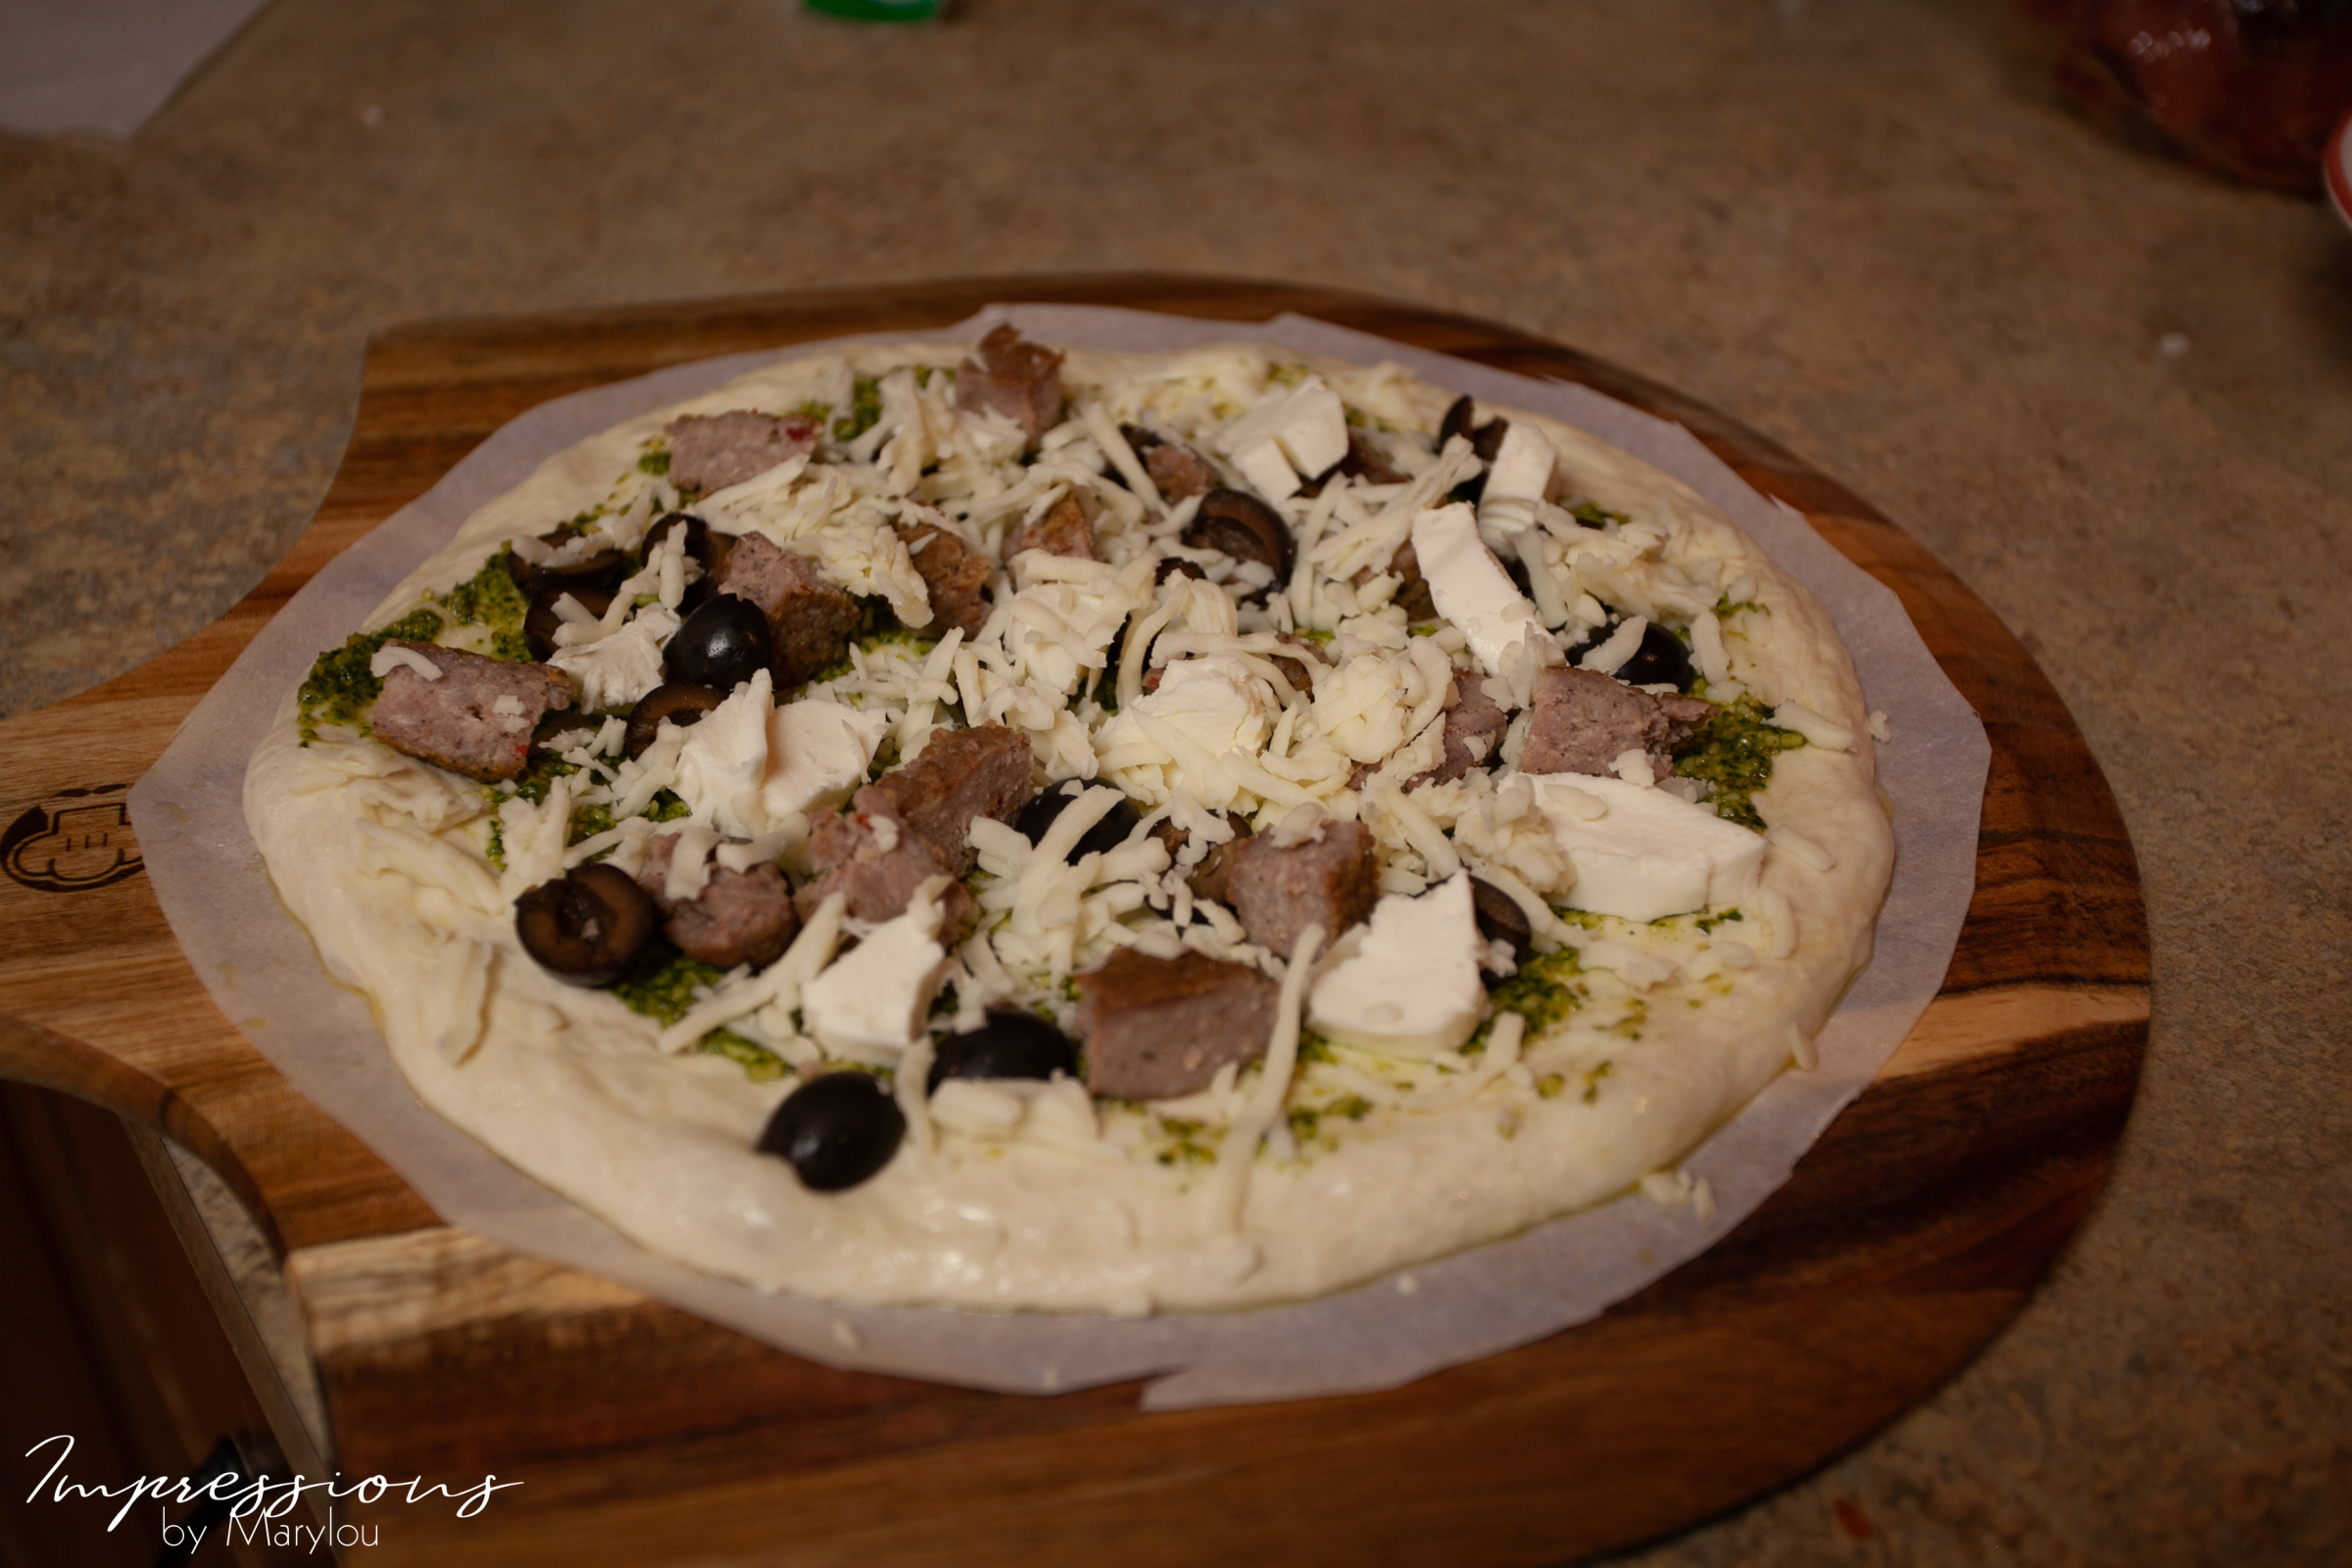
Trim off the excess parchment paper.

Hot out of the oven!! Goodness, I’m getting hungry just getting this post ready! Use tongs to pull the pizza off the baking stone/iron pan without removing the pan from the oven. The cast iron is too hot to handle anyway. Slide your next pizza in if it’s ready.
I’m sorry for the blur. I should’ve used a larger aperture when taking these pictures. But I was hungry! What can I say? It had been a long time since leftover Thai curry at 10AM. We singles have strange eating habits, eh? 🙂
This pizza developed a hole in the center as it was baking. Some of the cheese oozed out through the hole and onto my stovetop. Never waste cheese, I say. Eat it anyway, I say.
I slid it onto a cooling rack so that the bottom doesn’t steam up. I want the bottom of the crust to stay crispy!
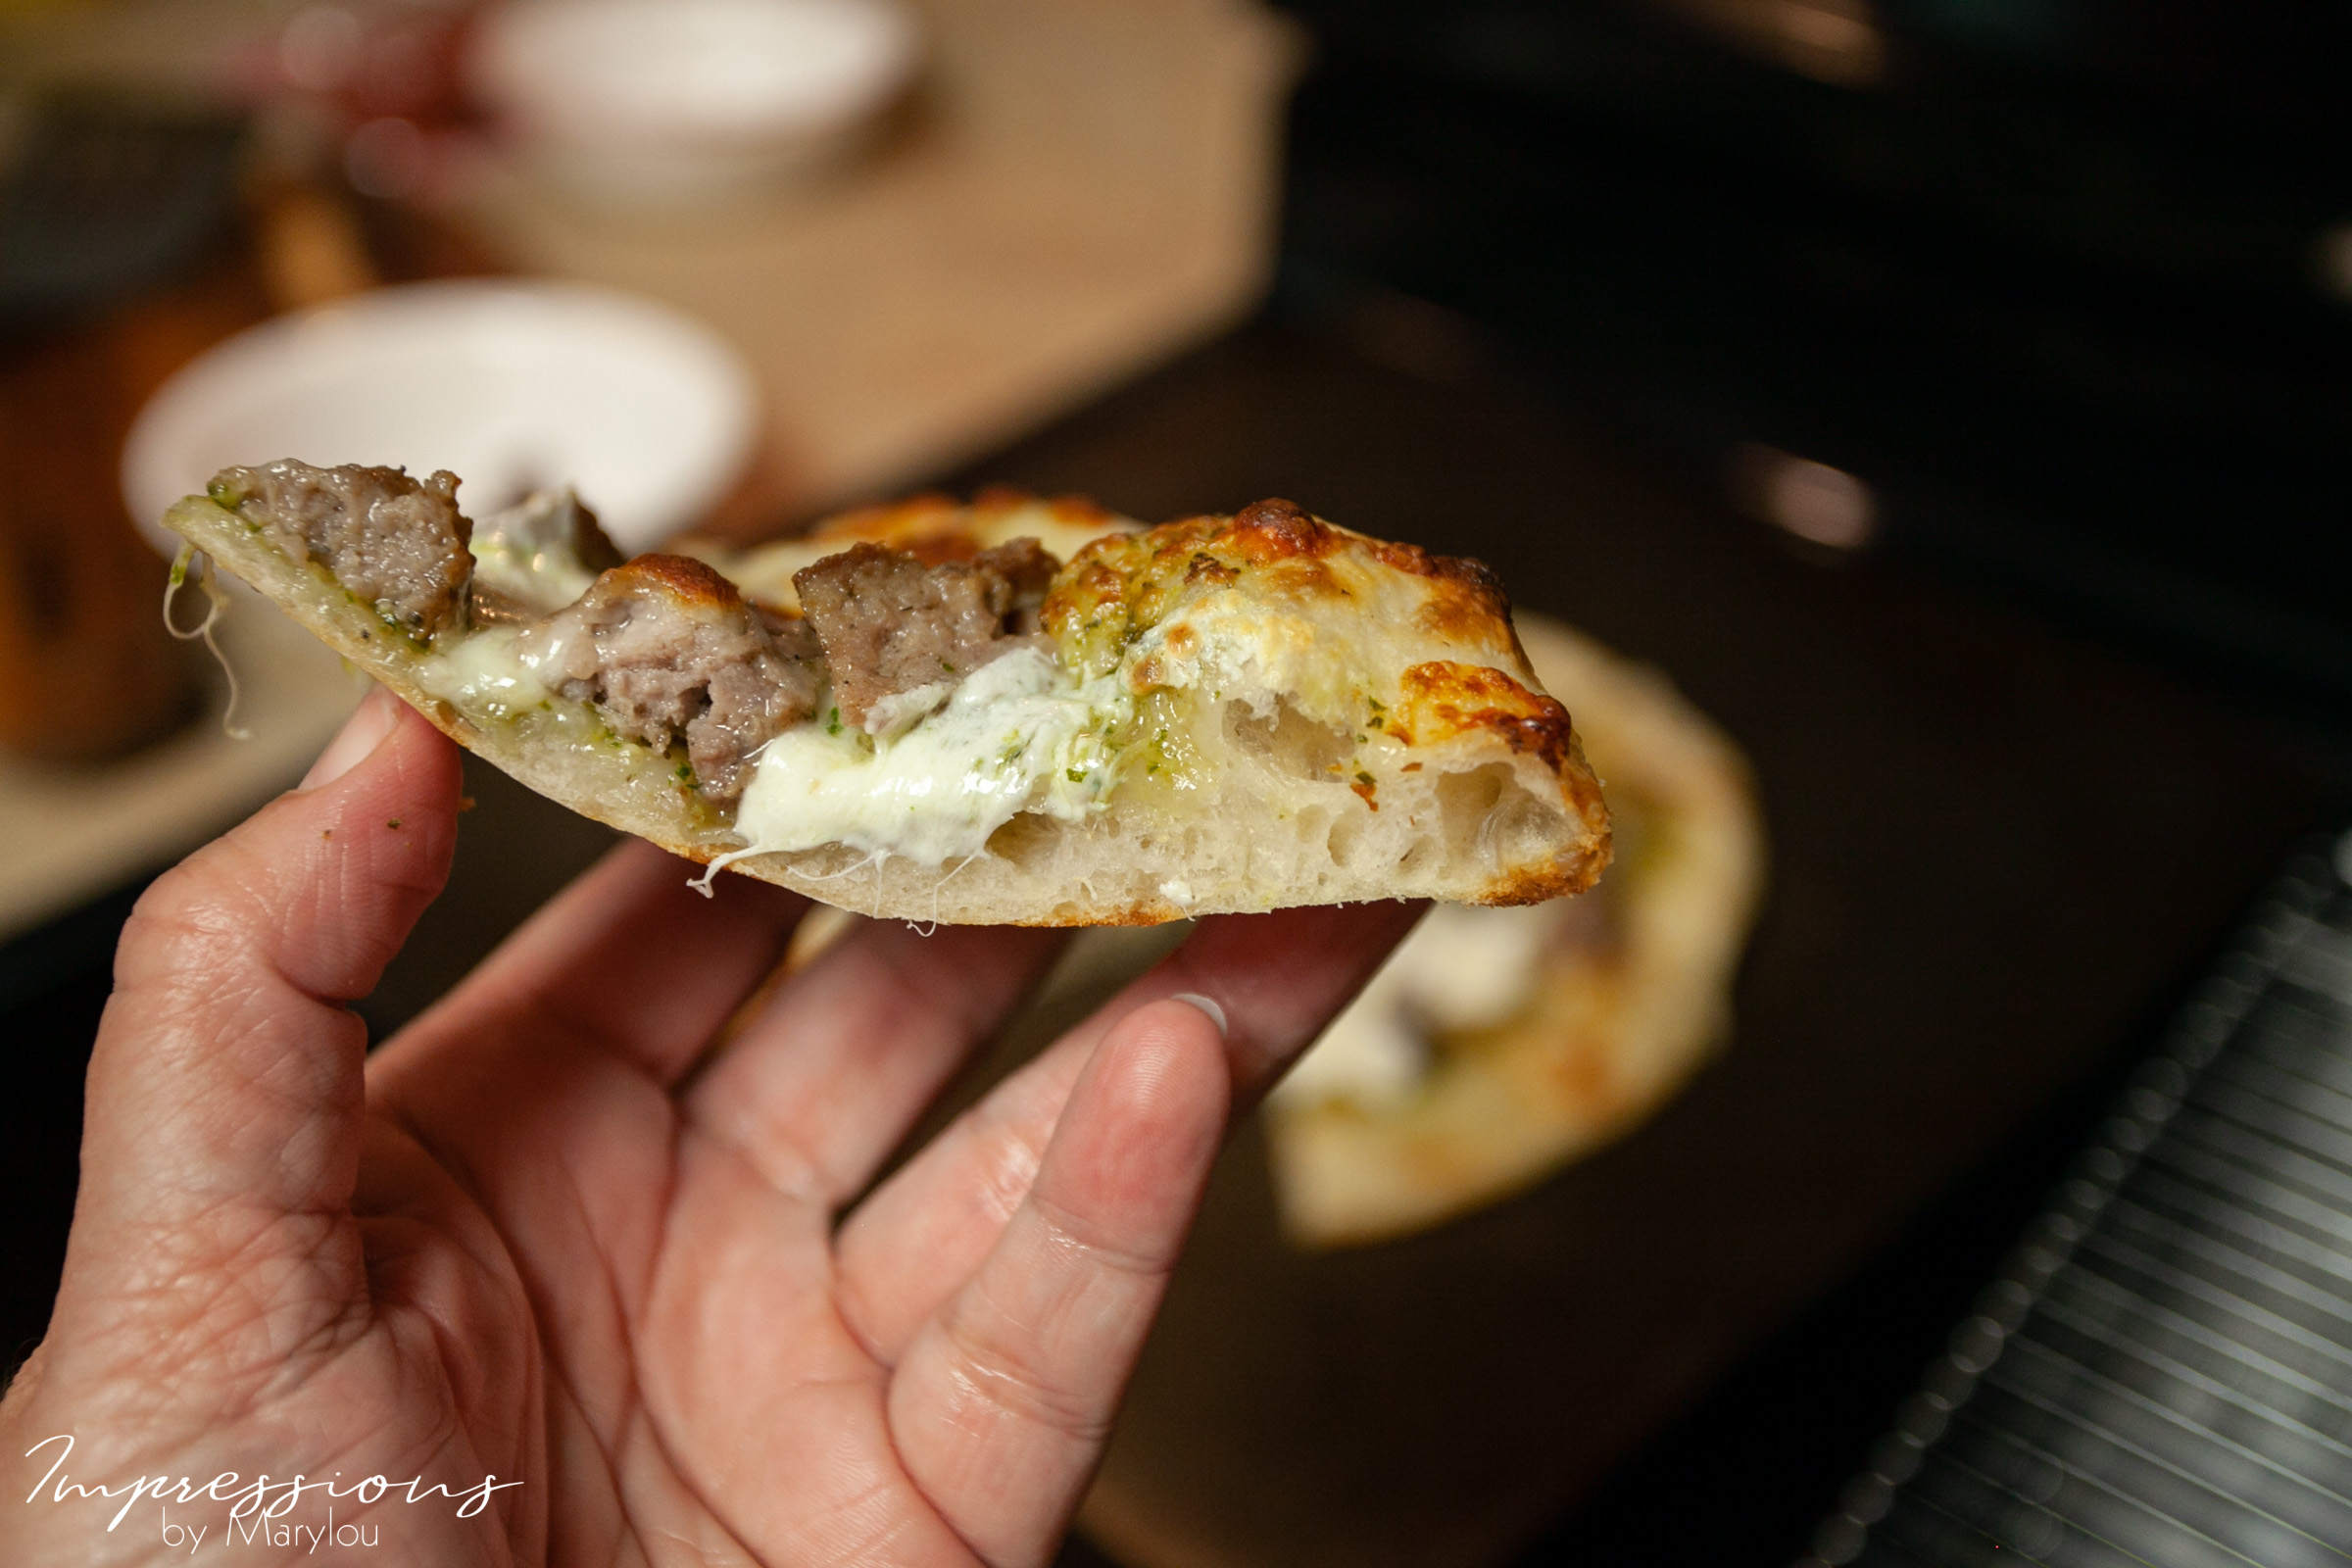
See those amazing air pockets in the crust??!! Click on the photo to enlarge and drool over.
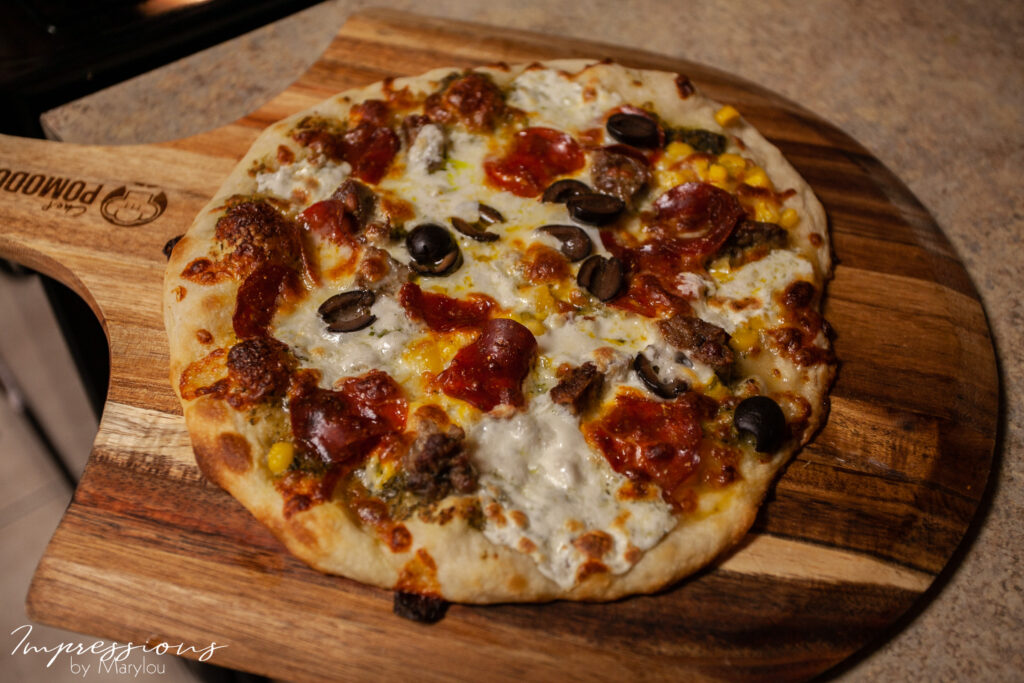
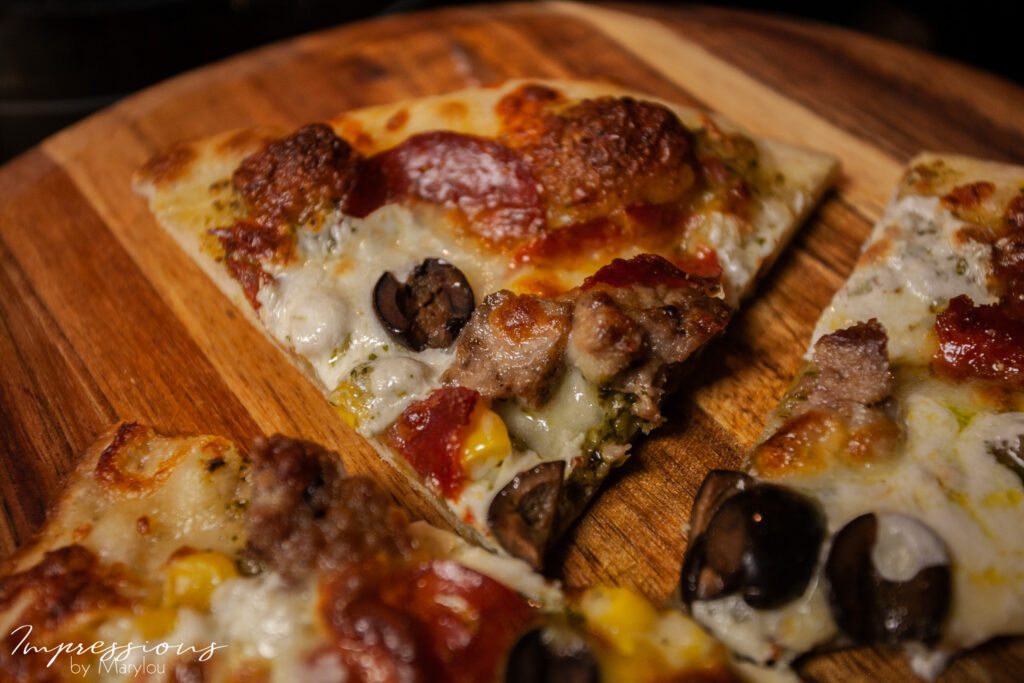
I made one that also had turkey pepperoni, and whole kernel corn. When I was in Brazil, many years ago, we ate pizza with whole kernel corn and we thought it was quite interesting. I don’t remember any other toppings it had. 🙂
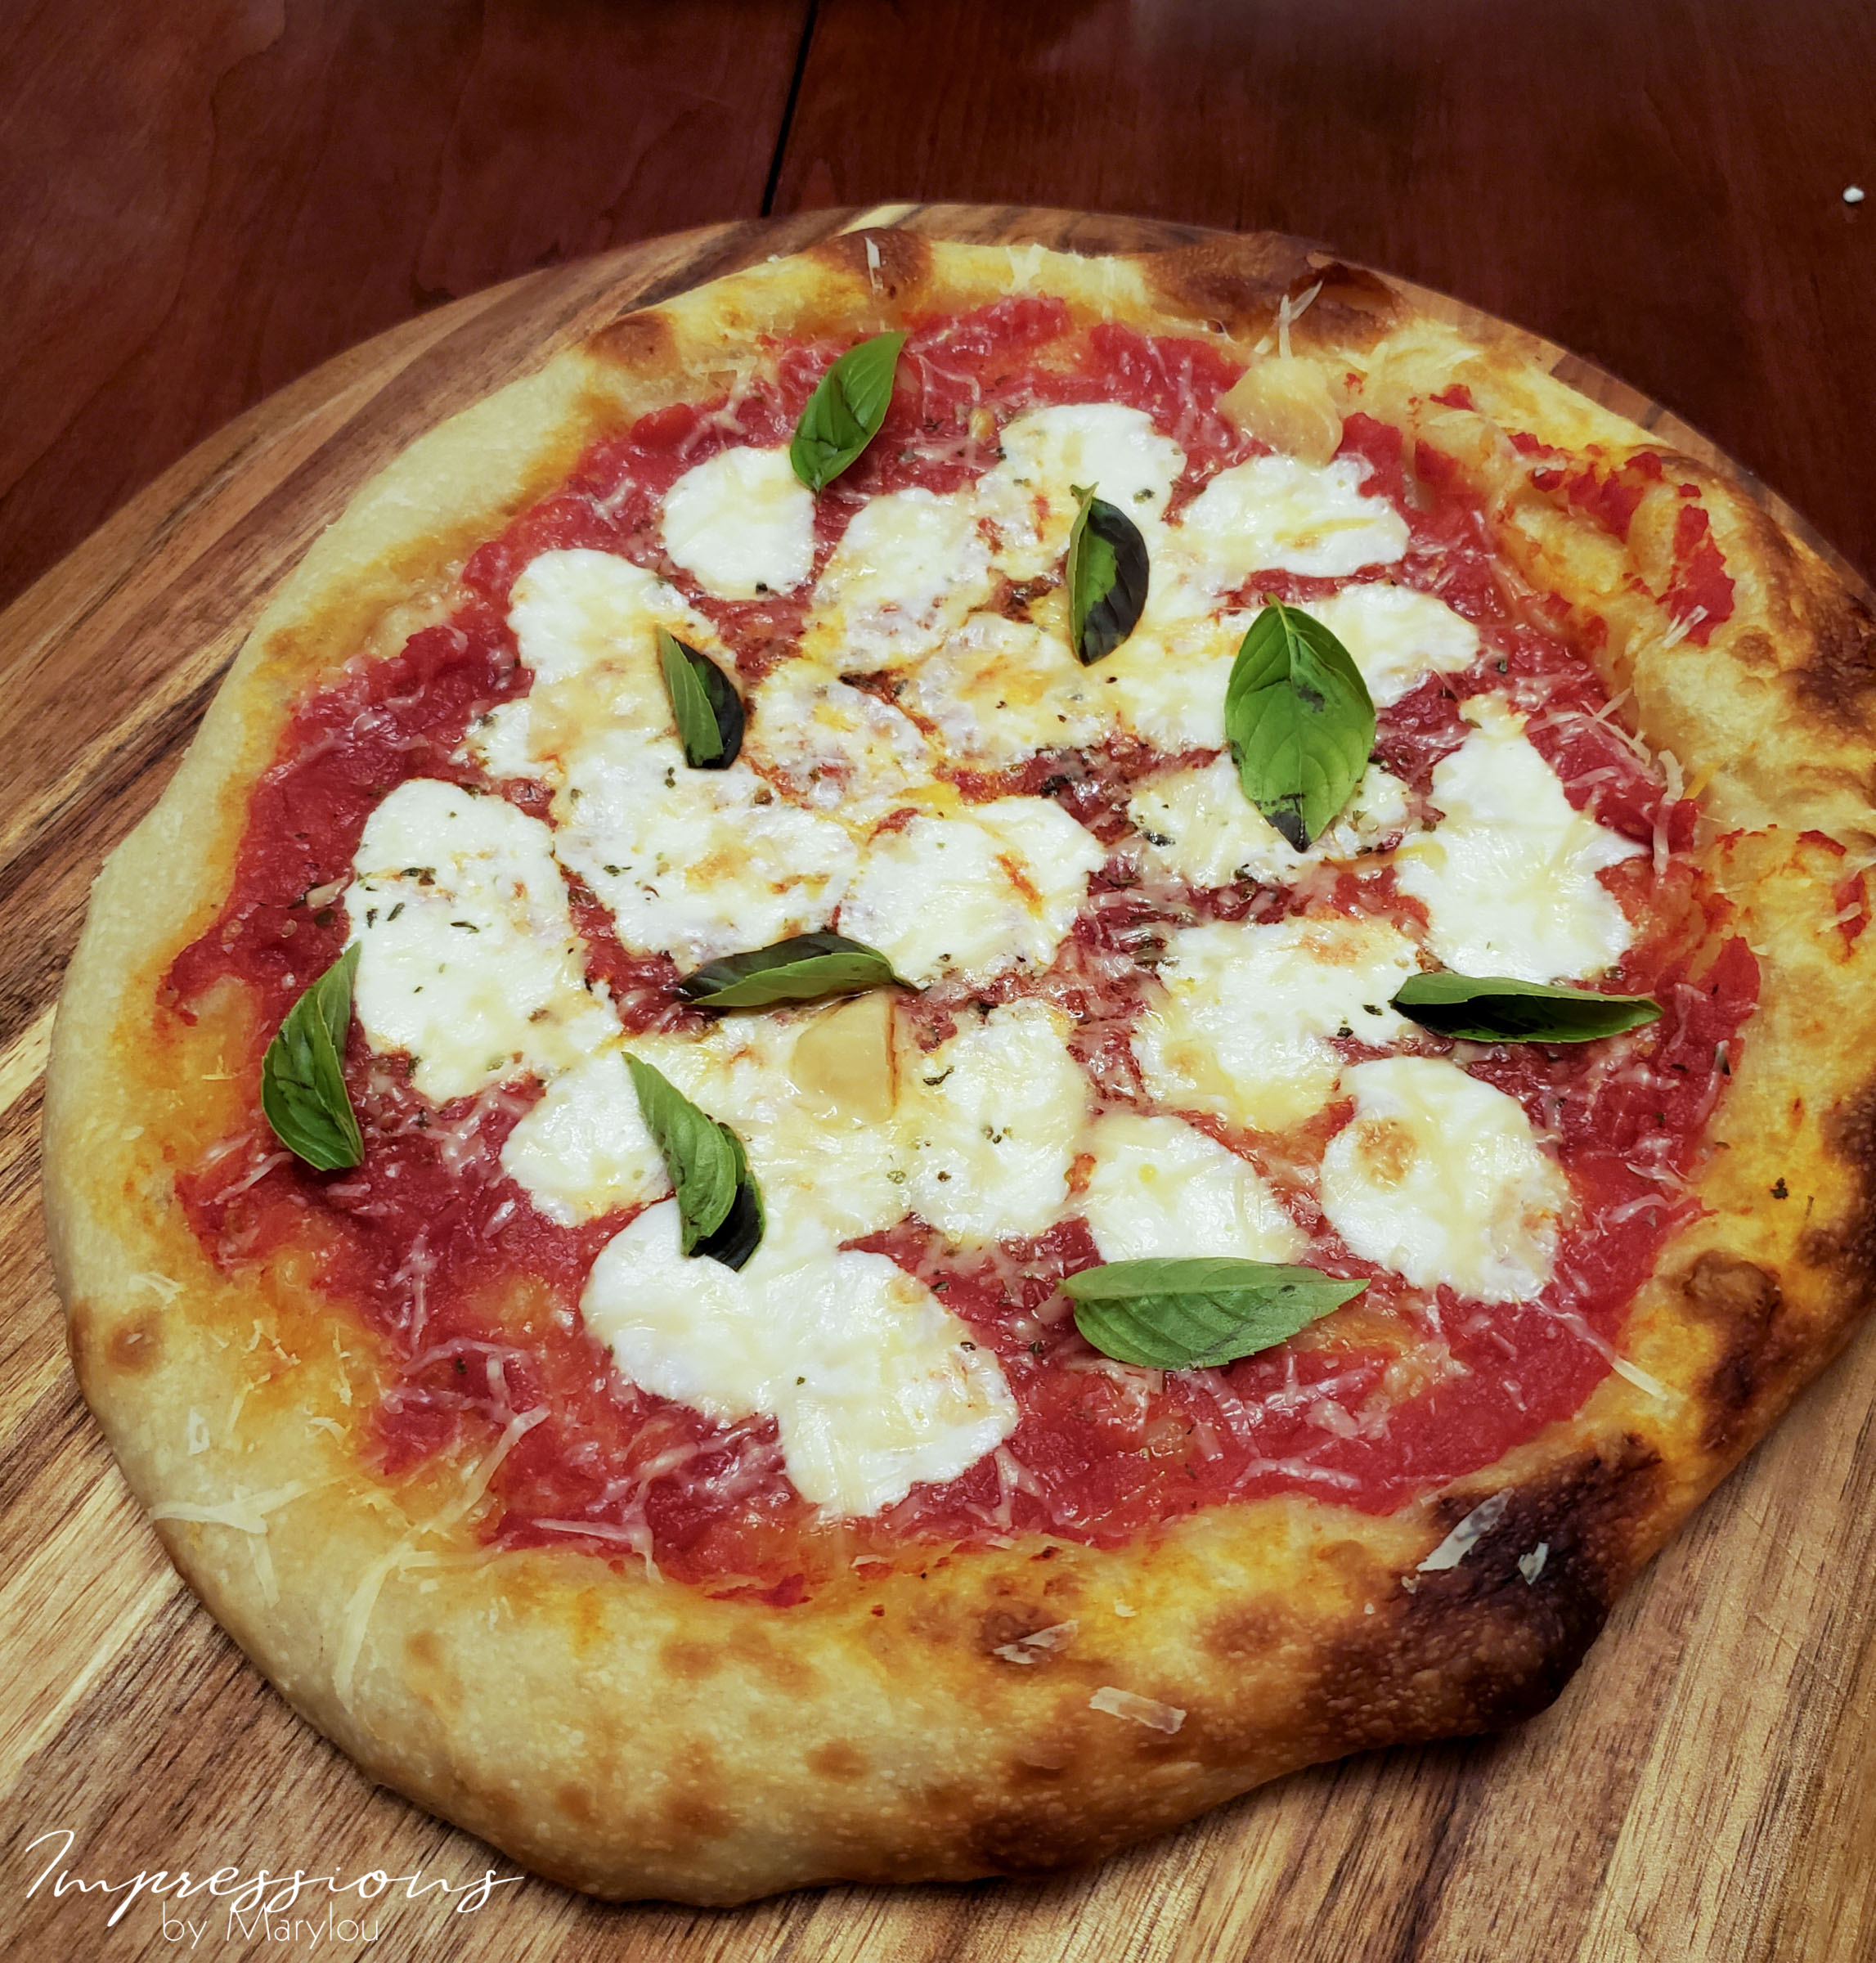
For a Margherita style pizza, use San Marzano (they are a plum style) tomatoes. Cento brand is what we can get here. I tried an American brand that had San Marzano “style” tomatoes and was very disappointed. 1/5 stars. Do not recommend. For Margherita style pizza, blenderize the San Marzano tomatoes. Add a little salt and spread a thin layer over the the dough. Drop some mozzarella cheese on it and bake. Add fresh basil after it comes out of the oven. Grate some Parmesan cheese on it, too, if you want. Wow. Every time I eat this, I’m amazed at how delicious this simple combination is.
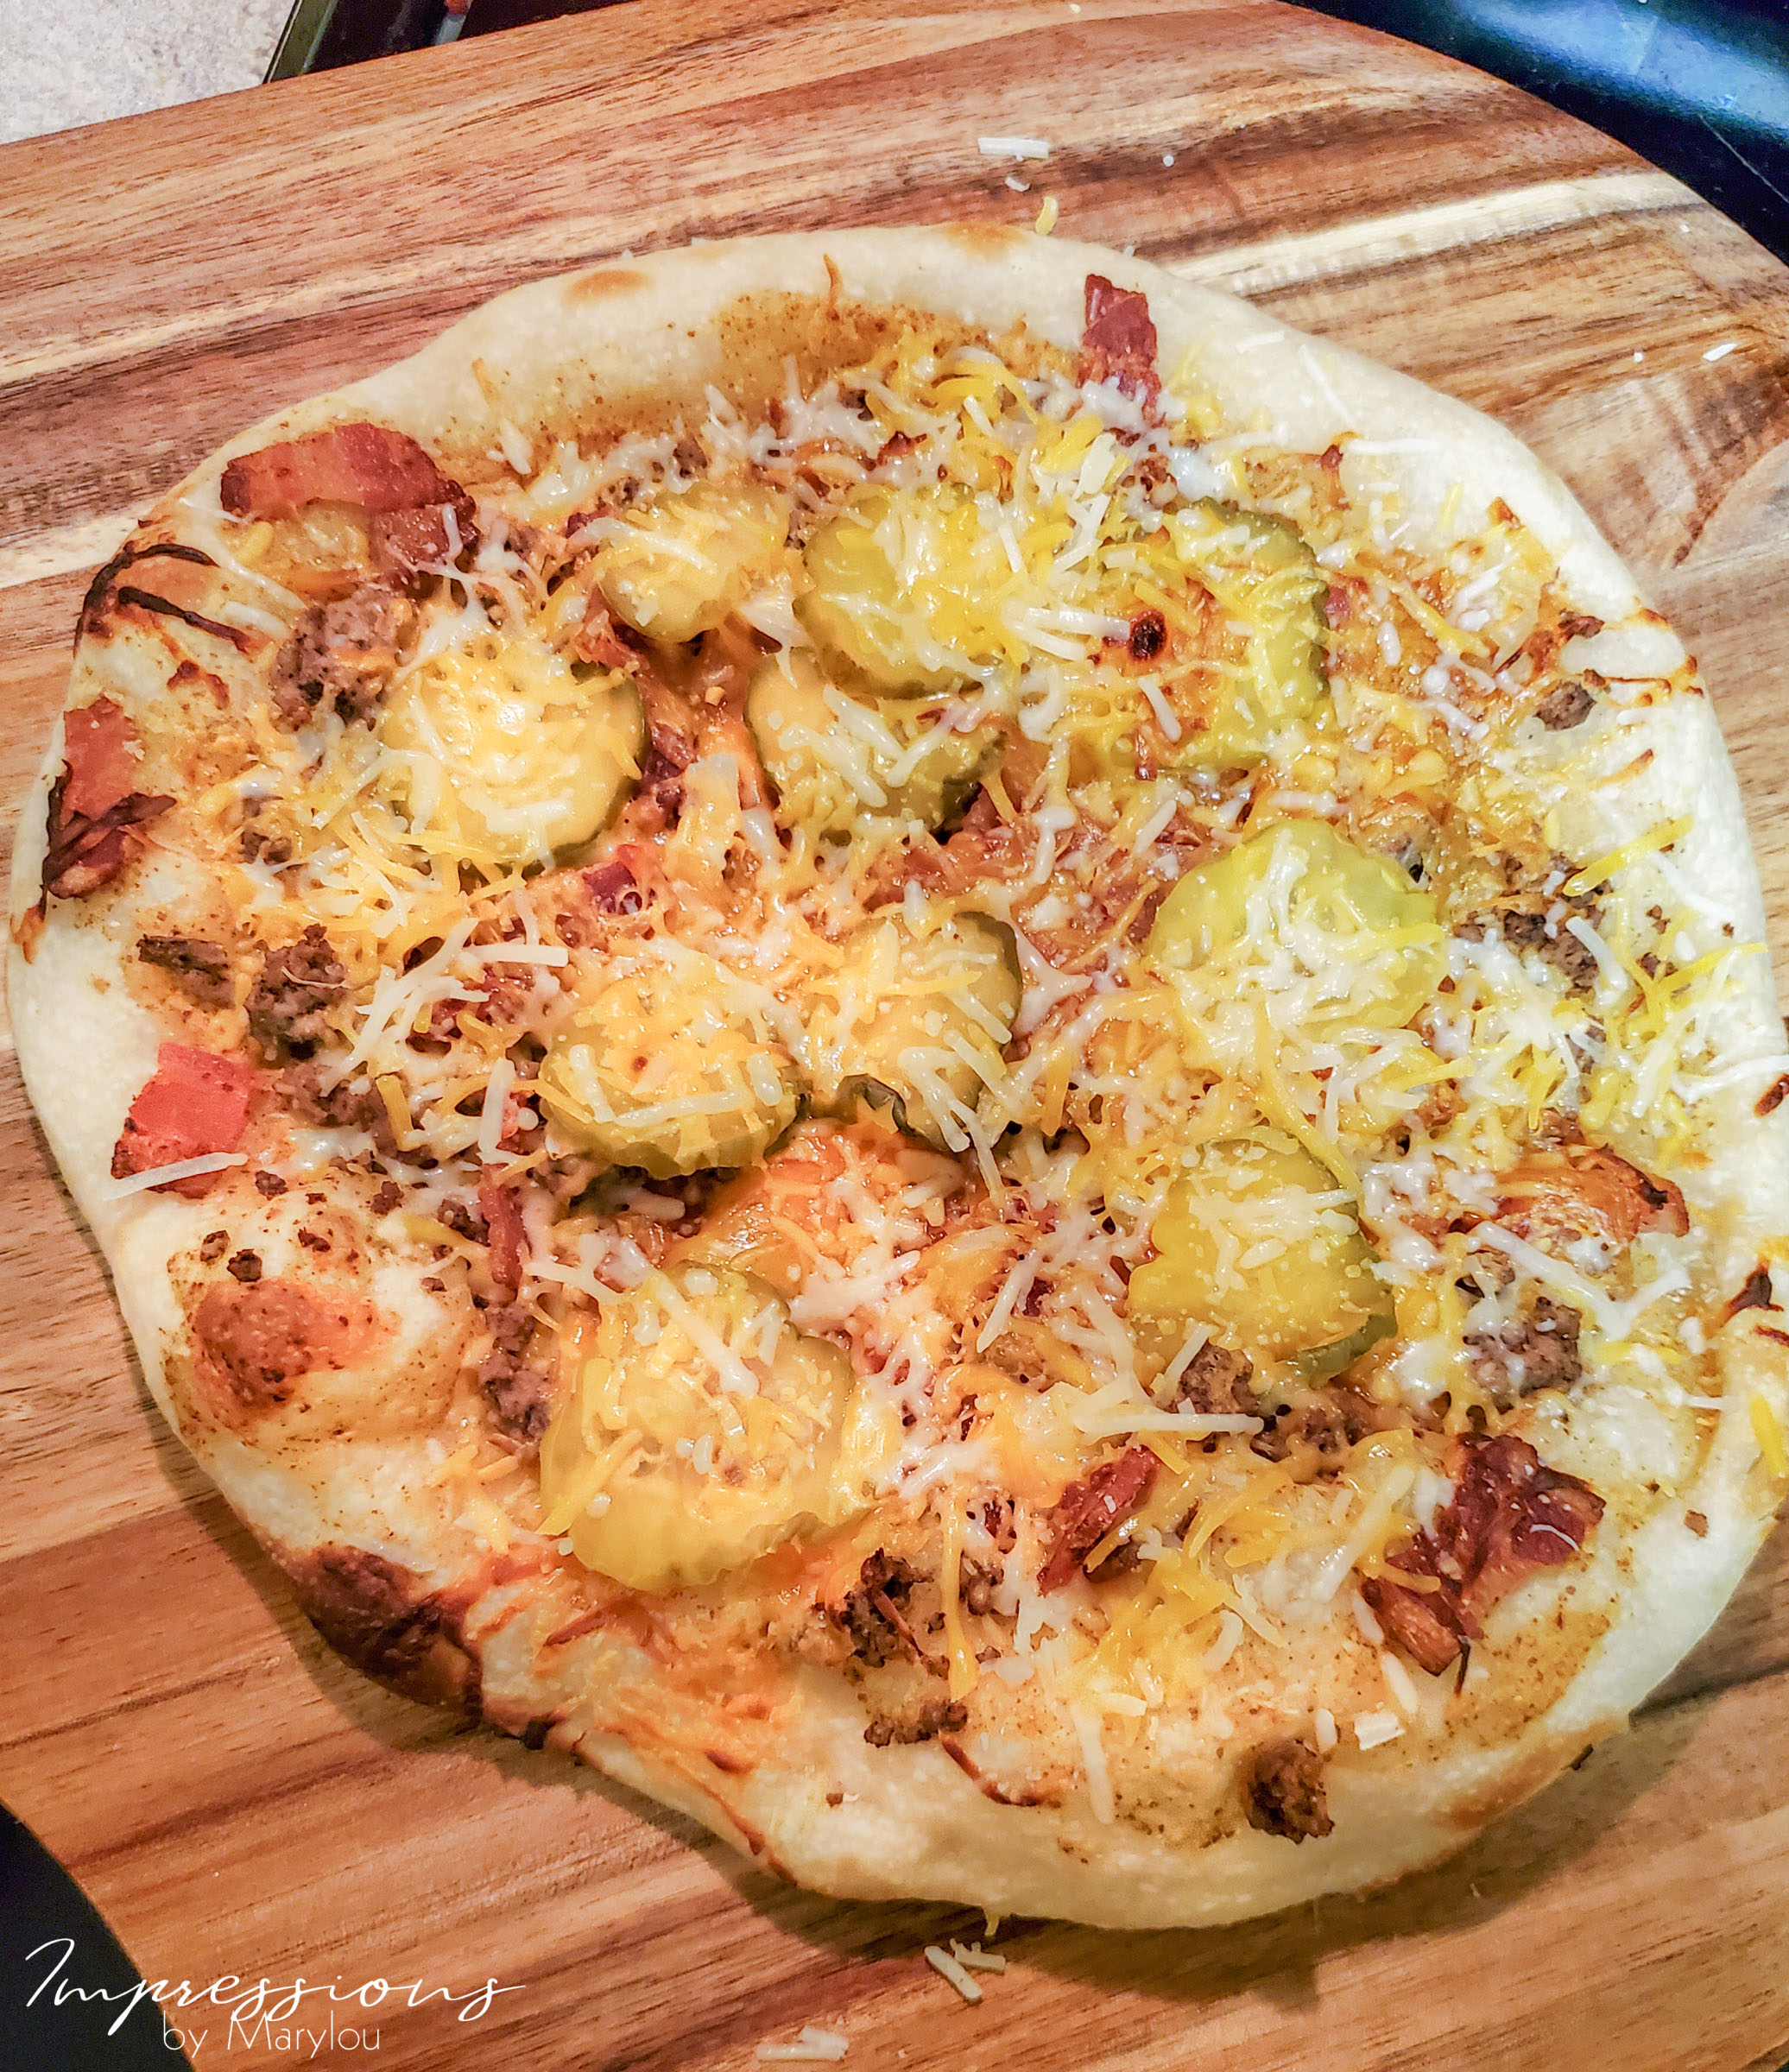
To make a pizza that is not common in America (that I know of) but is as American as it comes when it comes to flavor, make a cheeseburger pizza. Use thin layer of mustard (I like spicy mustard), top with fried hamburger, onions, bacon, dill pickle slices and cheddar cheese. A local restaurant makes this and I just think it’s amazing. My phone camera doesn’t do it justice:
Happy baking!! I’d love to hear feedback if you try any of the recipes or flavor combinations.
Wow, looks good! I’d love to taste your pizza. 😊
What are you making your next one Lois? I’ll try and be there!Lol